new to me b1750HST w/tranny noise

mattbatson

New member
Sep 16, 2011
86
0
0
Deltona, FL, U.S.
Matt, you're doing a great job and the pictures are super! Once you fix everything and get it at together you'll really like the B1750. I had the B1550 and it was without a doubt the best tractor I've ever owned. Tough little thing. Much beefier then my cabbed B3030. My 2 cents worth anyway, keep up the good work. Stanley
thx for the encouraging words :D
this is kinda why I'm trying to do this right, and to spend the money now...so that I wont have to later, and will hopefully have a reliable little tractor when finished.

cant wait to post videos of it all back together and running/working !
 

Jim-Iowa

New member
Oct 14, 2011
19
0
0
Newton,Iowa
Matt: I'm impressed with the progress you making.
It's good that your taking all those pictures, they will be valuable when you put things back together.
 

mattbatson

New member
Sep 16, 2011
86
0
0
Deltona, FL, U.S.
Matt: I'm impressed with the progress you making.
It's good that your taking all those pictures, they will be valuable when you put things back together.

I know, the pics have already saved me with the flywheel removal when i forgot to set it to the timing marks, or mark it in some way so as to bolt it back the same way....i know, amatuer mistake :rolleyes:

but I went back to some pics and can see how it was oriented
 

mattbatson

New member
Sep 16, 2011
86
0
0
Deltona, FL, U.S.
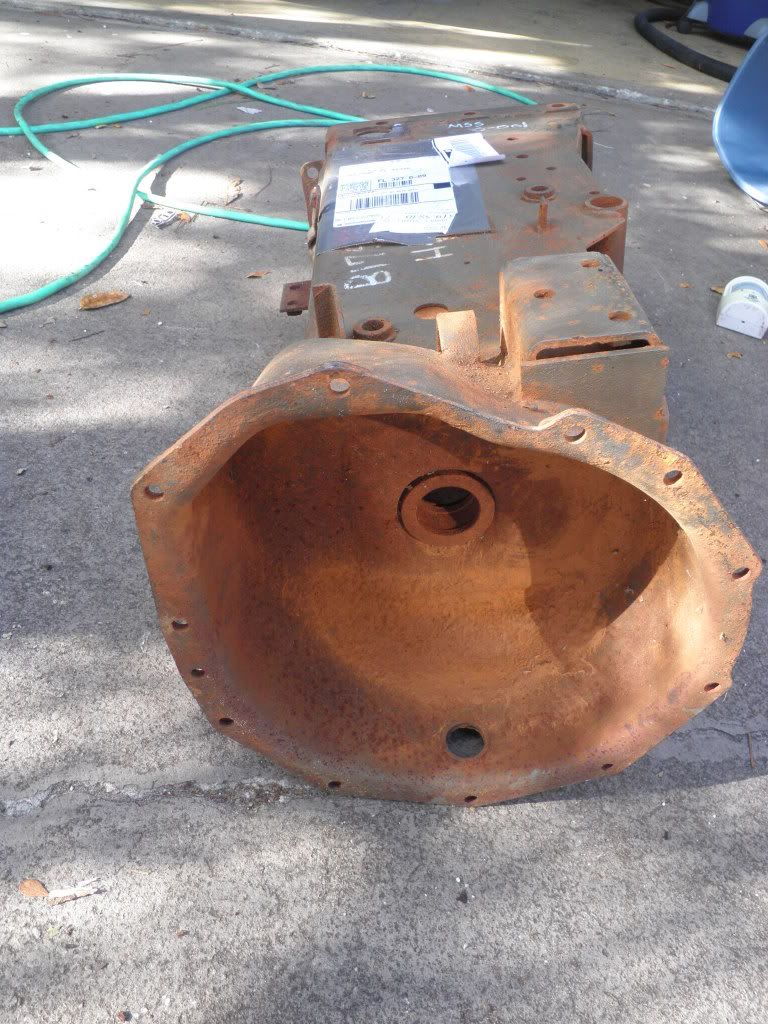
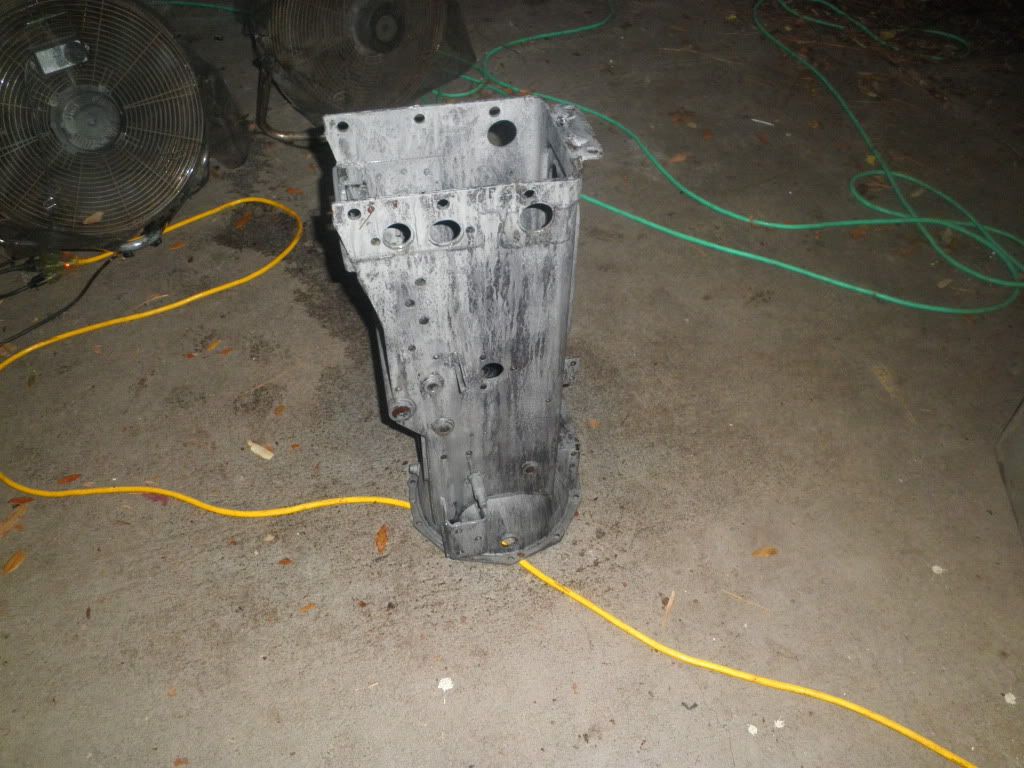
ok, took delivery of my 700 dollar used clutch cover today...
rusty from sitting in some salvage yard in alabama for many years...


took it to get sandblasted and is now sitting in coat of Ospho as there was still some rust that the sandblaster missed...I may take it back to have them hit it again, as the inside has a few spots still. I have other things off the tractor needing blasting, so will take them in too.


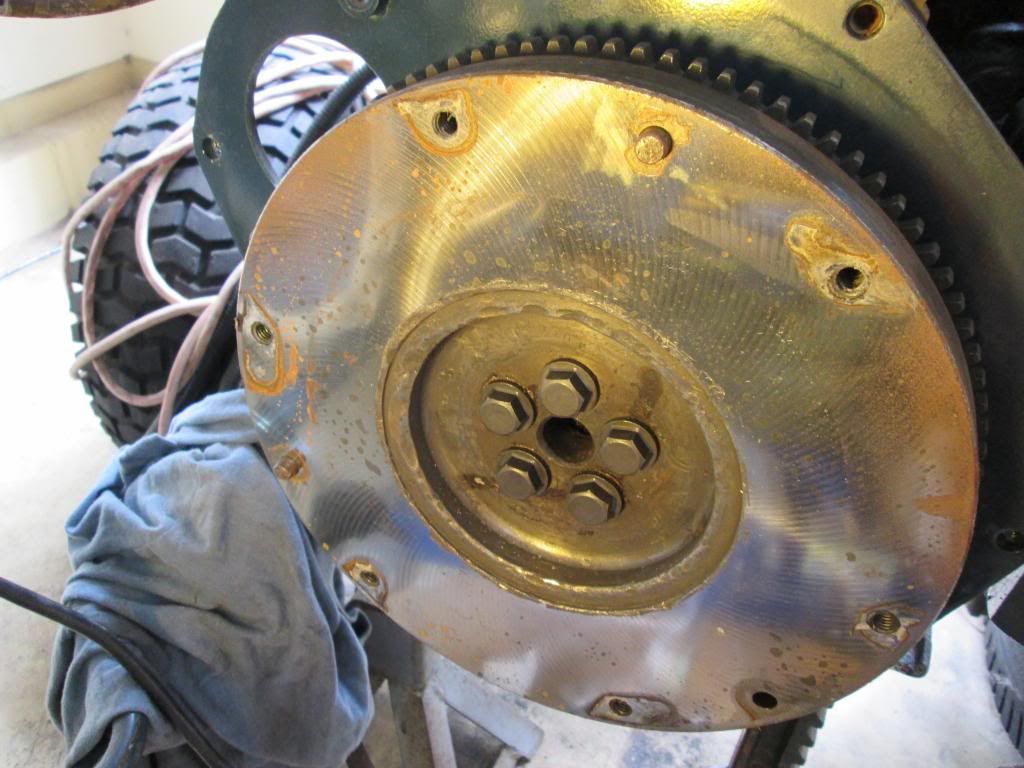
my brand new flexplate...shiny


bought some paint from lowes for the dark grey on the clutch cover...I think they matched it up pretty well, and got a half gallon for 26 bucks as opposed to 35 for a pint at kubota.
plan to apply with a paint brush


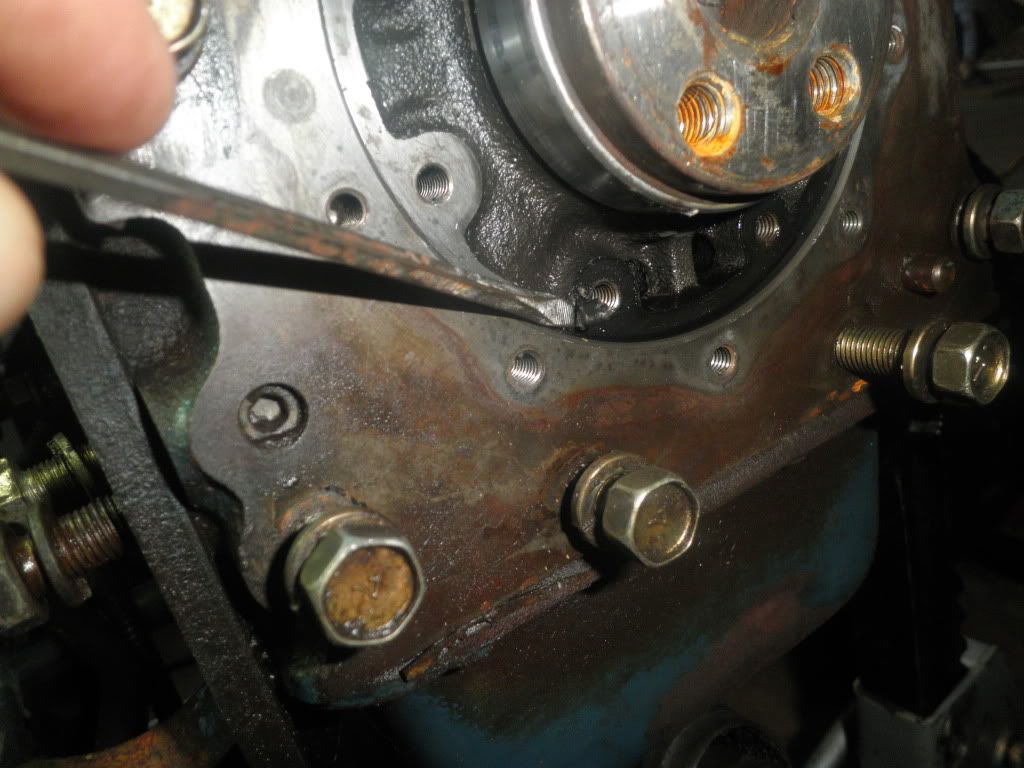
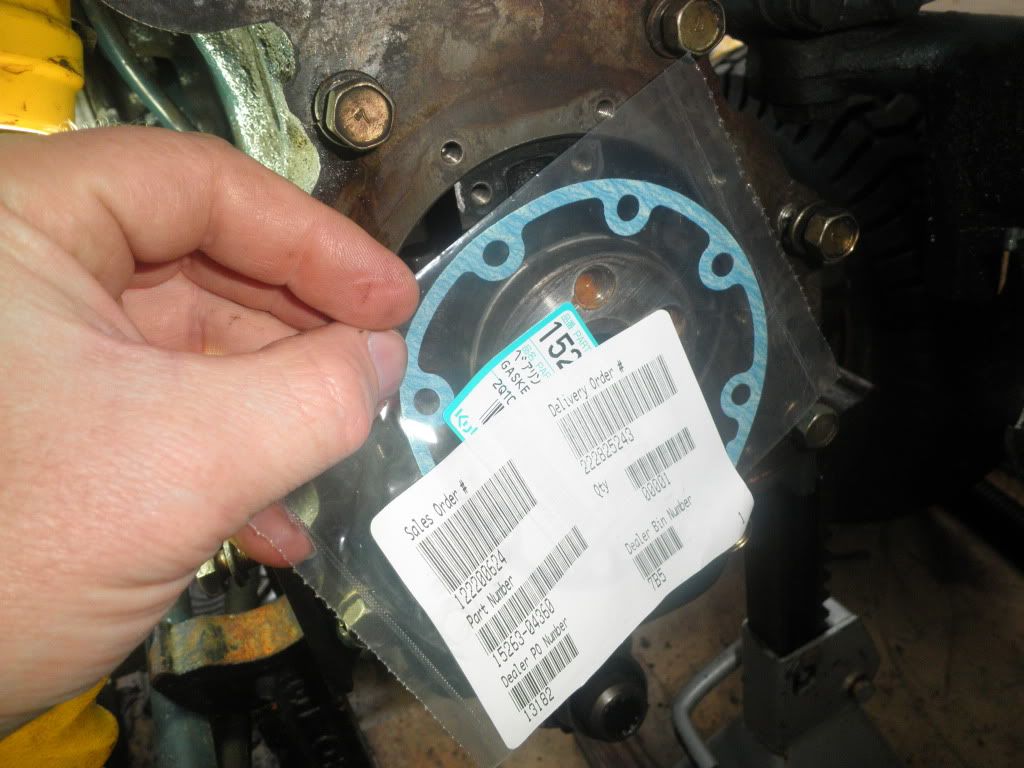
I removed the rear main seal/carrier, and started scraping off the old gasket material...takes two paper gaskets and then the main seal itself..


I noticed on the inside of the crank hole there is a rubber gasket thing that looks like it has seen better days...not sure what it does, but will look up in the manual and call the dealer about it tomorrow.


moving along...need to pick up the pace or it is never going to get done, ha ha
 

mattbatson

New member
Sep 16, 2011
86
0
0
Deltona, FL, U.S.
now, I thought about some RTV on the perimeter of the rubber oil seal...the surface that seats within the carrier that it rides in...pics here
here is how I removed the old seal


now here is the new seal as it would go into the case that carries it...


here is the new seal sitting in the carrier...but not pressed in yet...


so, I will definitely put some oil on the inside of the oil seal where it rides on the crank.
and there are two paper gaskets for the carrier where it bolts to the engine, that I may put a thin film of RTV onto.

But , still trying to decide if i should put any RTV or equivalent type silicone onto the outside perimeter of the oil seal :confused2:

sorry if it seems like I'm being overly cautious here, but I really, really, really, dont want that oil seal to immediately start leaking once I get this thing back together again.
I've done main oil seals on cars before and had one or two leak immediately, so now I really take my time and make sure I do it correctly :thumbsup:
 

mattbatson

New member
Sep 16, 2011
86
0
0
Deltona, FL, U.S.
so I took some of the advice that I got from different people on the forums and used WD-40 to help the oil seal slide in, packed the backside of the seal with grease to keep the spring inside, used a block of wood and very, very carefully banged it in...little by little...to the depth that the original one was in
it all went in straight and true.


used some emery cloth very, very carefully to take off some sharp metal on the edge of the crank where the oil seal slides over...


sharpened a little screwdriver in order to make a scraper that would fit in this tight area to scrape off the old gasket material


this is the inner paper gasket


this is the outer paper gasket


I was going to spread a little RTV onto the paper gaskets and install the oil seal with carrier, but found my old RTV tube had hardened up...so need to go get some in the morning

Once I put that back on, I can install the flex plate, and then the flywheel, then the clutch and pressure plate.

I'll keep ya posted :thThumbsU
 

mattbatson

New member
Sep 16, 2011
86
0
0
Deltona, FL, U.S.
install went pretty well...


all torqued on at 8ft lbs on the little 10mm bolts.

spread some motor oil on the inside of the oil seal to help it slide onto the crankshaft.

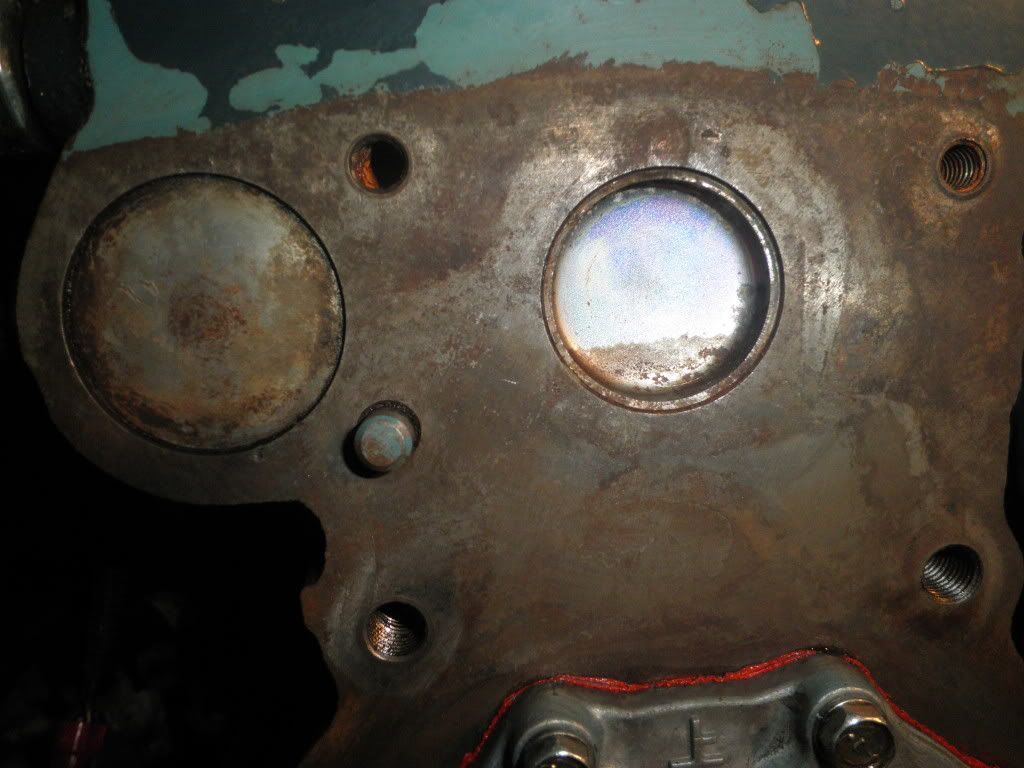
I went to install the flex plate and after cleaning the area some more noticed the freeze plug here is a little rusty.

another pic


this freeze plug is normally covered by the flexplate, meaning if it ever started leaking I would be separating the tractor again


do you guys think it is bad enough that I should do it now?
or not bad enough to worry about?

I hate to stall out when I'm getting some momentum, but want to do things now rather than later IF needed.
thx
 

SRS

New member

Equipment
Cabbed B3030, equipped with a FEL, FEL snow plow, belly mower, and forks.
Jan 3, 2010
28
0
0
Jarrettsville, Maryland
Matt, two thoughts regarding replacing the freeze plug, it looks like it is pretty thick material so you might be ok.
If you remove it now and replace with a new one you won't be second guessing yourself later if you didn't replace it. Do it once and be done with it. Did I confuse you even more? Good job, great pics. Stanley
 

mattbatson

New member
Sep 16, 2011
86
0
0
Deltona, FL, U.S.
thx for the advice on the freeze plug...I did decide to leave it be. Hopefully it will last 10 yrs or so, ha ha

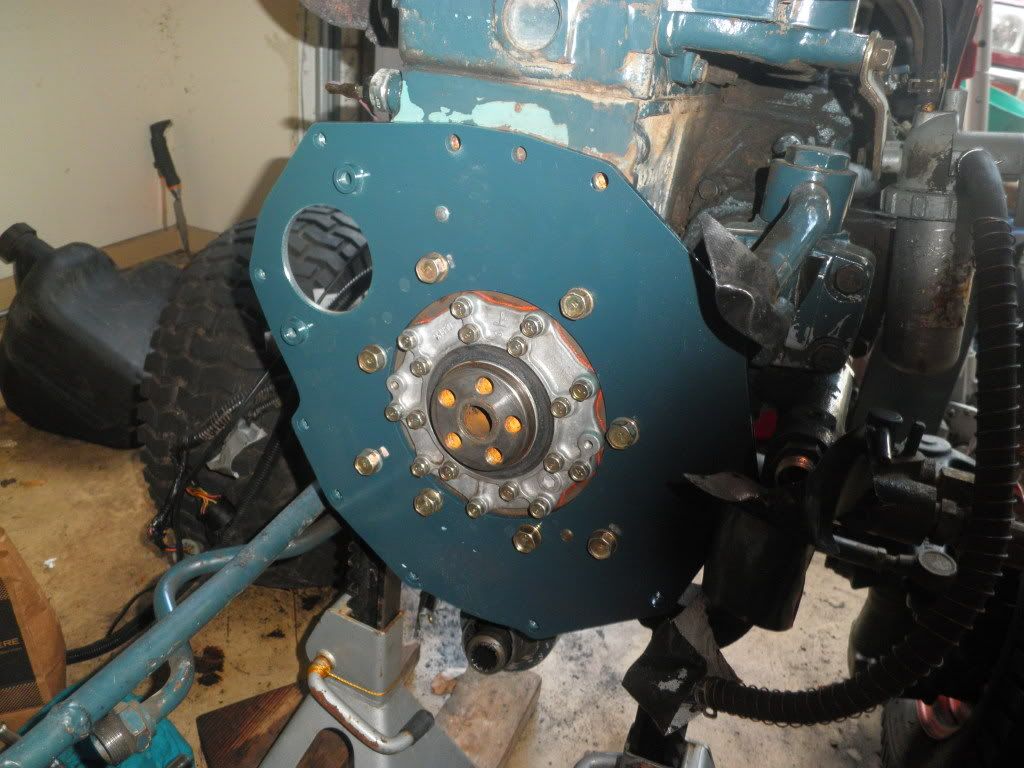
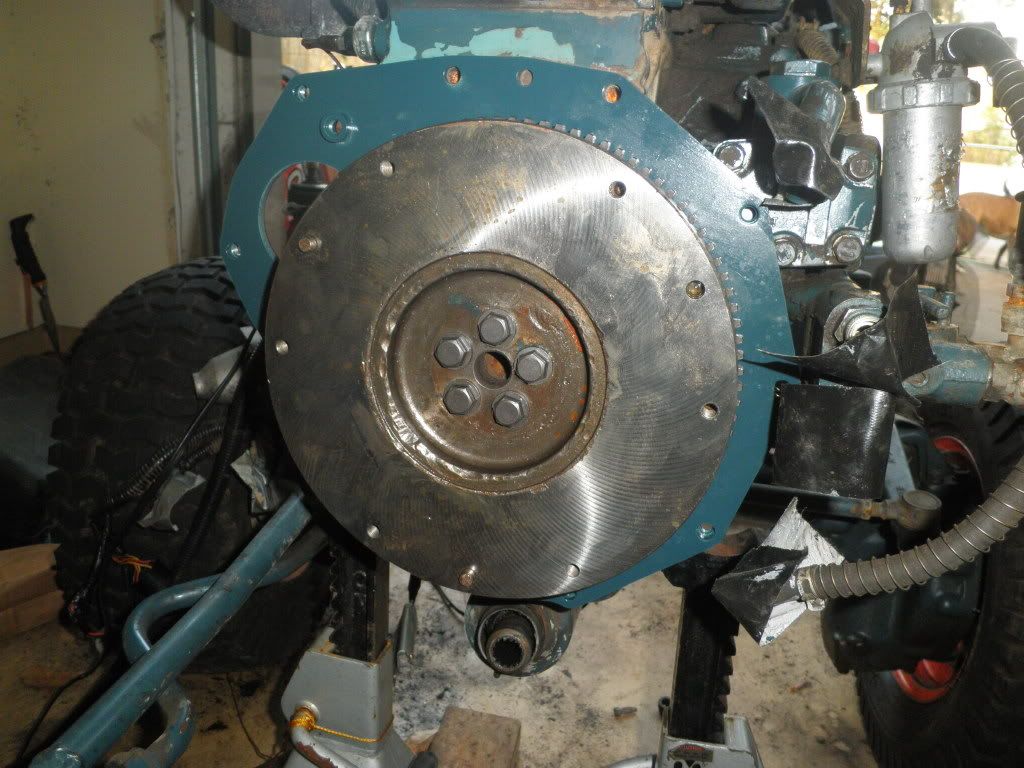
okay, so the flex plate is on...


and then the flywheel went on without a hitch...blue loctite on the bolts


but then I checked the manual to see if I missed anything AFTER I installed everything :drunkie:


as you can see they mention some sort of flywheel washer, and it would seem to indicate it is steel.

but again, went to the dealer, and they showed nothing of the sort on their schematic's.
 

mattbatson

New member
Sep 16, 2011
86
0
0
Deltona, FL, U.S.
Matt, any updates? thanks. Stanley
wow, it has been a while.

I'm back...
after a long layoff, I'm committed now to finish this project

I had the bell housing bolted back up, but immediately noticed that the clutch arm felt a little off after the first press into the pressure plate by hand.

it didn't feel like I was actuating the clutch with the pedal.
everything seemed to move okay, but it didn't feel right.

I took a couple of video's after I re split the bell housing from the engine....


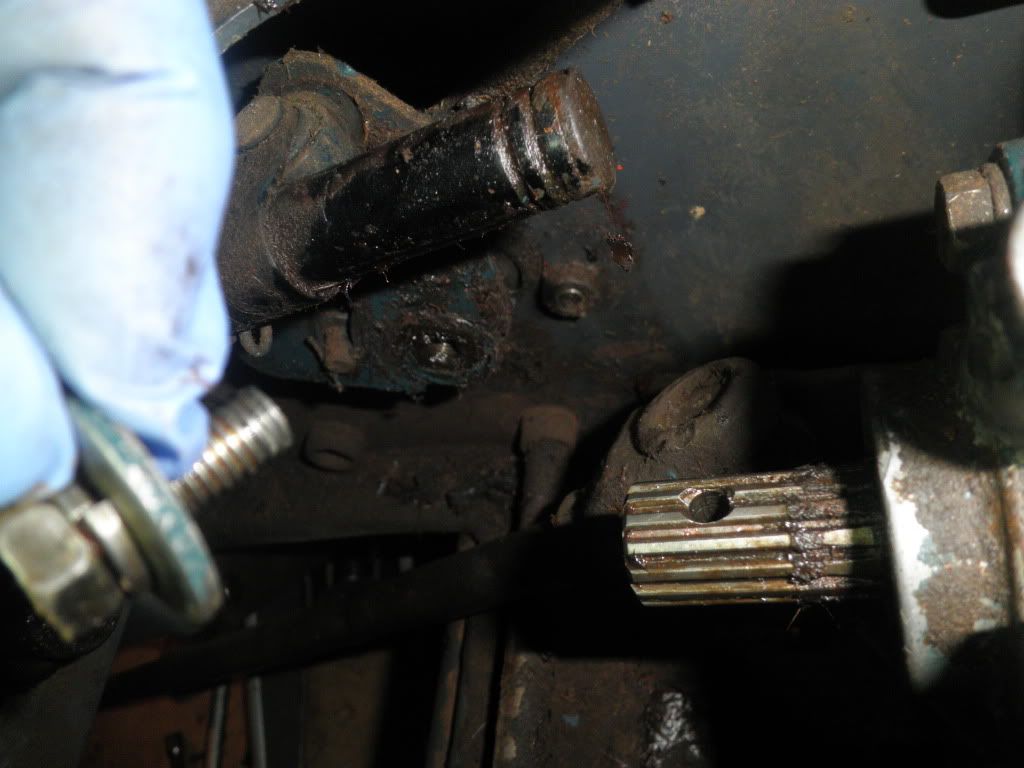
I'm perplexed by the oil seal spring that I found. I don't remember there being an oil seal in there?

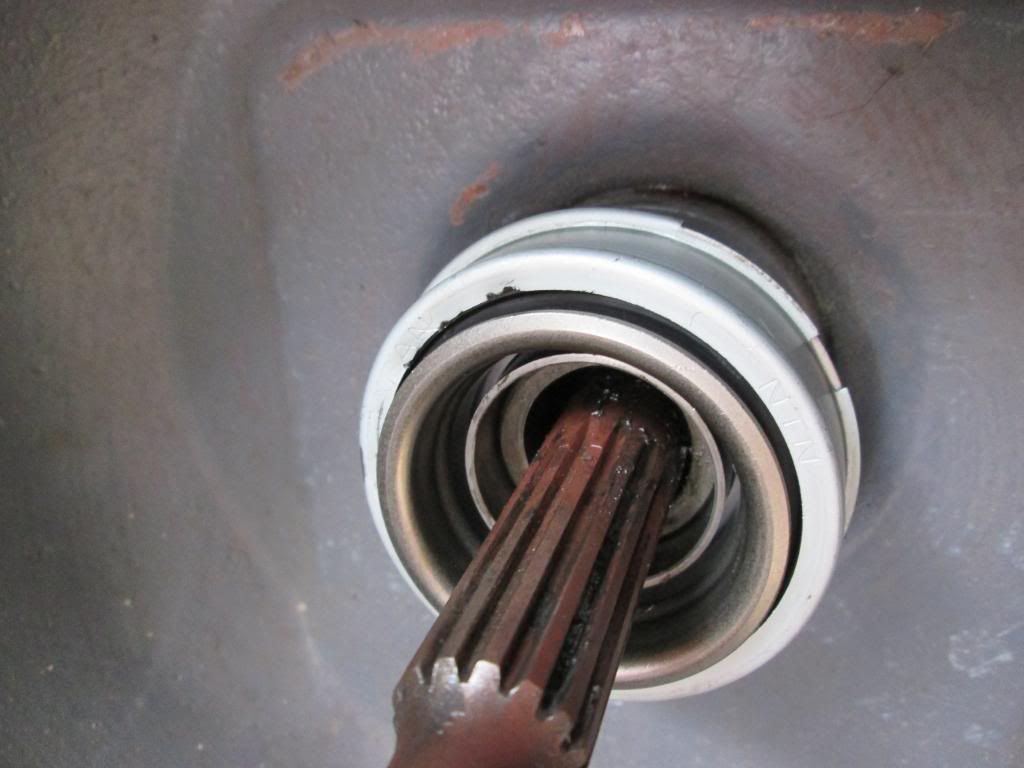
I cannot be certain if the orientation of the throwout bearing is correct either.

is there anything else that I'm missing here?

I'm thinking of driving to the nearest Kubota dealer and asking them if they can print out the parts diagram for these parts

One thing I should mention is that the clutch has been on there, without being used at all, for over a year or so now.
and there is some light surface rust from all the humidity here in florida.

I'm thinking it is possible that the clutch is rusted to the flywheel?

Might consider pulling it to check...
 

North Idaho Wolfman

Moderator
Staff member
Lifetime Member

Equipment
L3450DT-GST, Woods FEL, B7100 HSD, FEL, 60" SB, 743 Bobcat with V2203, and more
Jun 9, 2013
28,923
5,284
113
Sandpoint, ID
Yep you have the throw out bearing in backwards, that's why did doesn't work right.
 

mattbatson

New member
Sep 16, 2011
86
0
0
Deltona, FL, U.S.
nevermind on last...
I went ahead and separated the tractor further and pulled the pressure plate and clutch to check.

it all came off easily, and I don't think it would have had any issue engaging/disengaging.


Putting the clutch back together now...

the throwout bearing is giving me trouble however.

to put it on in the correct orientation, it is just refusing to slide onto the output shaft.


I don't want to whack it with anything for fear of damaging the bearing.

guess I'll just keep at it
 
Last edited:

mattbatson

New member
Sep 16, 2011
86
0
0
Deltona, FL, U.S.
update:
worked on getting the clutch back on...

making my own clutch alignment tool


it is in and centered....


torqued to 20ft lbs


the release bearing was not going on without a fight...
here is it after about halfway on...


so a little convincing...softly...with wood and hammer


and it looks to be completely on and flush


tomorrow I bolt the bell housing back up and continue with the reassembly
 

North Idaho Wolfman

Moderator
Staff member
Lifetime Member

Equipment
L3450DT-GST, Woods FEL, B7100 HSD, FEL, 60" SB, 743 Bobcat with V2203, and more
Jun 9, 2013
28,923
5,284
113
Sandpoint, ID
Looks much better and I'm sure it will disengage better too!;)
 

North Idaho Wolfman

Moderator
Staff member
Lifetime Member

Equipment
L3450DT-GST, Woods FEL, B7100 HSD, FEL, 60" SB, 743 Bobcat with V2203, and more
Jun 9, 2013
28,923
5,284
113
Sandpoint, ID
Splitting my B7100 was a cake walk compared to the L3450 that I'm working on now. I'm pulling the GST transmission for a rebuild, 2 days so far removing panels parts and such before the split.:eek:
 

mattbatson

New member
Sep 16, 2011
86
0
0
Deltona, FL, U.S.
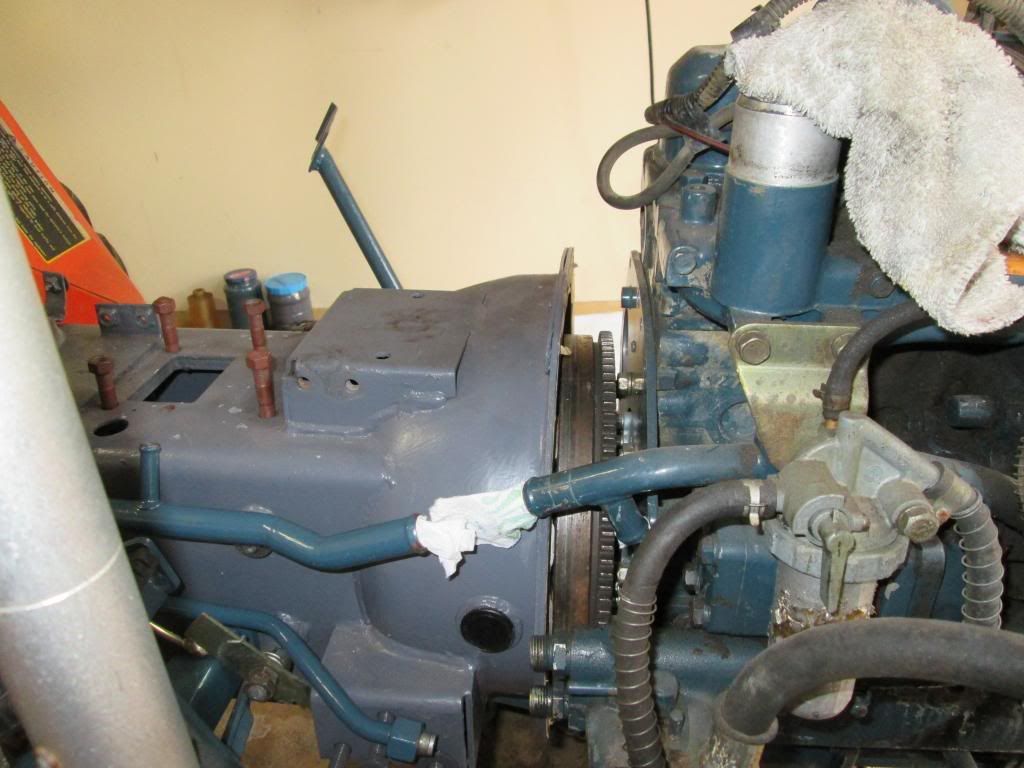
started the re-mating of the clutch cover to the engine....

got it close...


cant forget the 4whl drive...gotta have that for the slippery hills of western NC


hot damn...got it


bolting it up


now that the tractor is back in one piece, it is time to start hooking up all the hydraulic lines...


for some of these that need a rubber hose,


I plan to replace will all new hoses. I'm going to call and price it at the dealer, but might also look for an alternative. I imagine they are low pressure lines, but not sure that heater hose would suffice...with coming into contact with hyd fluid and all...

updates to come
 

North Idaho Wolfman

Moderator
Staff member
Lifetime Member

Equipment
L3450DT-GST, Woods FEL, B7100 HSD, FEL, 60" SB, 743 Bobcat with V2203, and more
Jun 9, 2013
28,923
5,284
113
Sandpoint, ID
Save yourself some serious $$ and go to an auto parts store and get heater hoses of the right size.:cool:
They are made of the same materials as factory hoses. If you want to upgrade go with the red high temp hose.;)