The story starts like this,
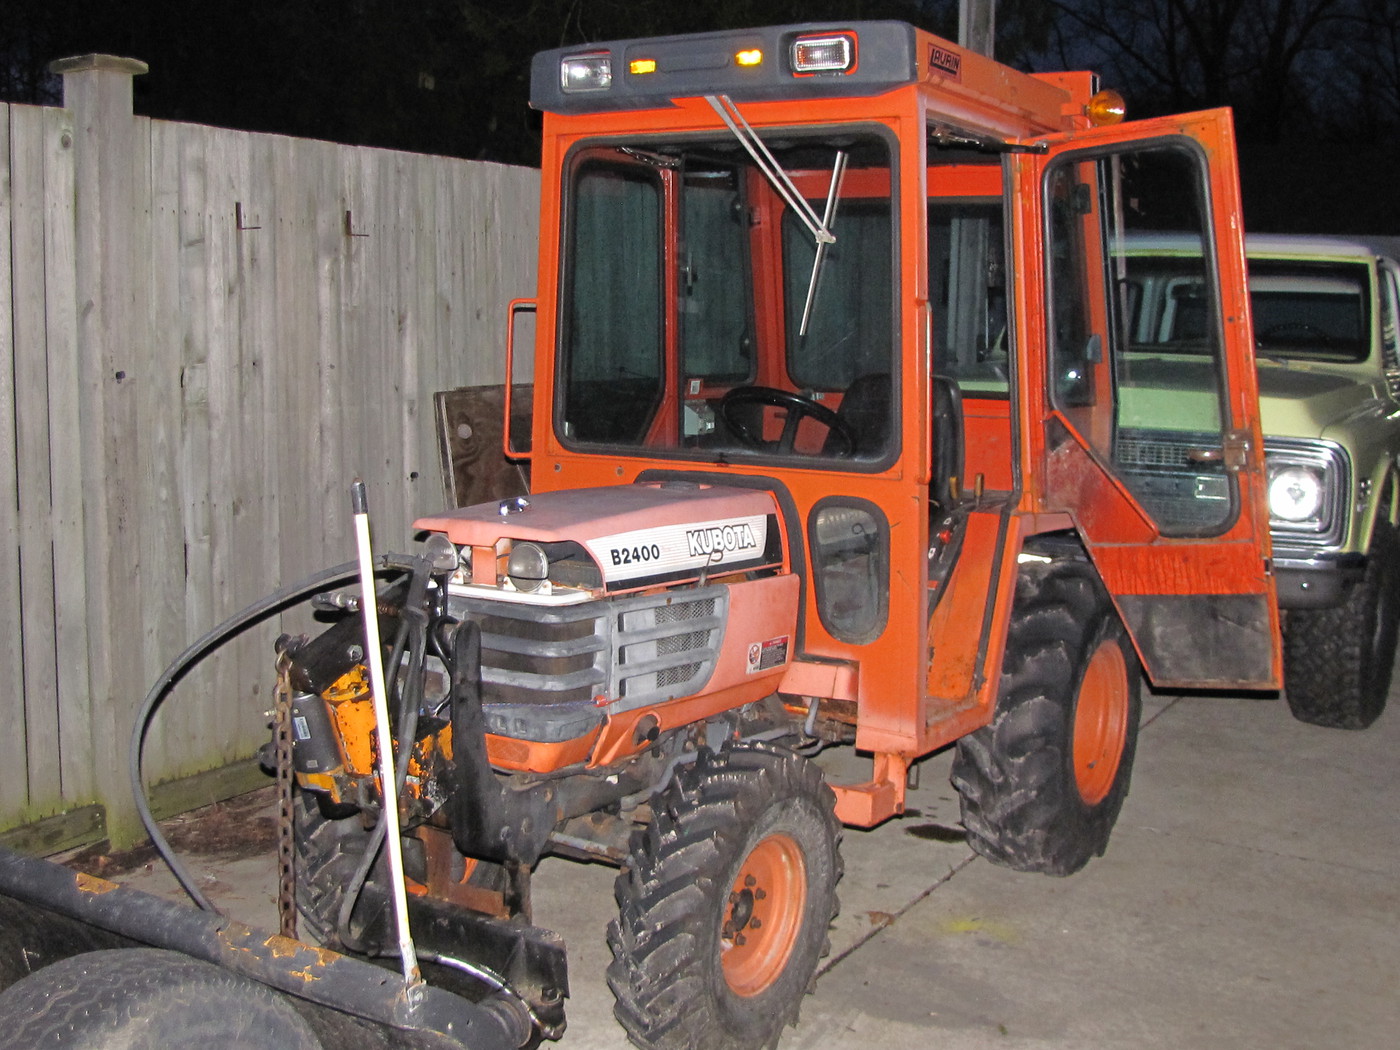
There once was a guy who wanted a FEL (front end loader) for his B2400.
He looked and looked both far and wide. After 4.5 years, he found one he could afford and bought it.
The end.
I'm a crappy short story writer, I know.
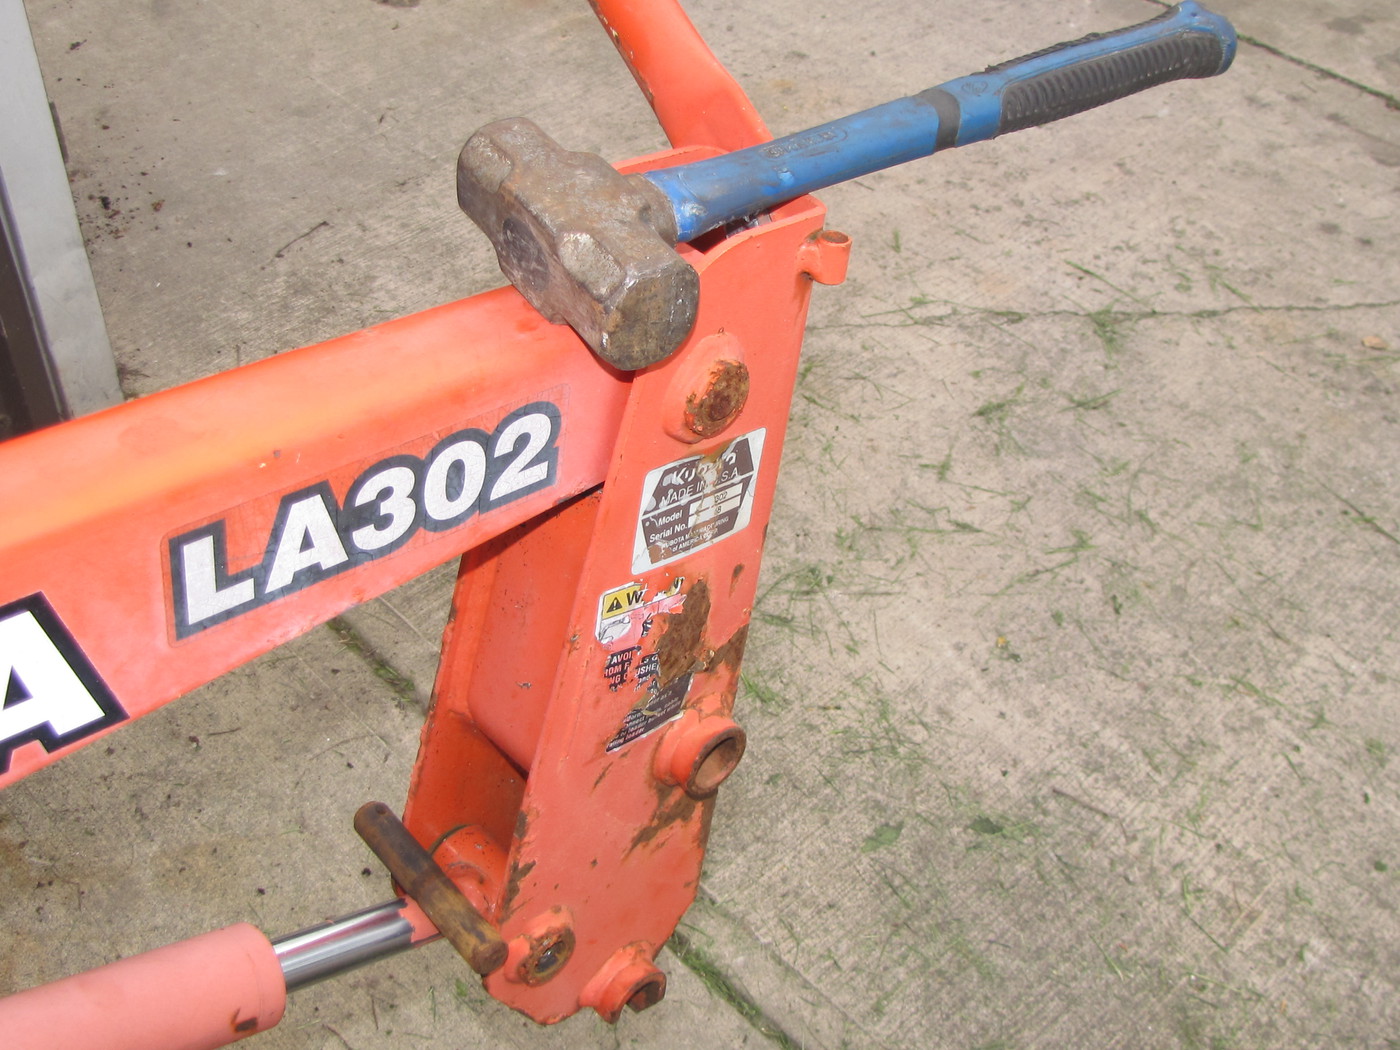
It is a true story though. After 4.5 year of looking...I got this for $2000 Cdn. at .78 cents on the dollar as of today that's $1557.68 Usd.
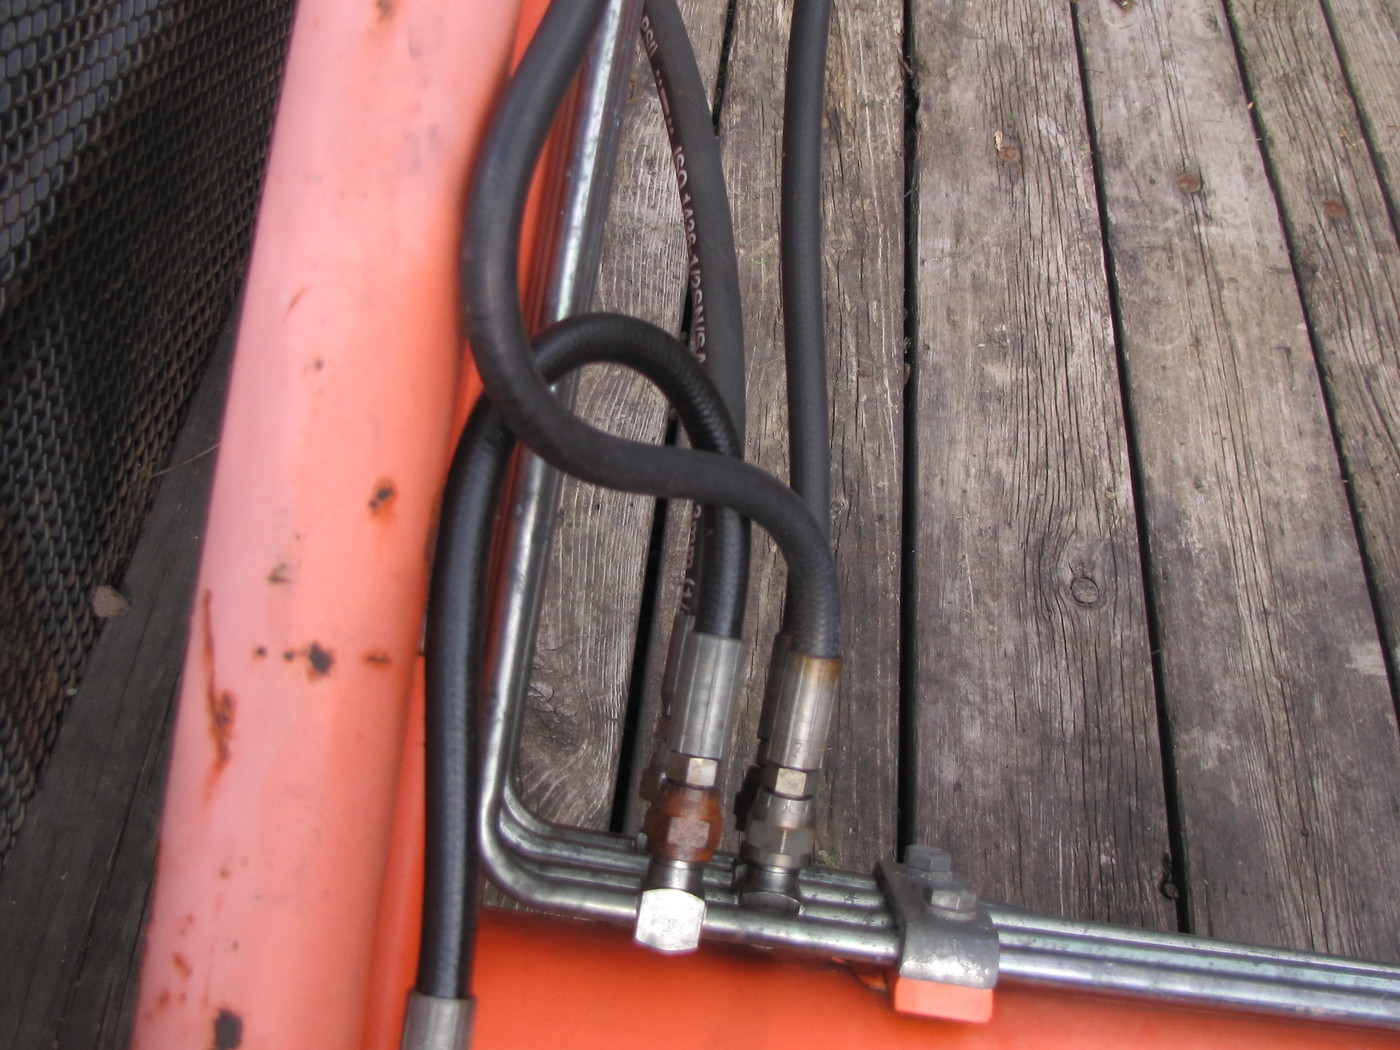
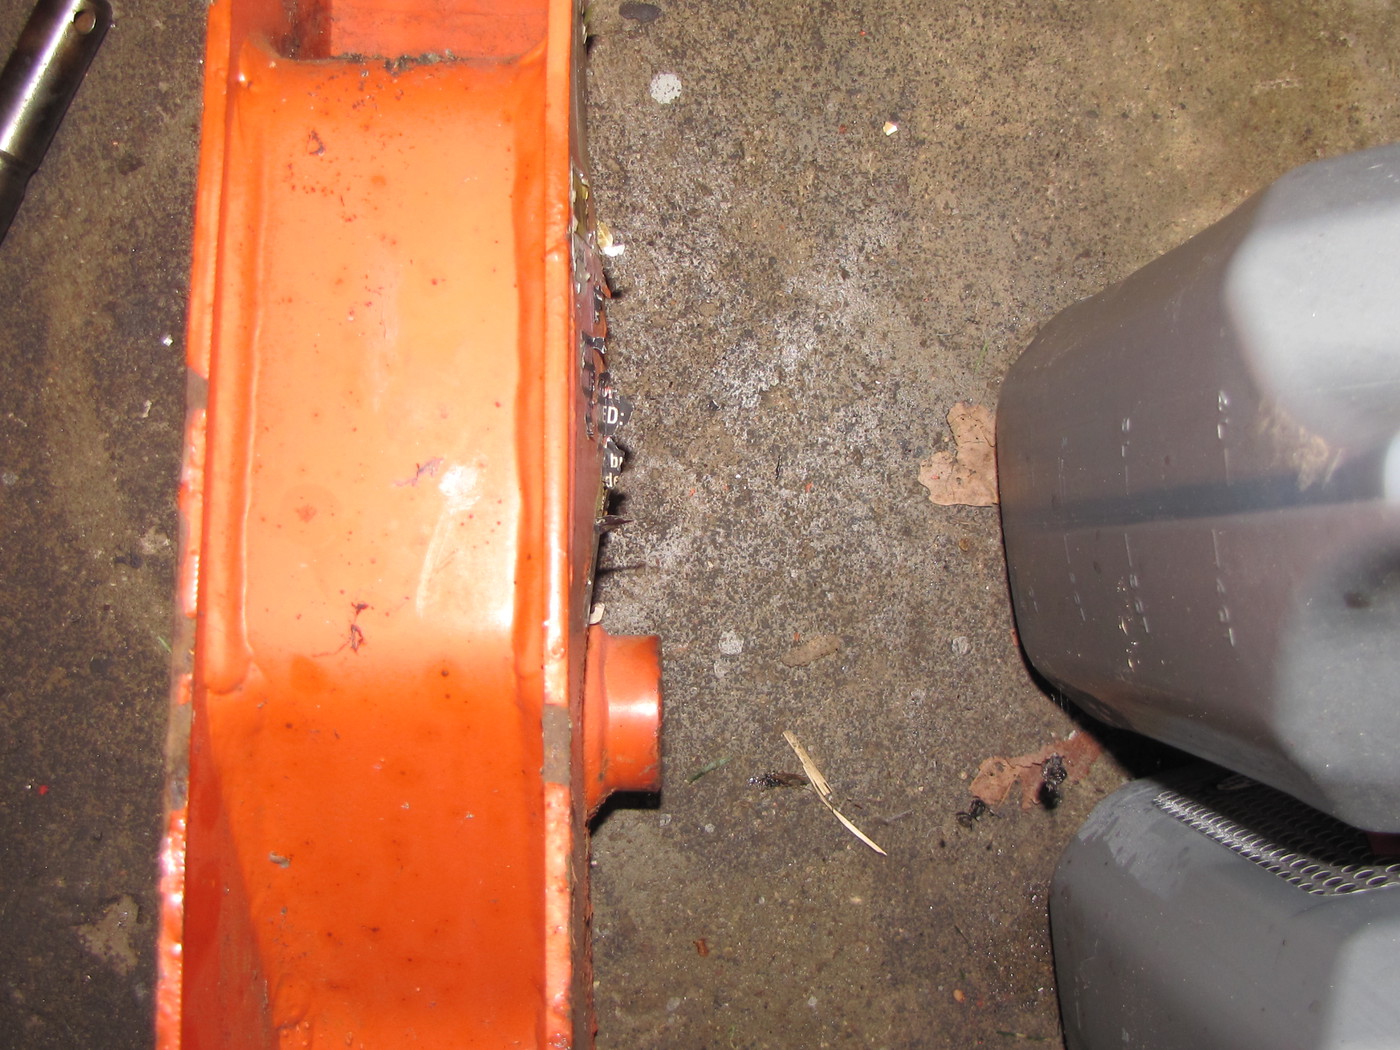
It has it's issue's, which, I'll get into. But I think I did OK.
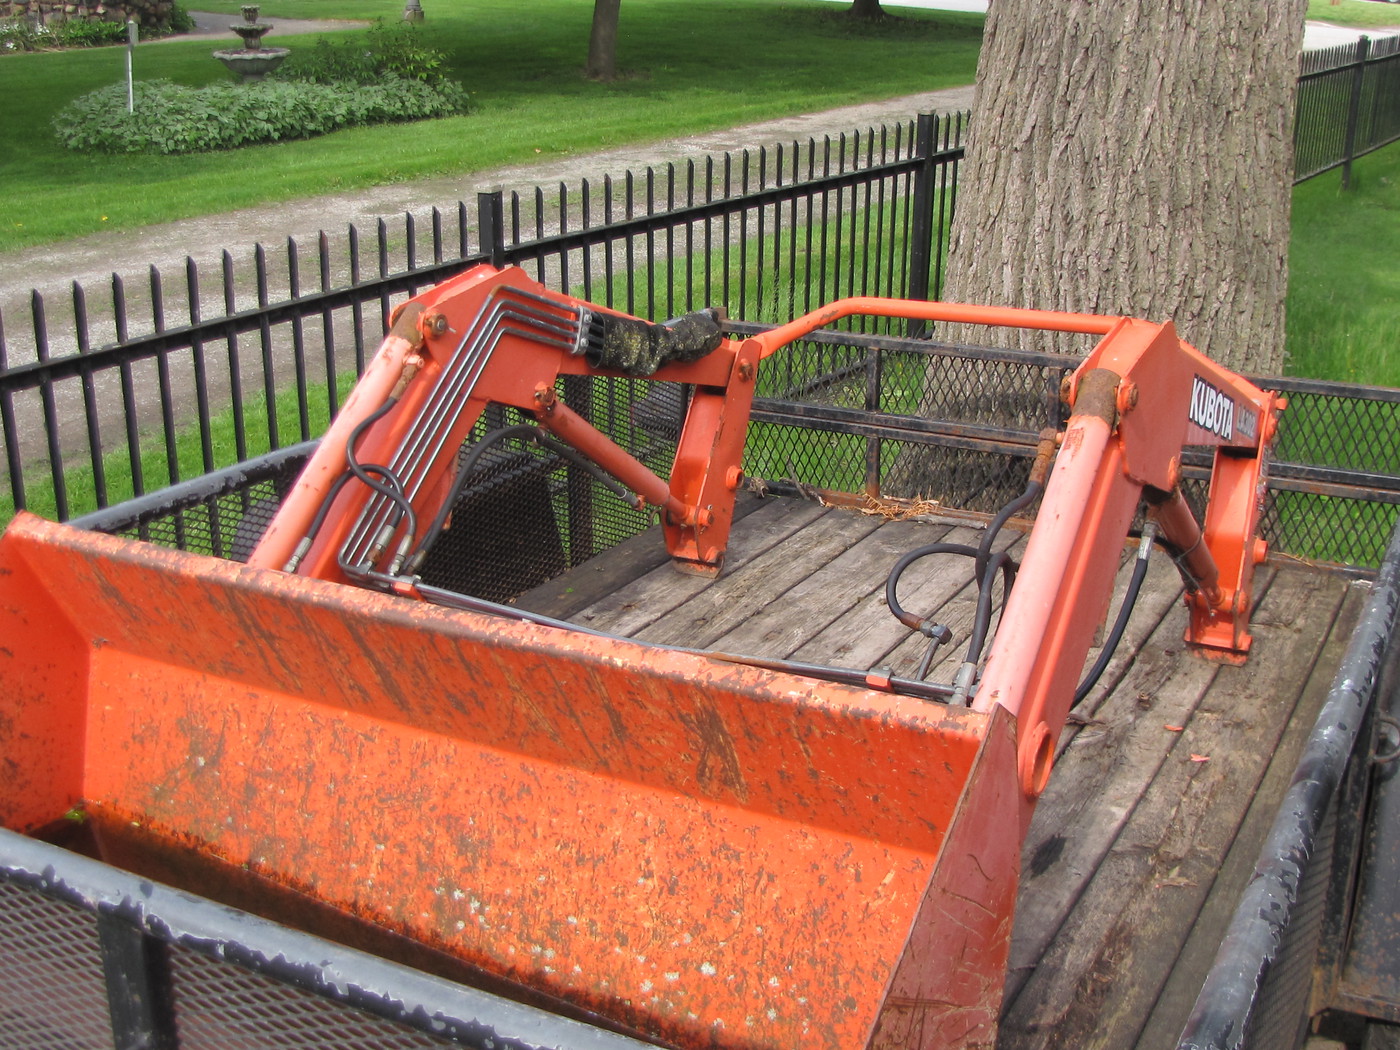
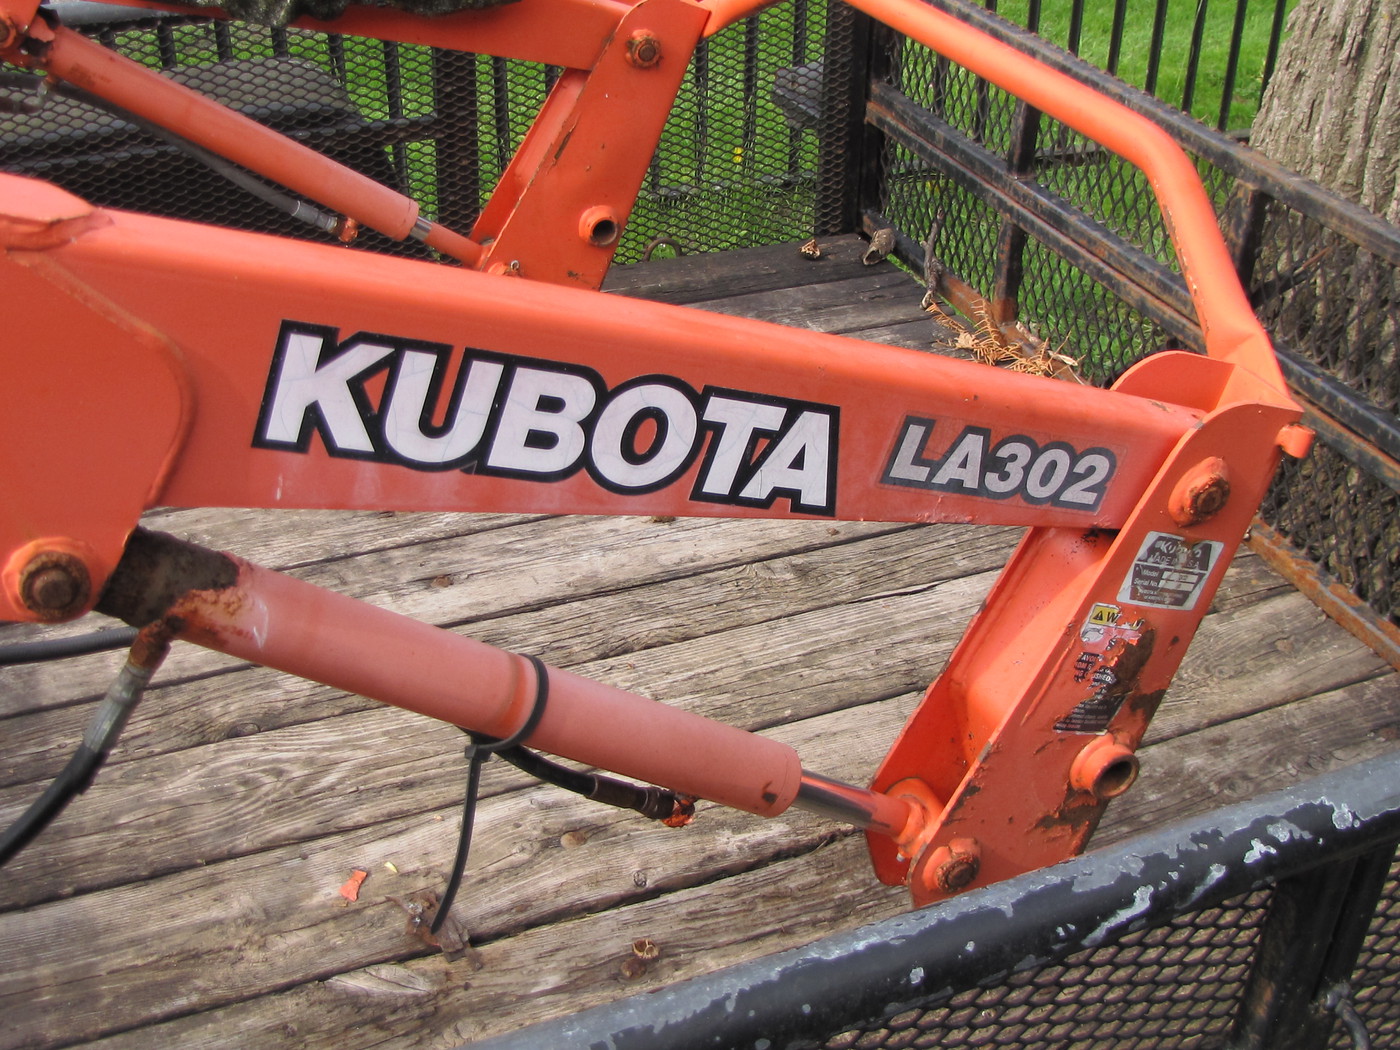
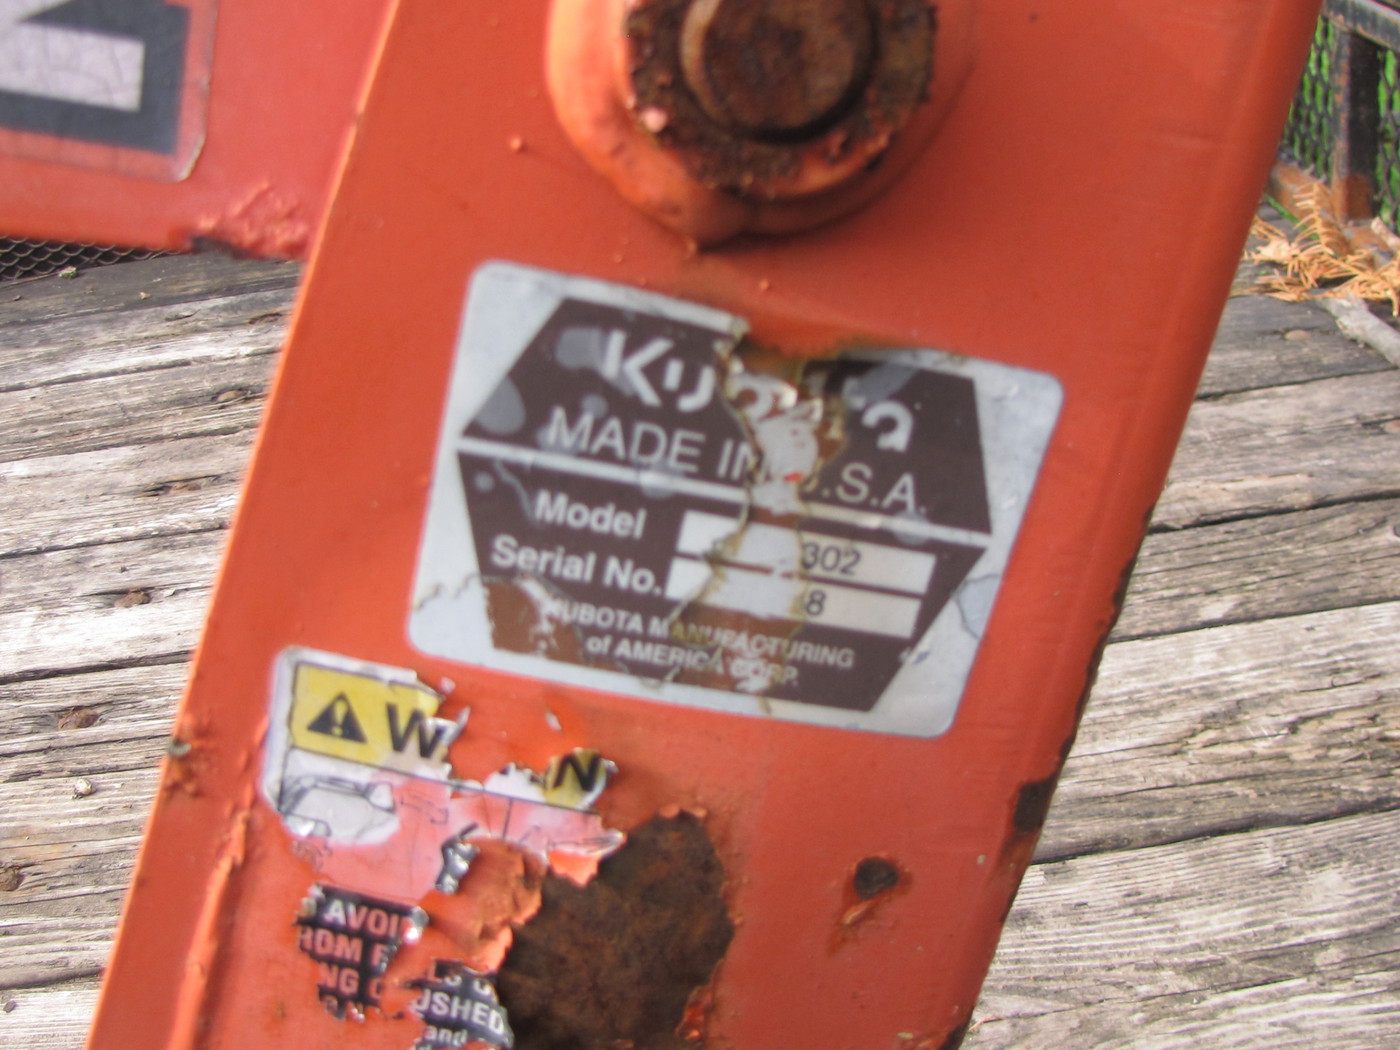
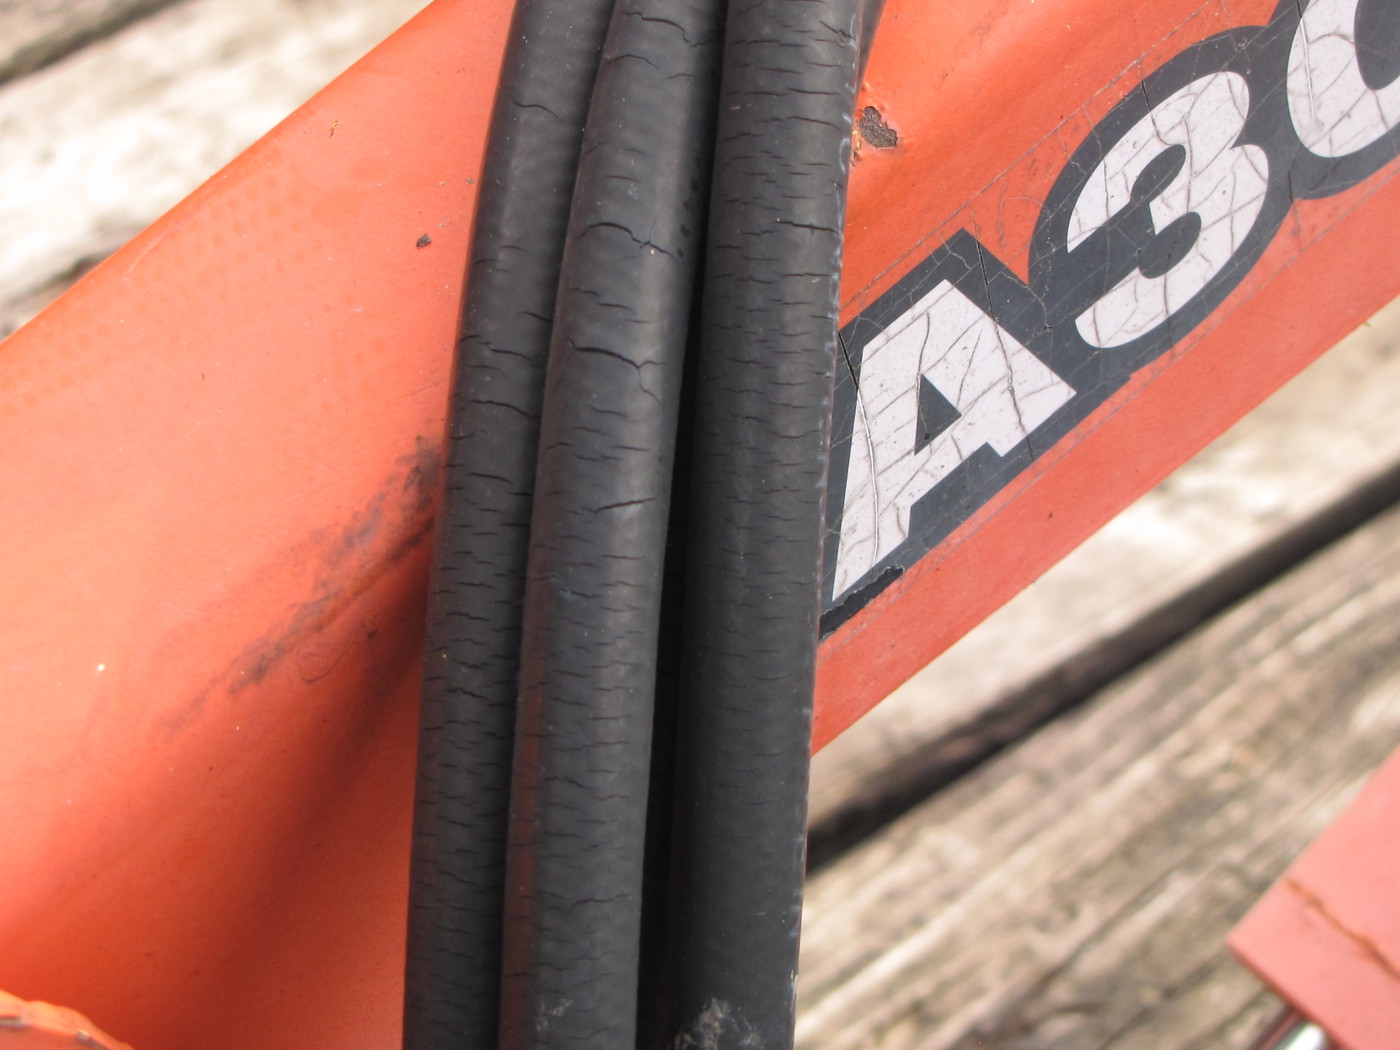
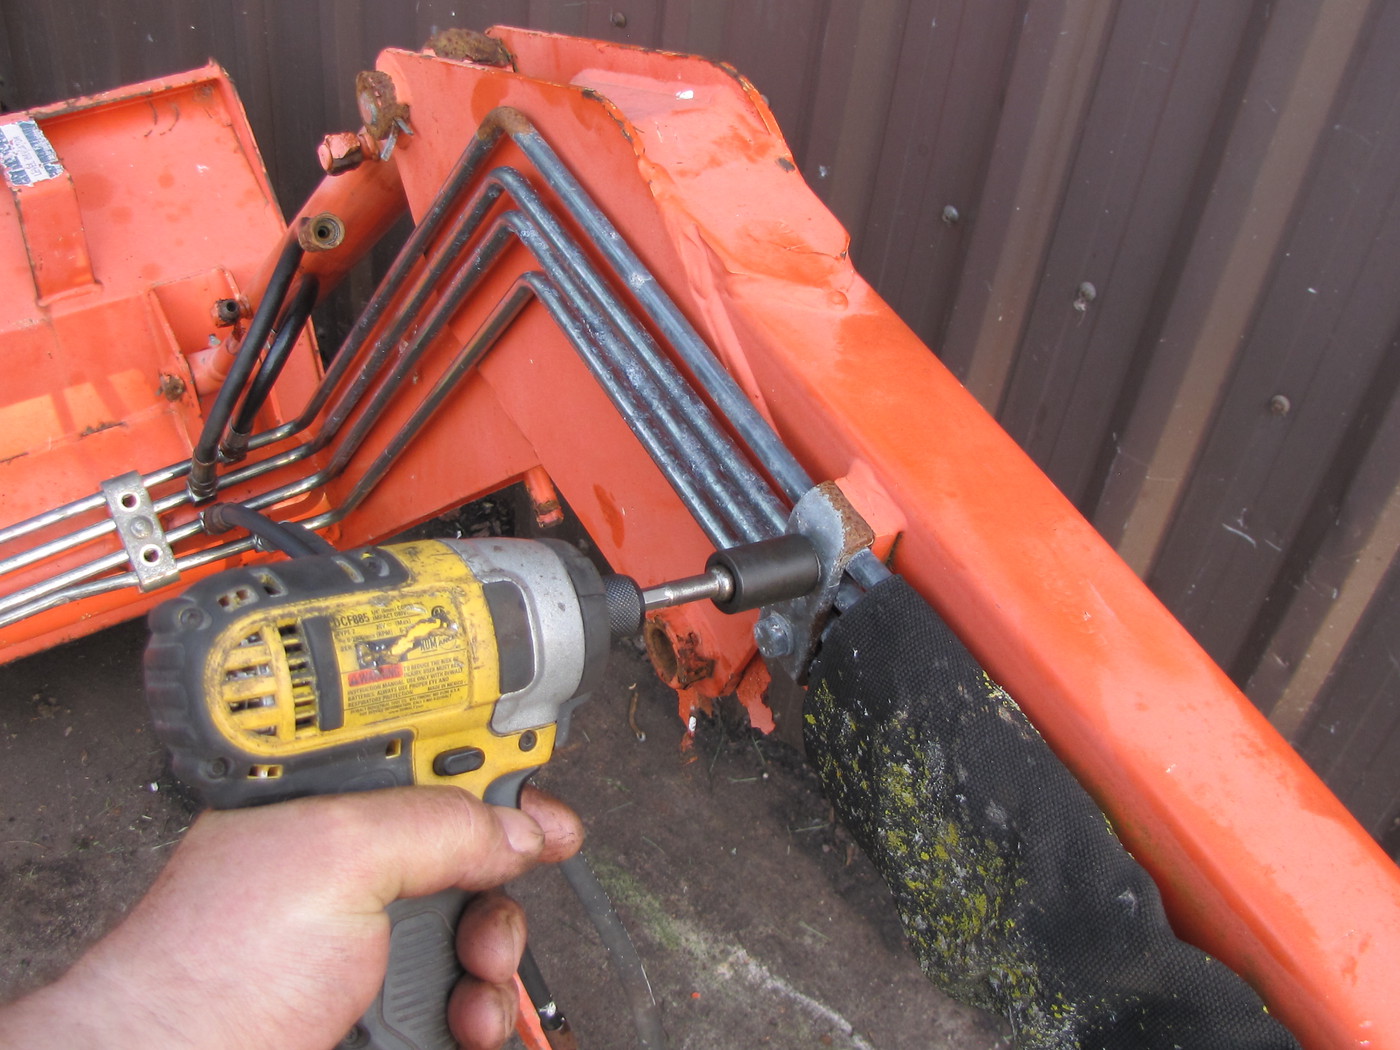
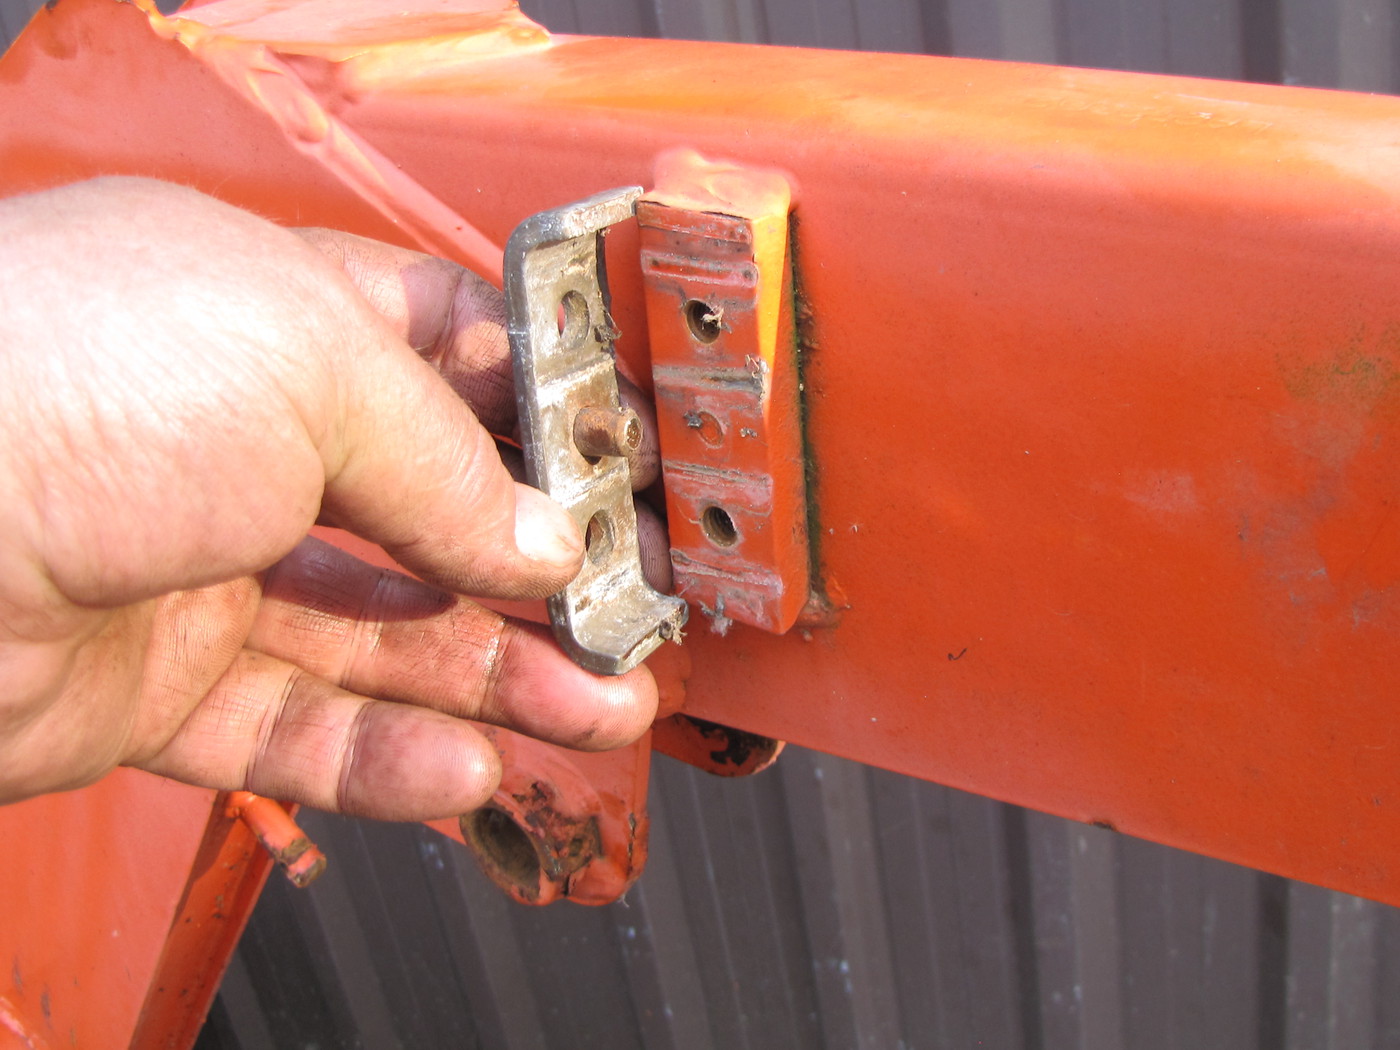
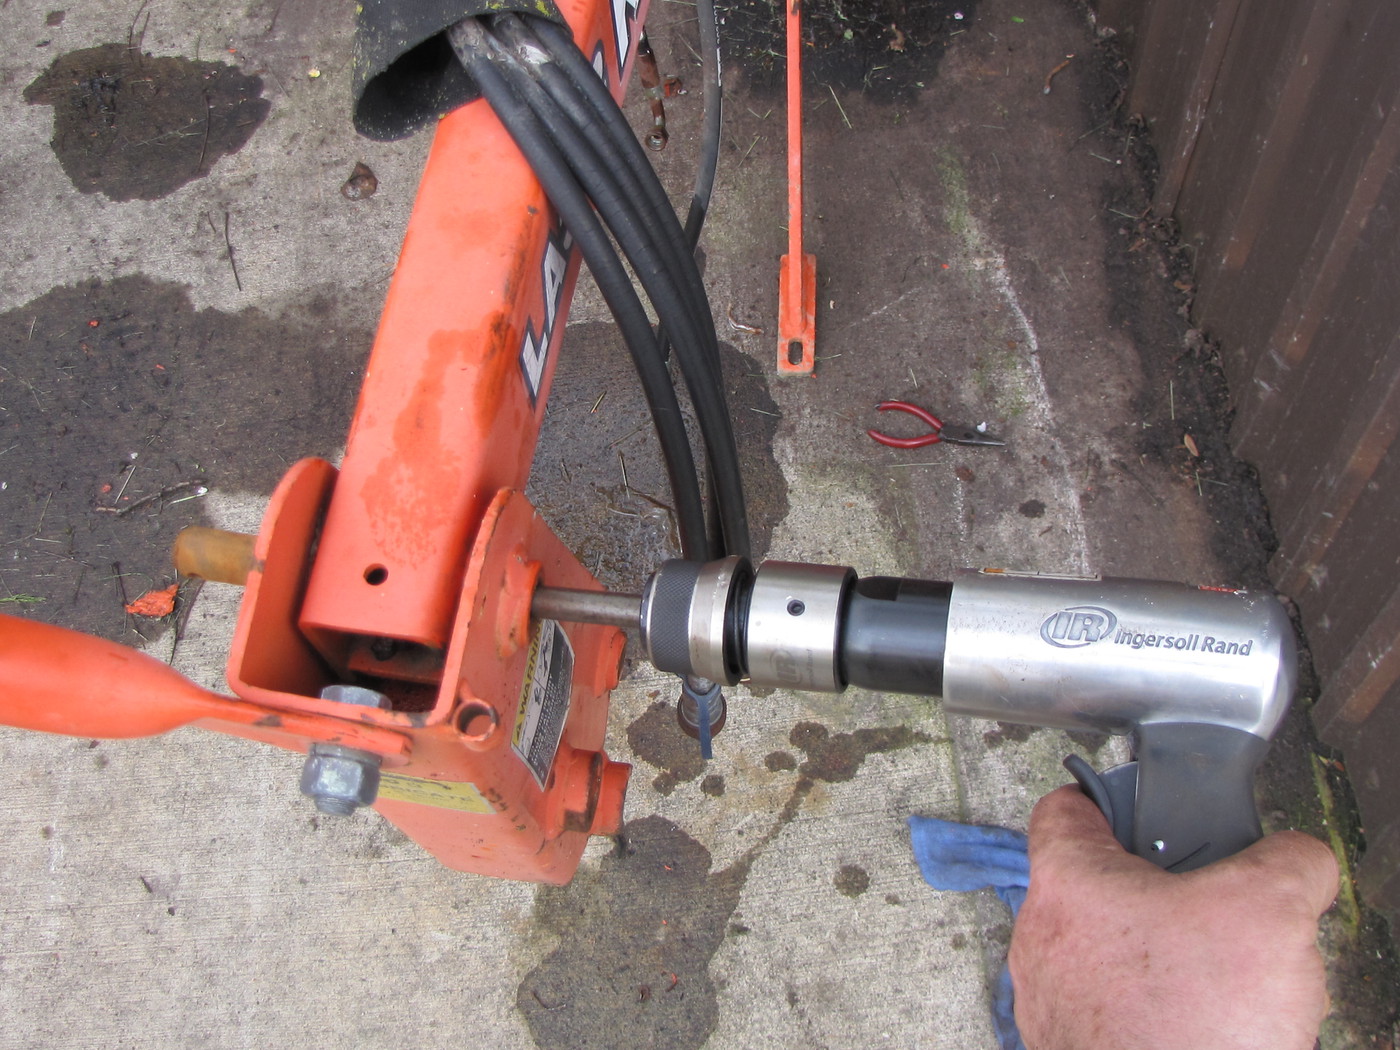
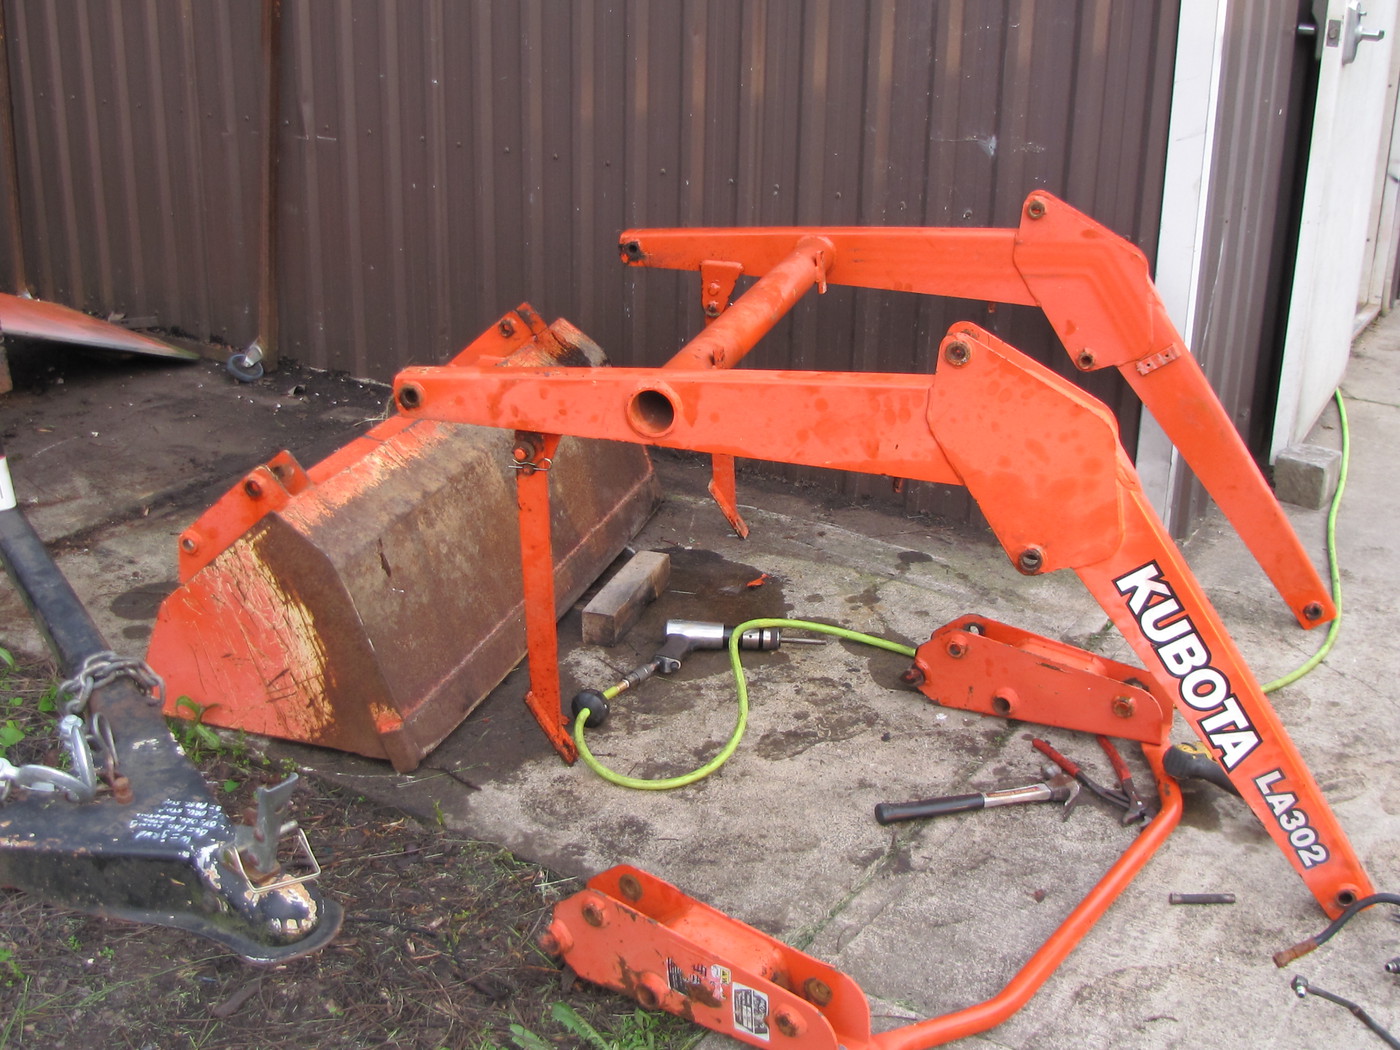
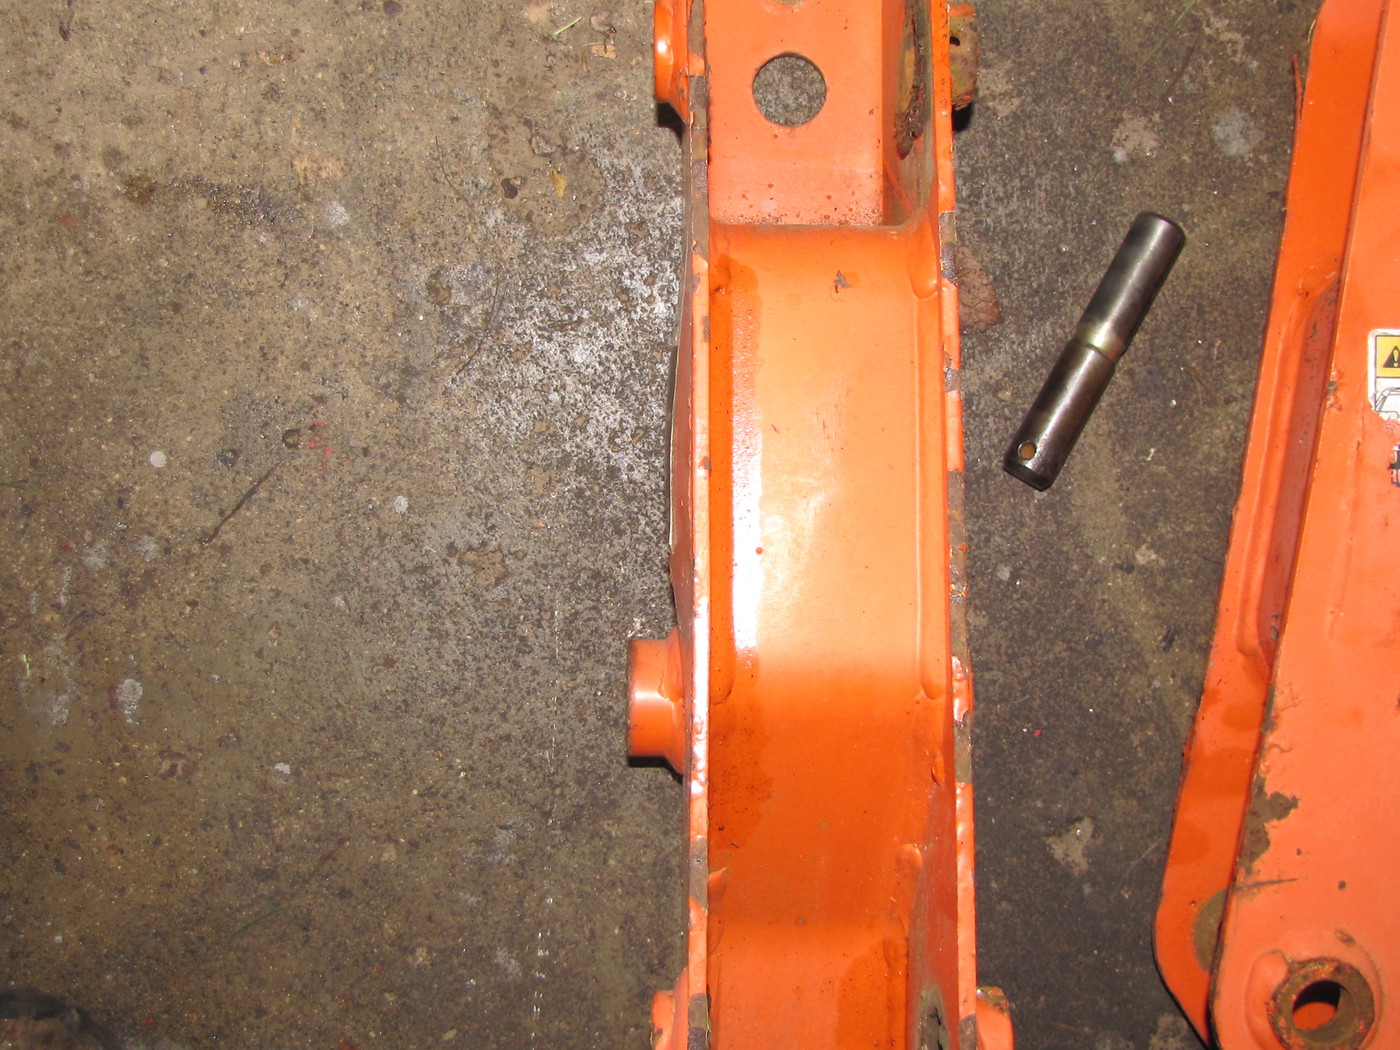
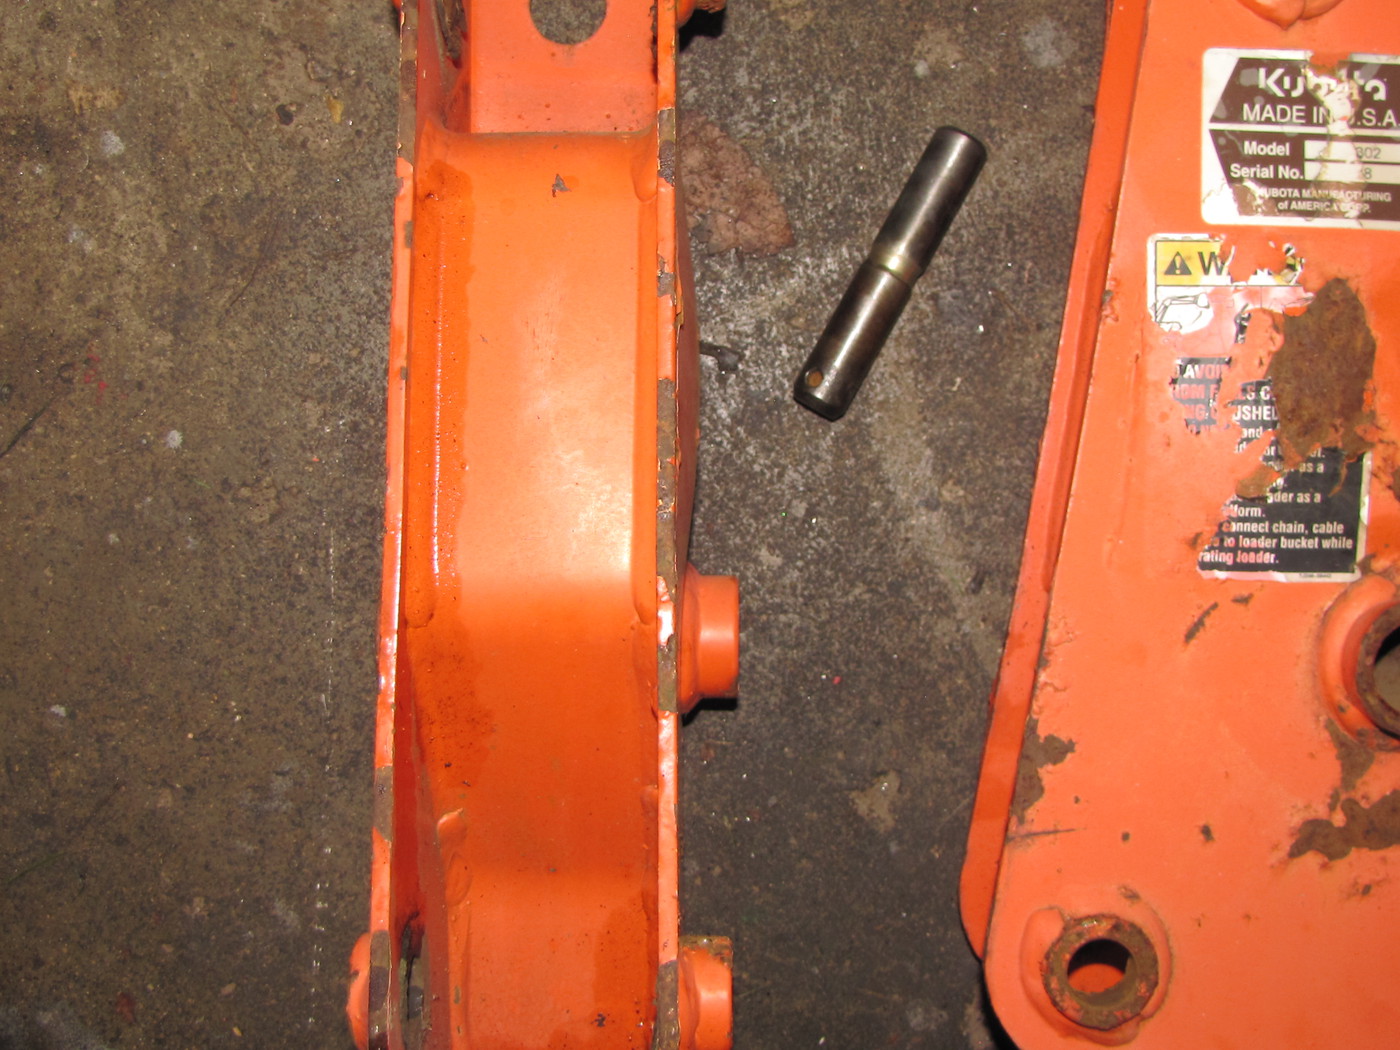
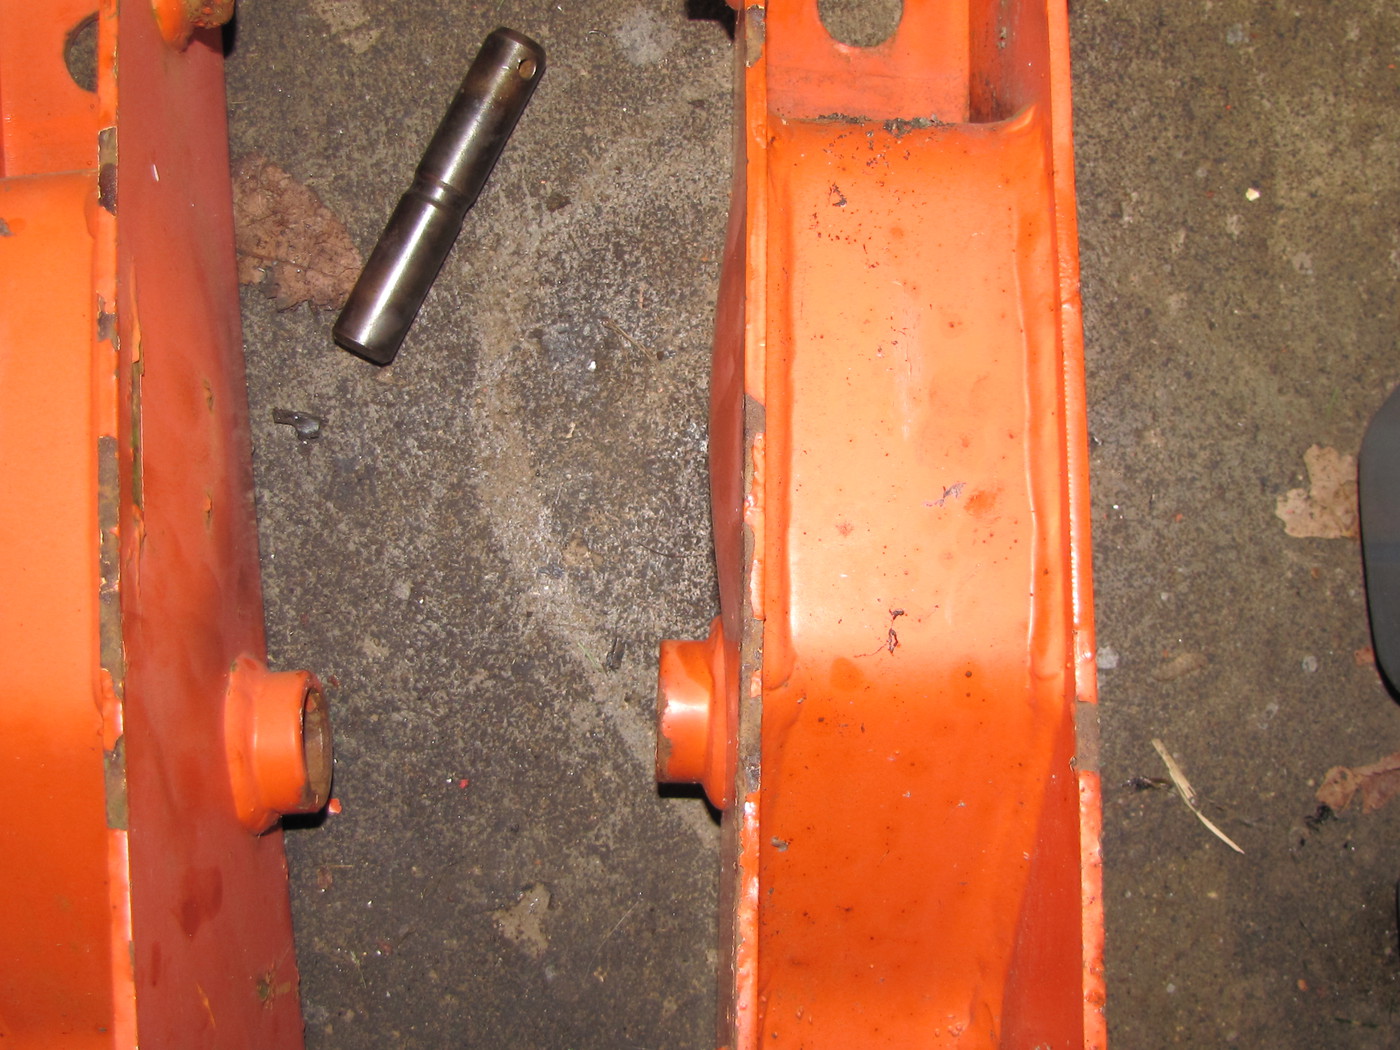
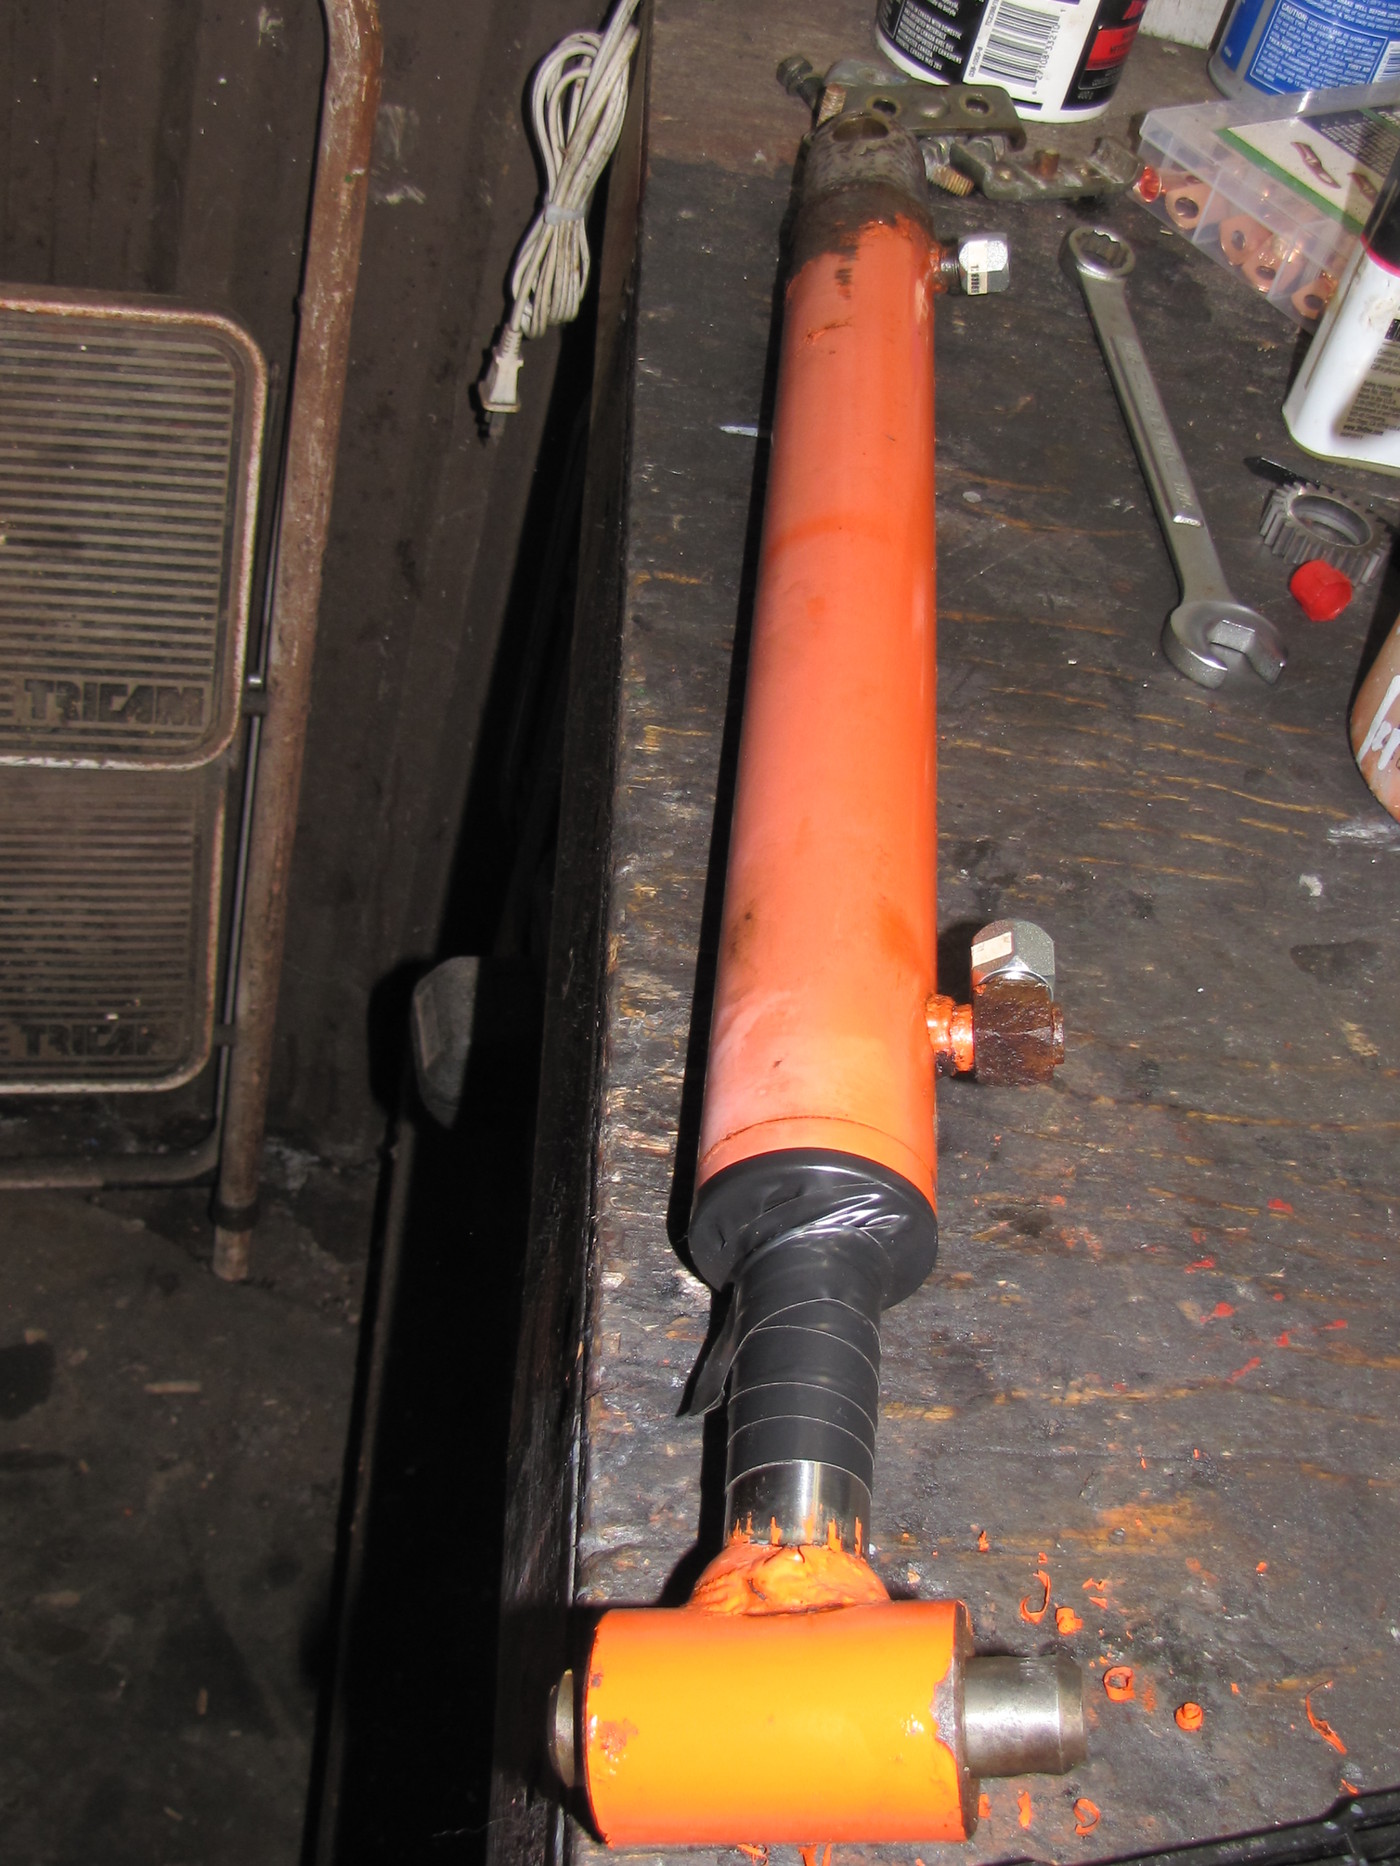
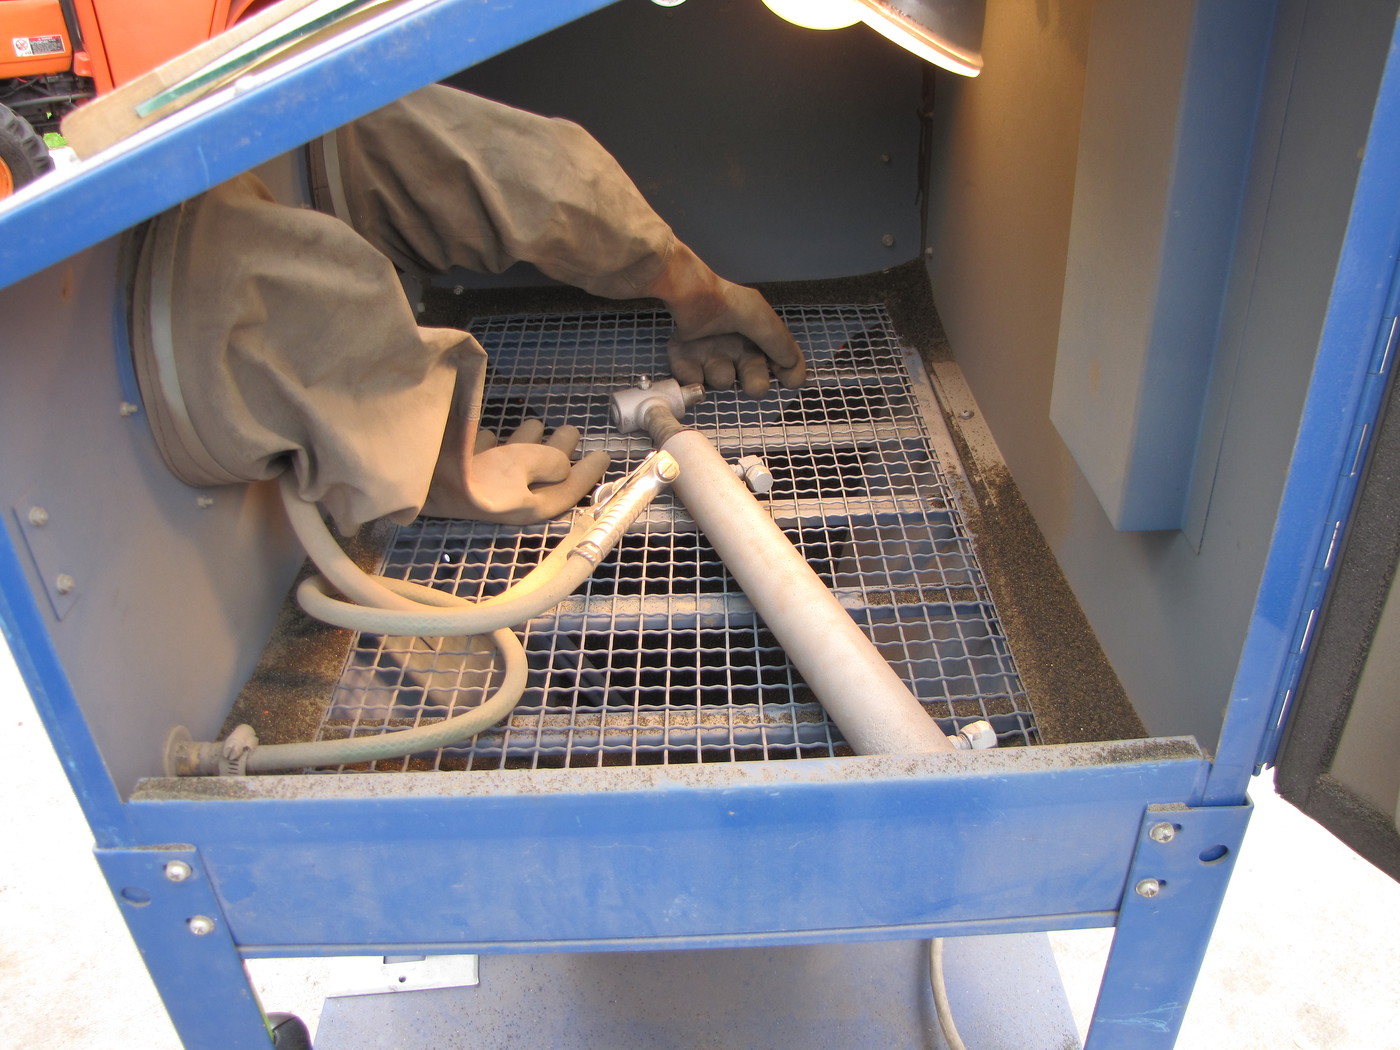
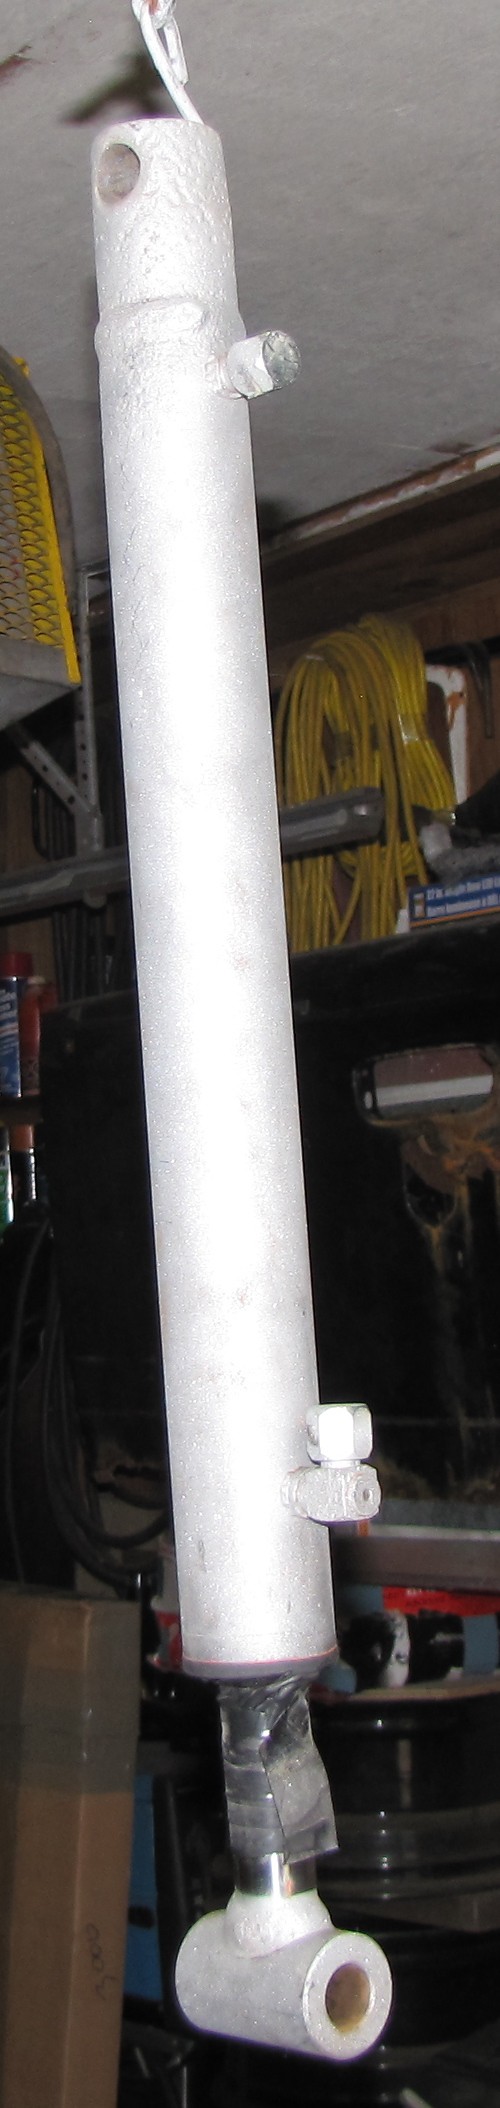
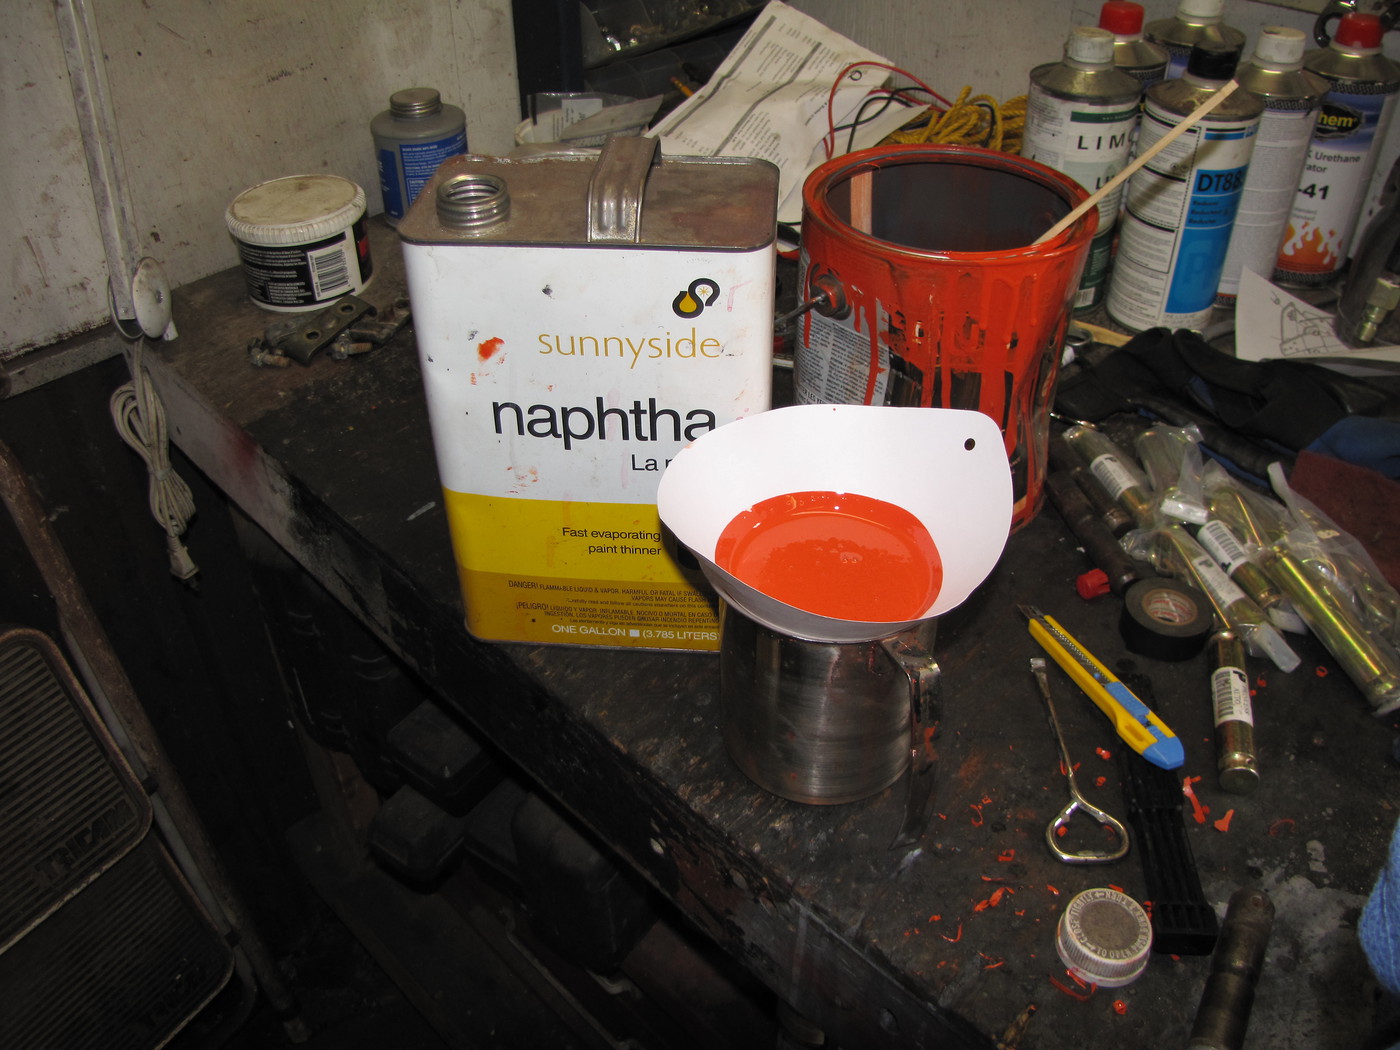
This post will document the disassembly, the repair, the painting and reassembly of this LA302 FEL.
Hoping I can get some questions answered along the way as well as provide info of the rebuild process.
I'm also doing this in real time so as I complete things I will be posting my progress.
Thanks in advance for any help this board may provide!
.
There once was a guy who wanted a FEL (front end loader) for his B2400.
He looked and looked both far and wide. After 4.5 years, he found one he could afford and bought it.
The end.
I'm a crappy short story writer, I know.
It is a true story though. After 4.5 year of looking...I got this for $2000 Cdn. at .78 cents on the dollar as of today that's $1557.68 Usd.
It has it's issue's, which, I'll get into. But I think I did OK.
This post will document the disassembly, the repair, the painting and reassembly of this LA302 FEL.
Hoping I can get some questions answered along the way as well as provide info of the rebuild process.
I'm also doing this in real time so as I complete things I will be posting my progress.
Thanks in advance for any help this board may provide!
.
Last edited: