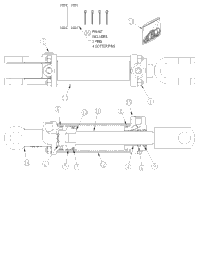
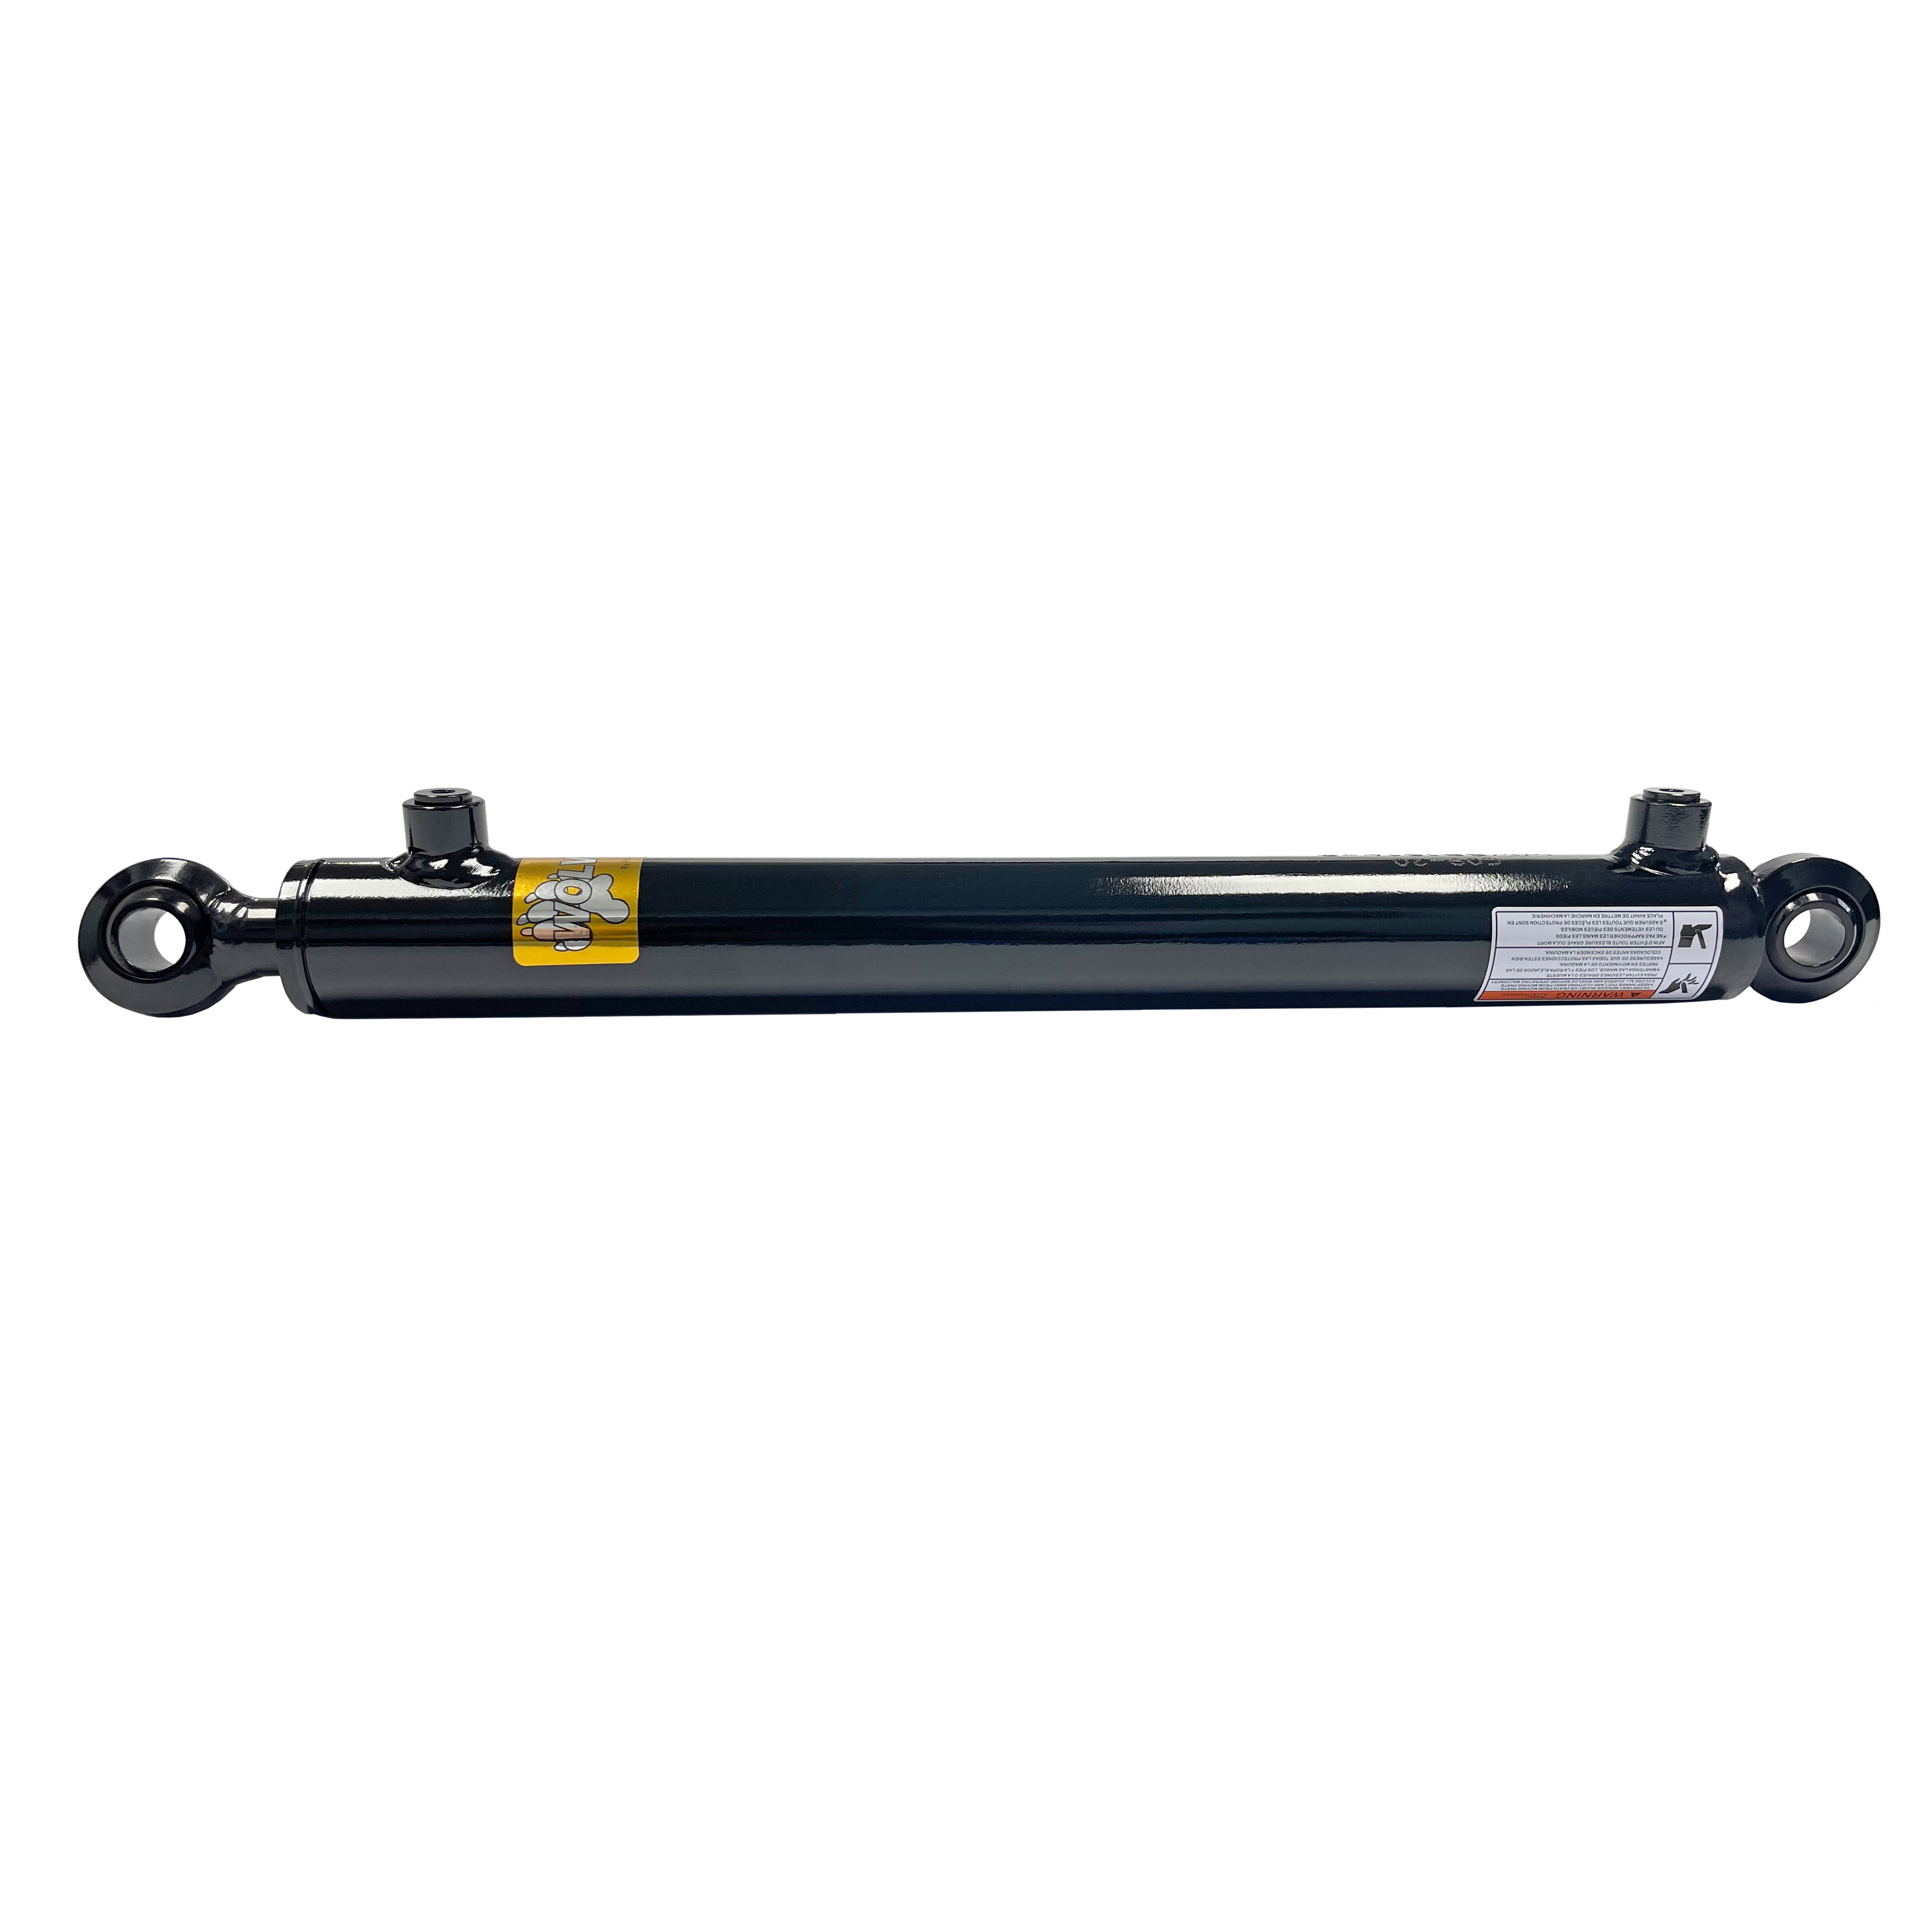
Well hunting ended early, took a six point buck on opening day. So now I can update some final pictures and video of my hydraulic chute deflection. I'm real happy with the way things turned out. Although it ended up costing me around $400 to get everything built and installed. I took time to drill and tap a hole in the pins holding the cylinder in place some I could add a grease zerk to keep it lubricated. Probably didn't need it but what the heck, it didn't cost me anything and I will never give it another thought about wearing it out. I also cut a rubber gasket to put between the chute and brackets so as to not rub any paint off either, so hopefully I won't get any rust between the parts.
View attachment 50614
View attachment 50615
View attachment 50616
View attachment 50617
I had to take the front guard off, as I almost found out the hard way that if I lift the blower all the way up, if I rotated the chute, the hydraulic fitting would have been torn off as they would have hit the guard. I'm sure Kubotas OEM chute deflection would not have had this problem, but using off the shelf parts changed the overall size and dimensions of the finished project. It only took the removable of four bolts to remove the guard, and it is easier to open the bonnet now. Here is a short video of it working.
So now that this project is done I will be adding a LED light bar to the front of the cab, and removing the original fixtures and relocating them on the back of the cab so I get a better view in the dark. I will have to do more fabricating of some brackets to install the light bar. I am waiting for Amazon to deliver them next week so it won't be long before I get started on that. Stay tuned, I'll start a new post with pictures as I proceed with it.