nbryan
Well-known member
Equipment
B2650 BH77 LA534 54" ssqa Forks B2782B BB1560 Woods M5-4 MaxxHaul 50039
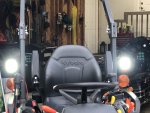
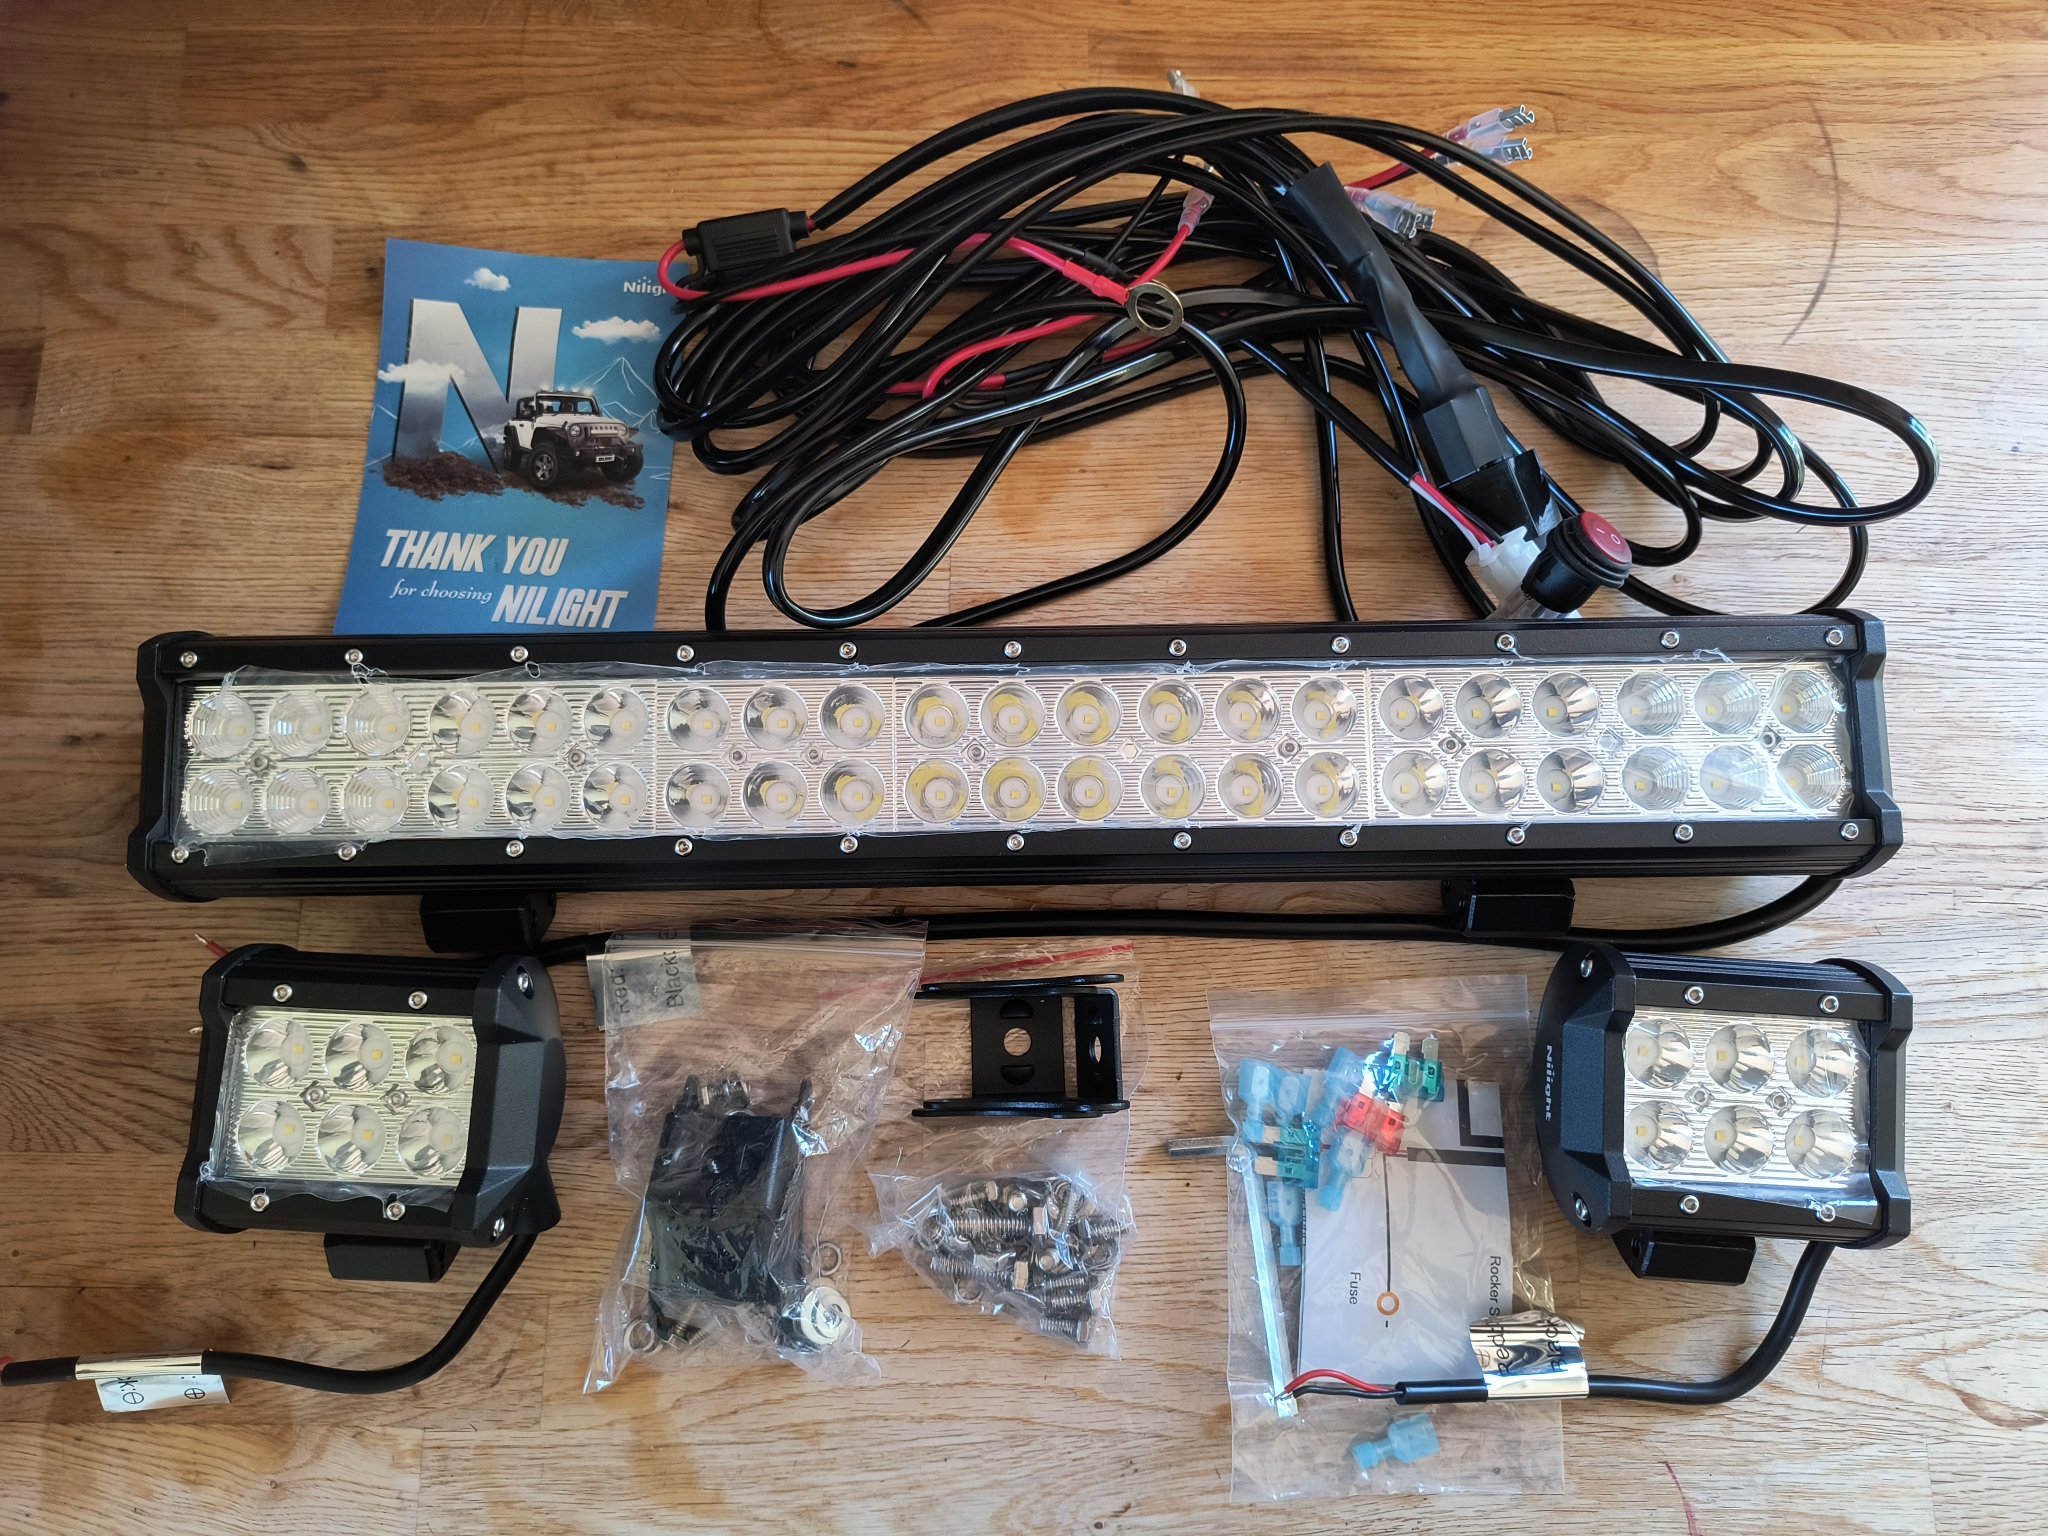
Just got my new "attachments" in mail, so today's afternoon mission is clear.
Any suggestions/hints on mounting these on my ROPS will be much appreciated.
Also, any reviews on Nilight products?
More specifically, mounting and using on compact tractor ROPS like mine?
I've zip ties and wiring/soldering tools and experience, so am quite prepared to add any power supply wiring if needed.
TIA!


 . Other then that one light bar issue that was easy to swap out (Amazon) they have been ok