LA302 Front End Loader... breakdown,cleanup,repair + reassemble (PIC'S)

BobbyK

Active member

Equipment
1995 B2400
May 20, 2018
101
42
28
Petrolia, Ontario
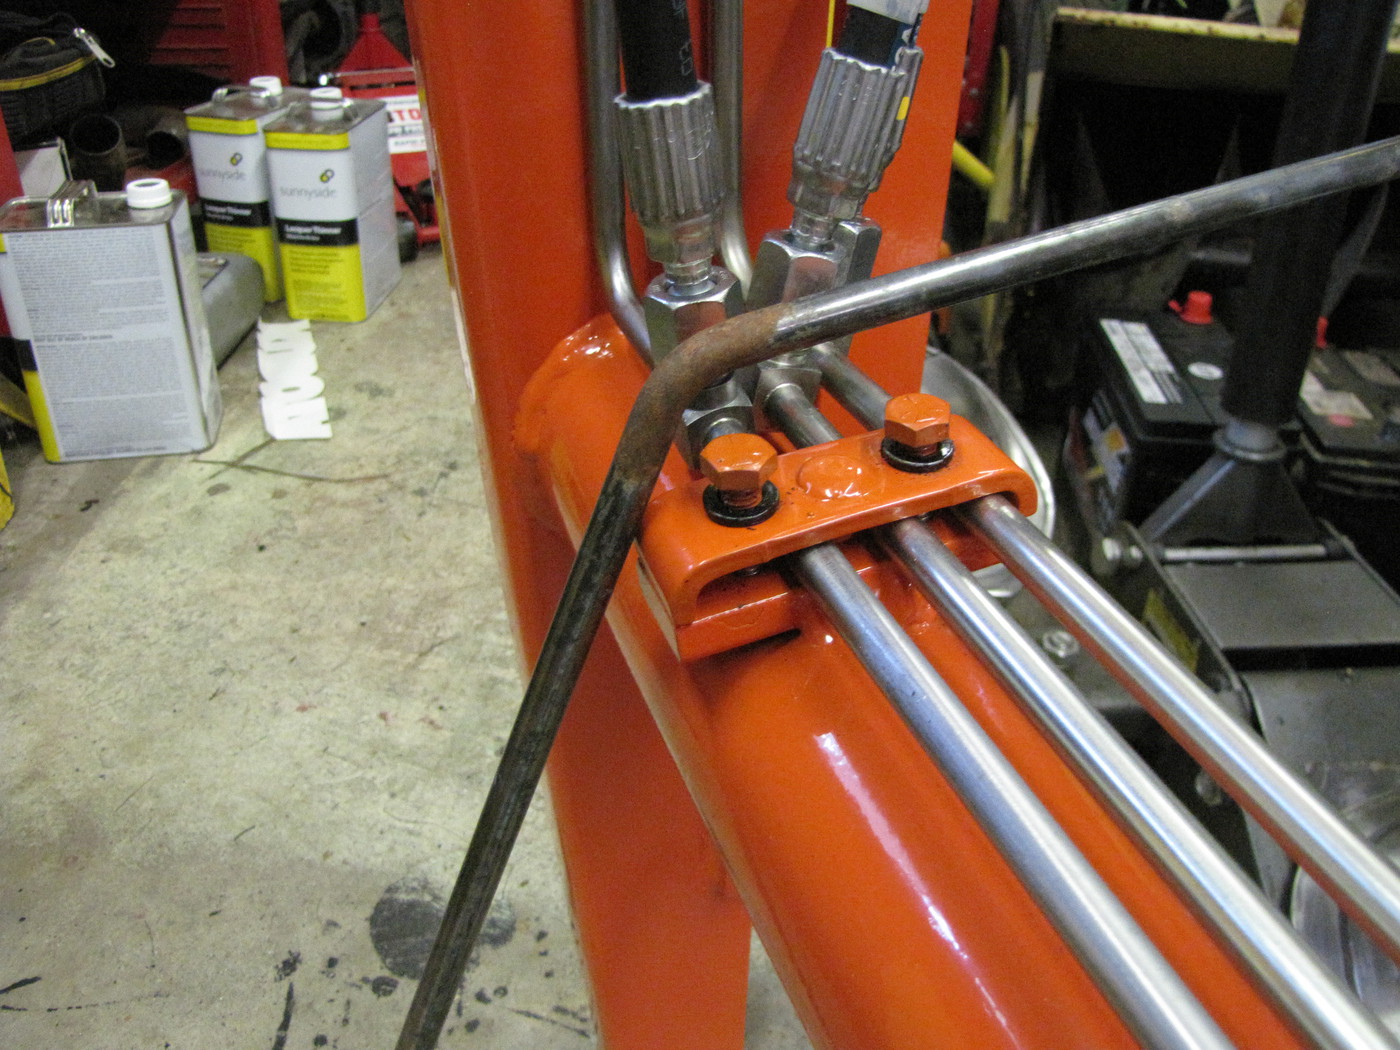
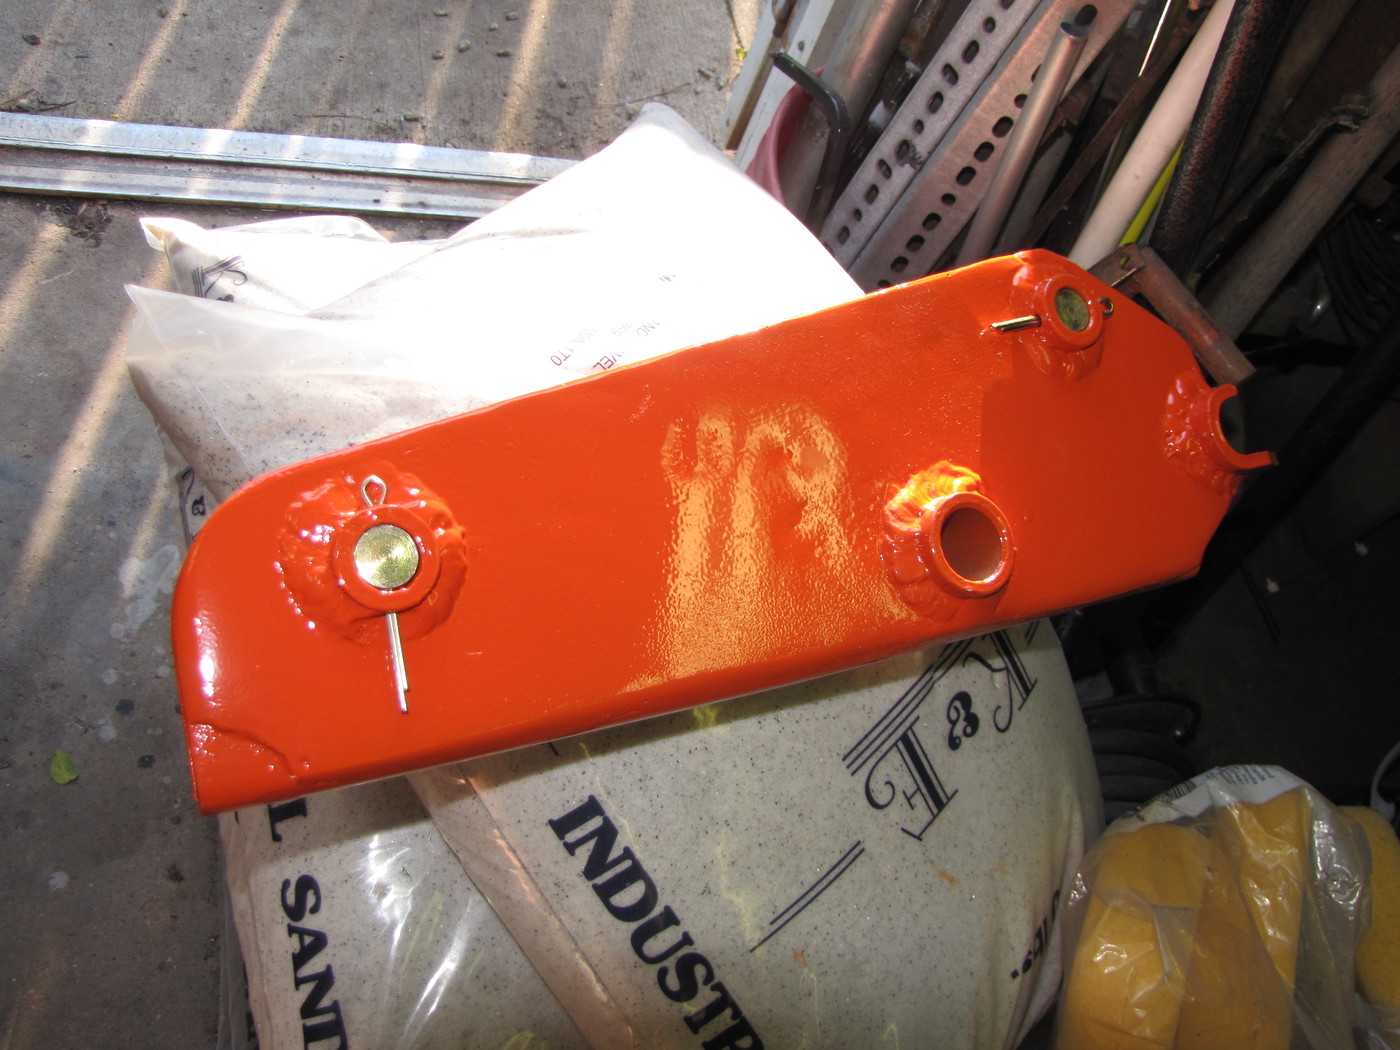
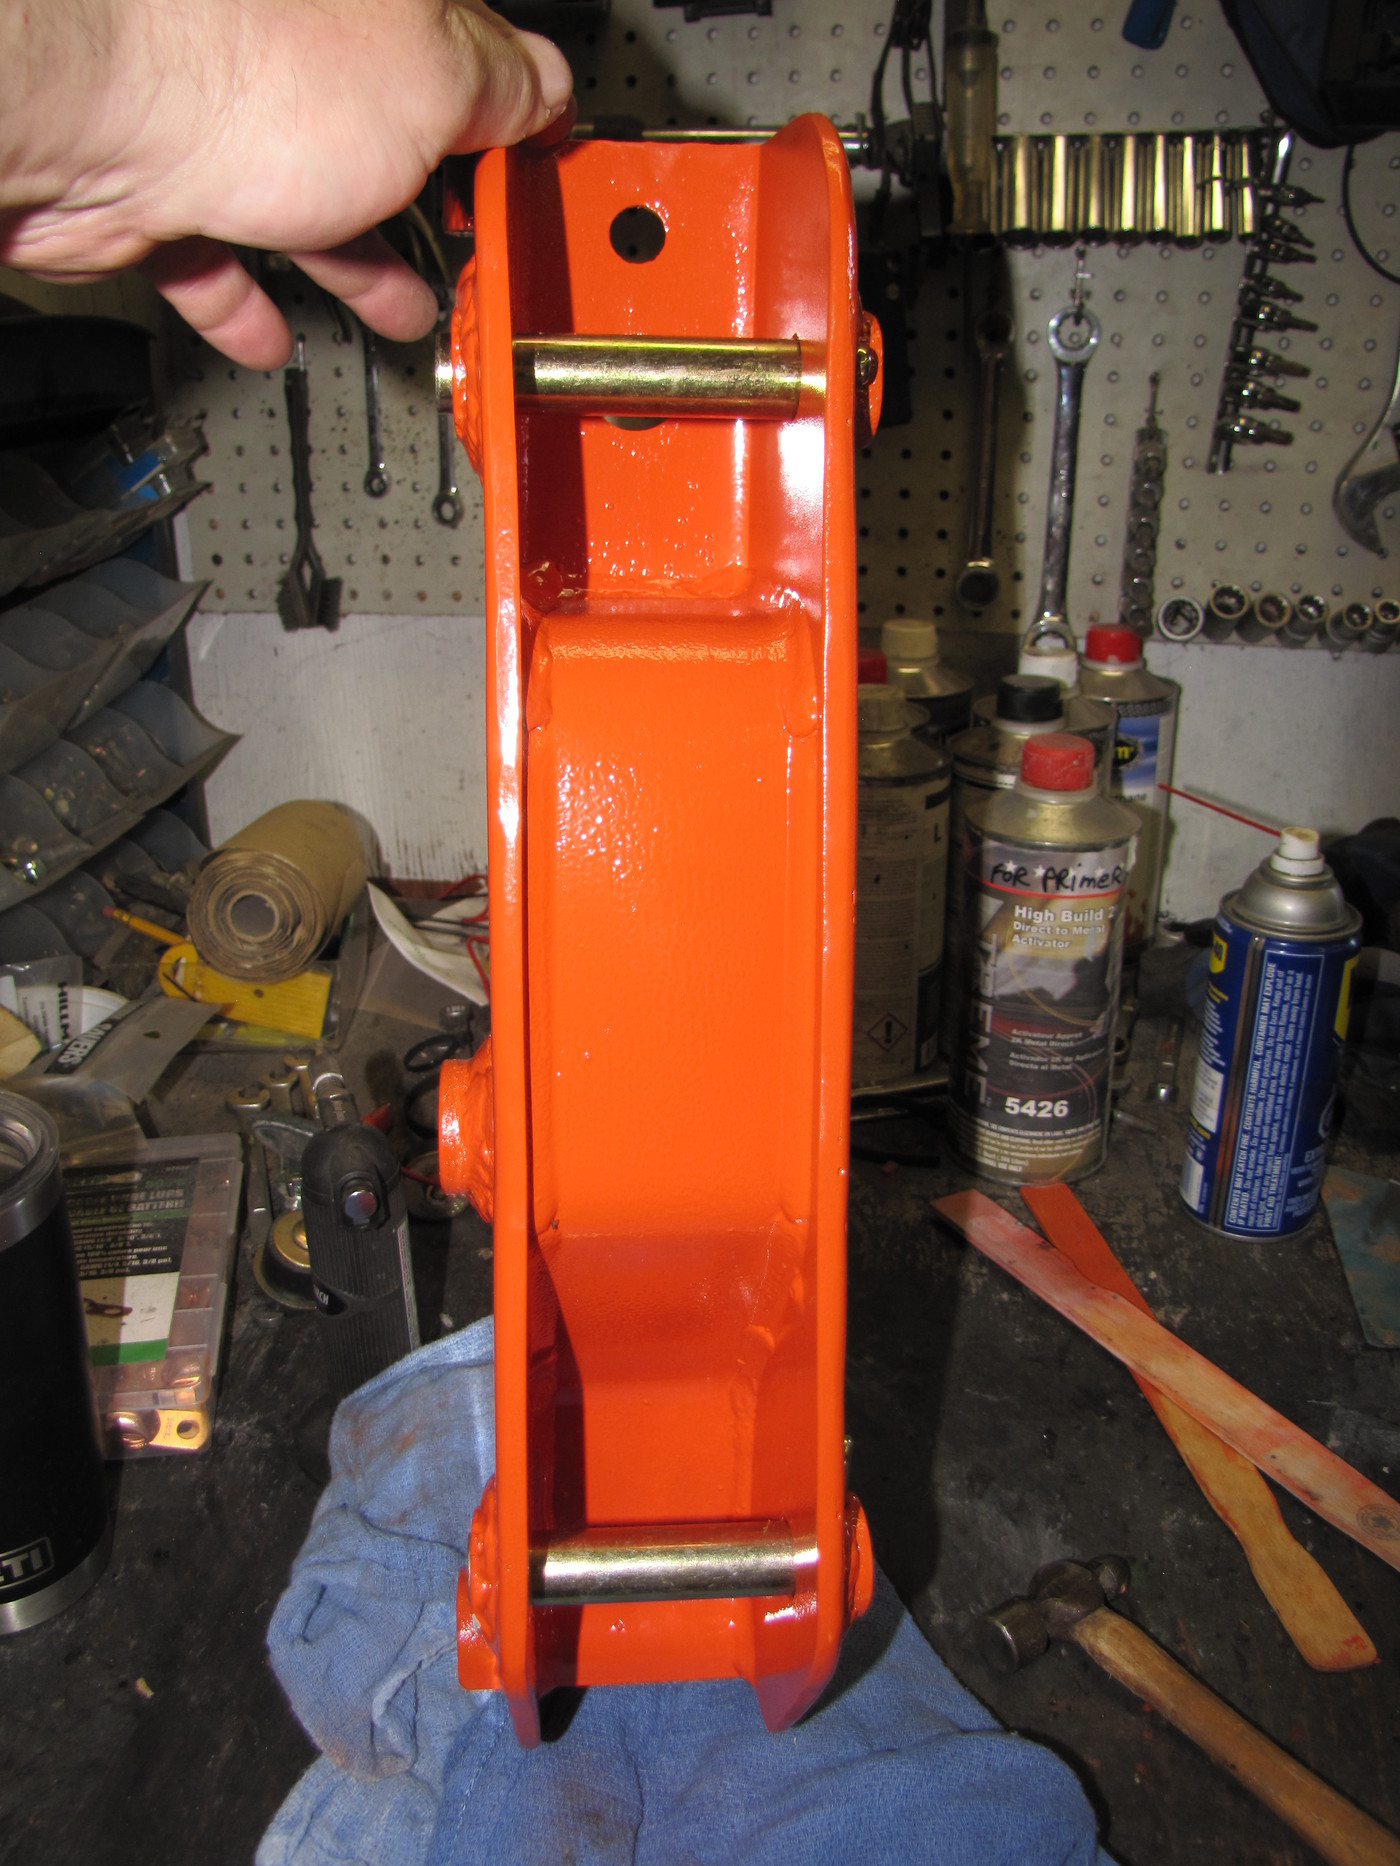
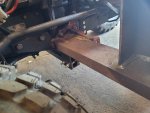
After a week of on and off activity, I have the reinforcement plates welded in place and painted.

This is after the welds were dressed. I sand blasted the side frames again getting them ready for primer.


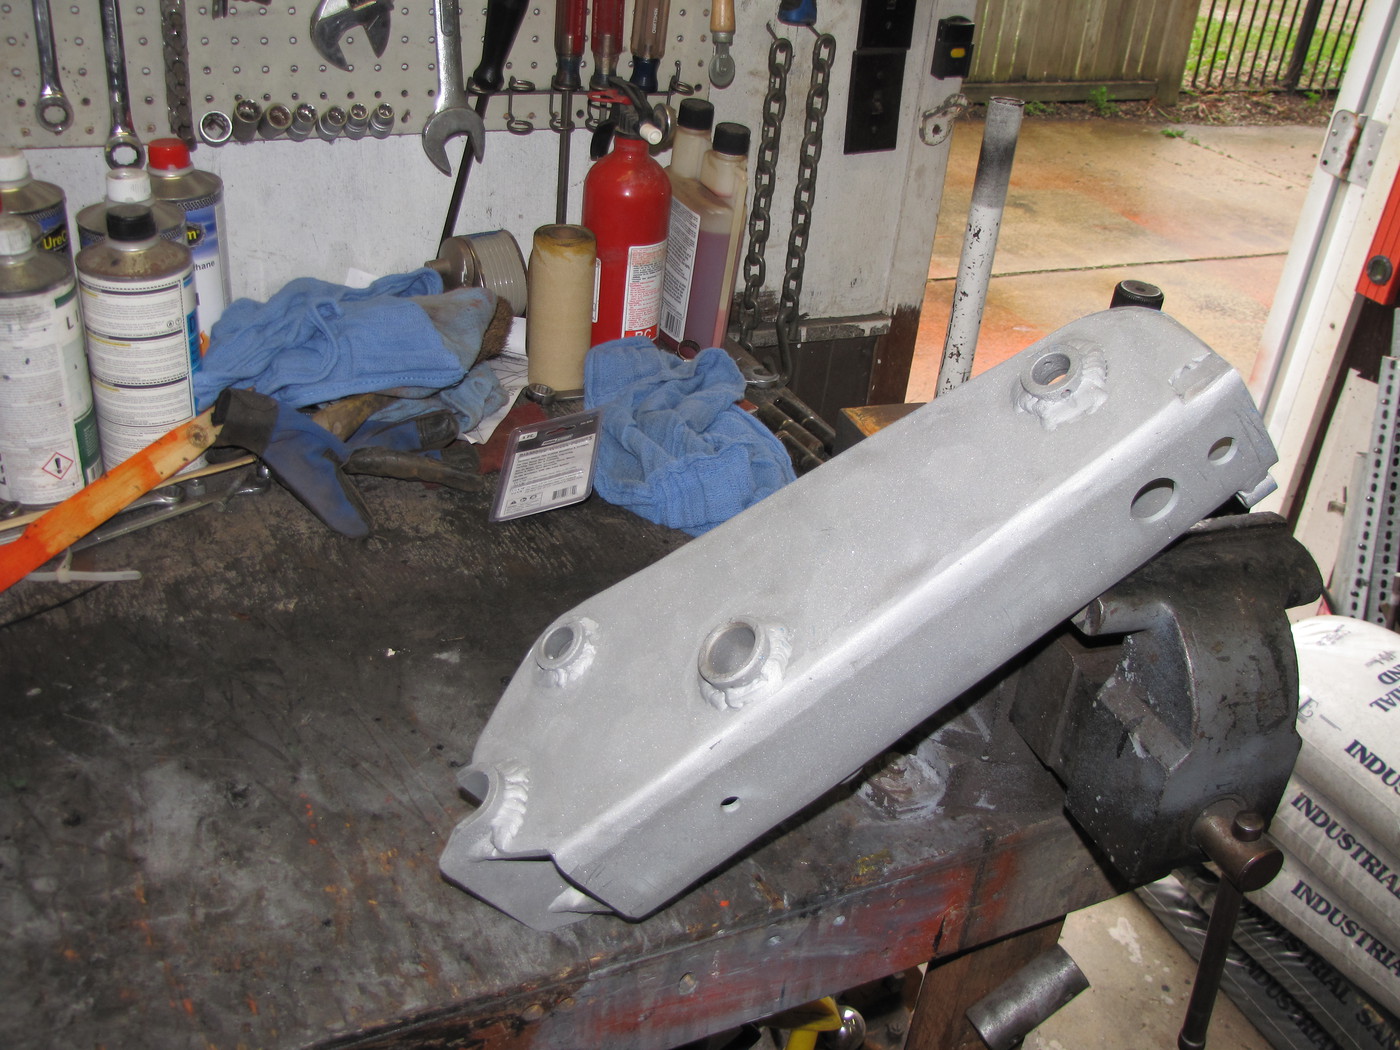
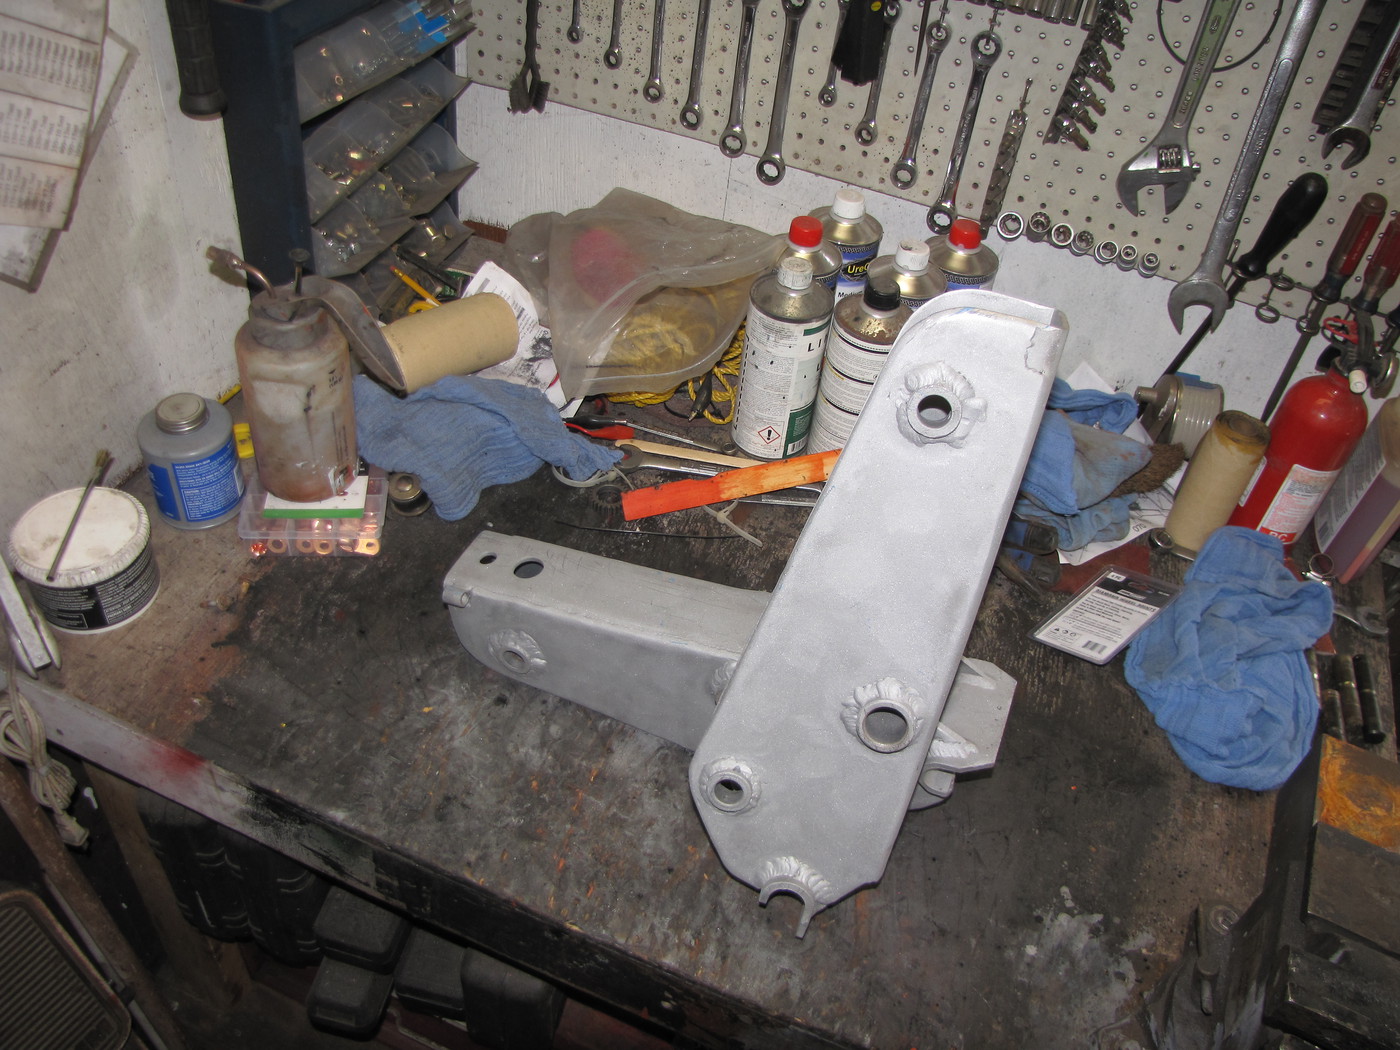
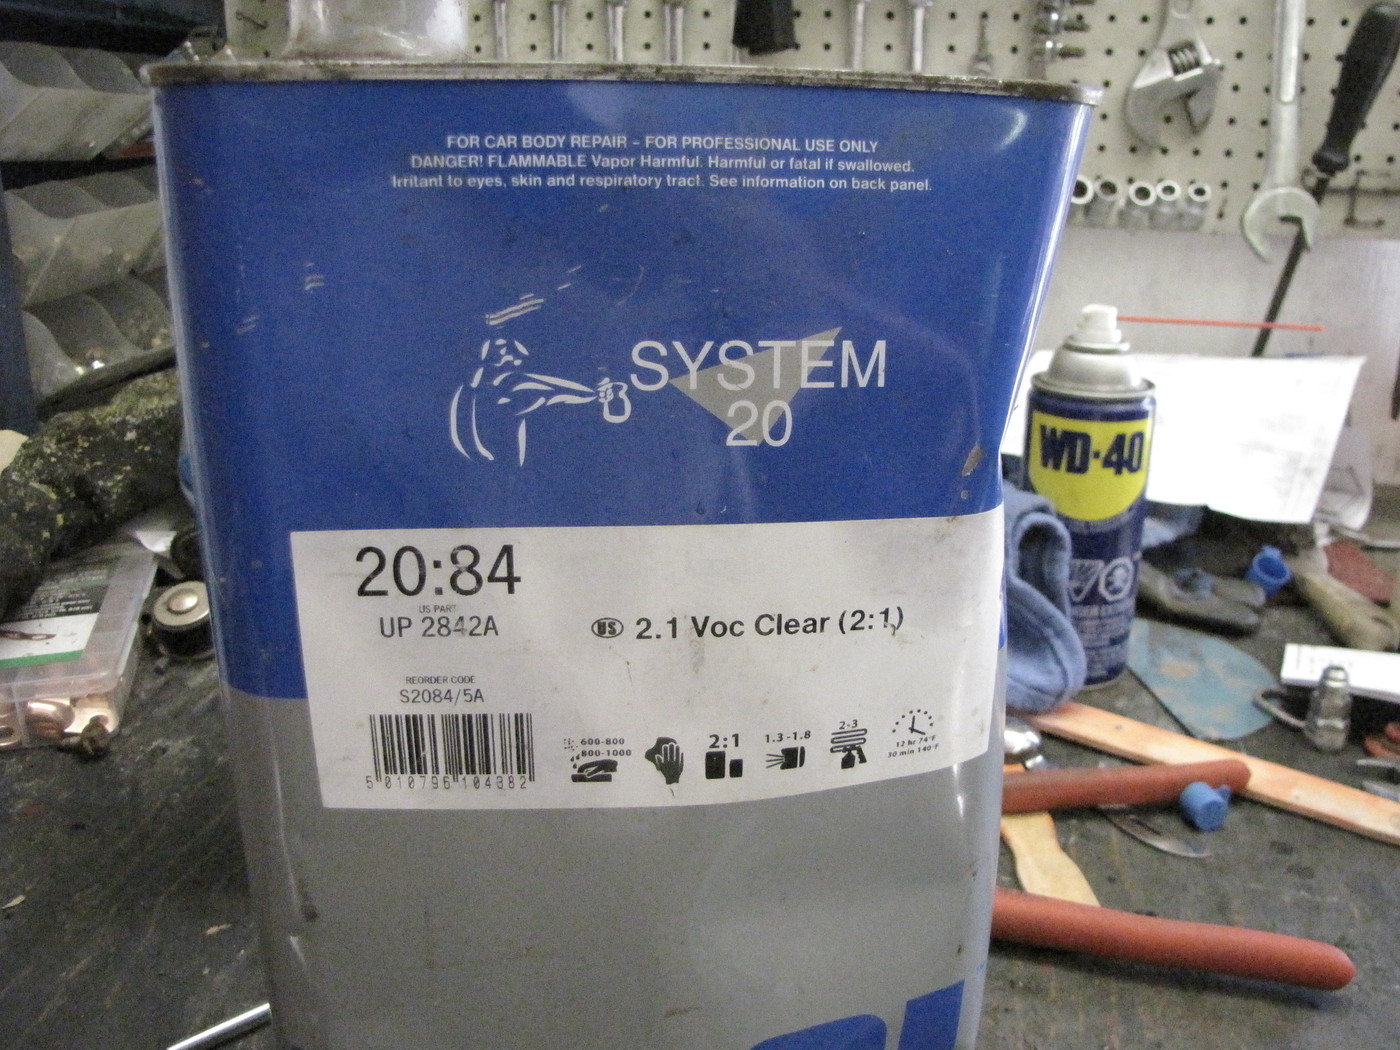
I used an automotive 2K Urethane primer.
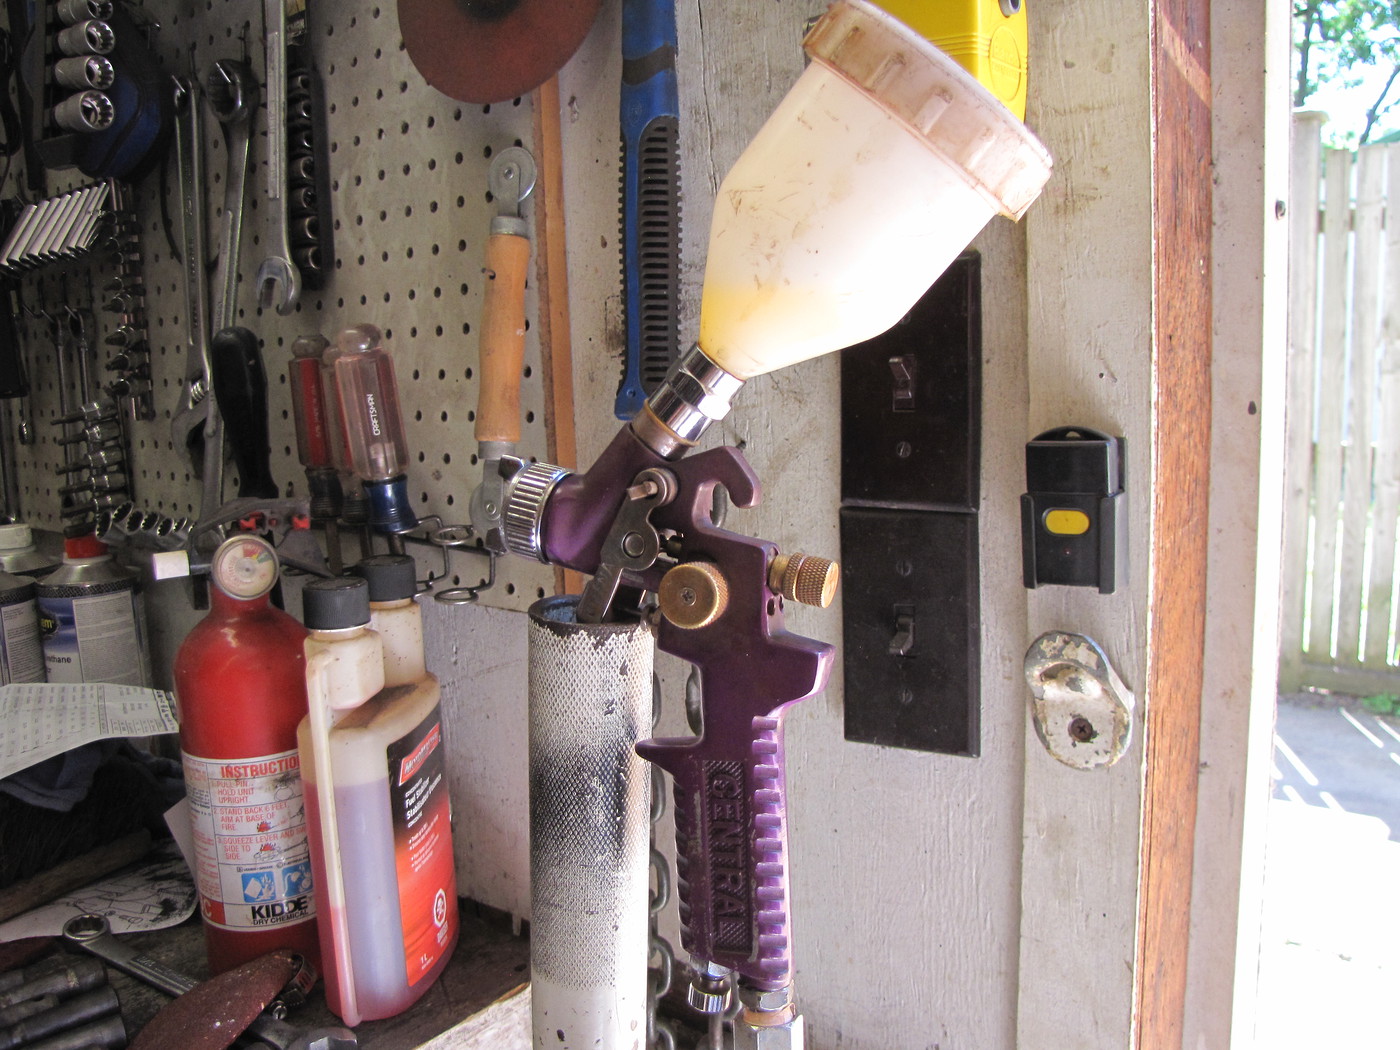
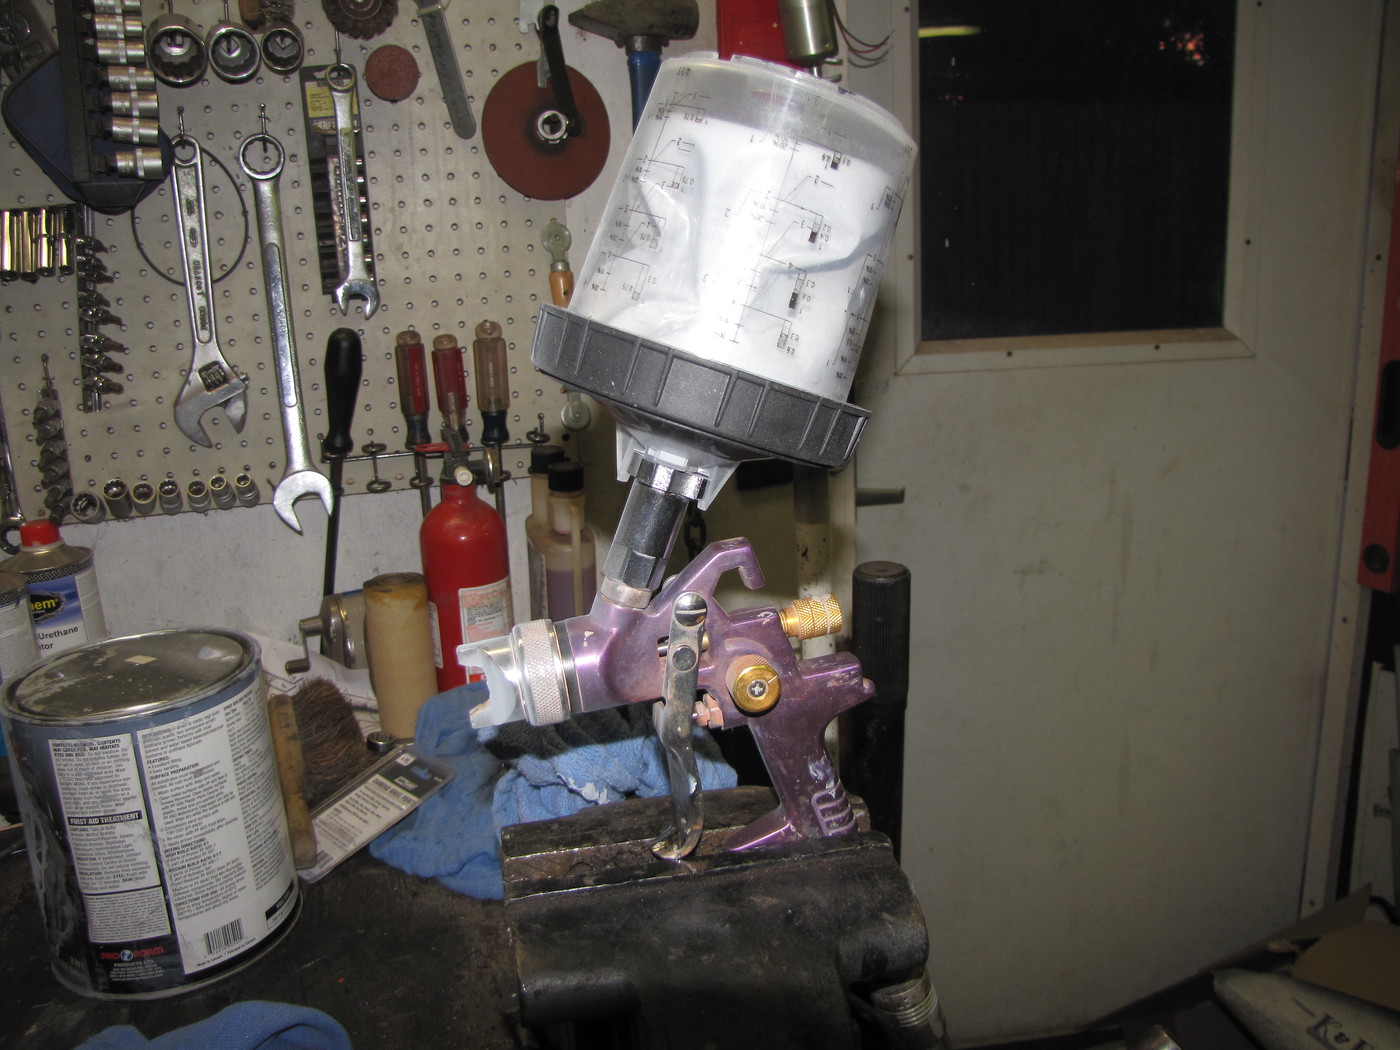
I also tried the Harbor Freight paint system.
It's a ripoff of the 3M PPS system.


As you use the paint, the inner liner collapses. This allows you to paint at any angle, even upside down.


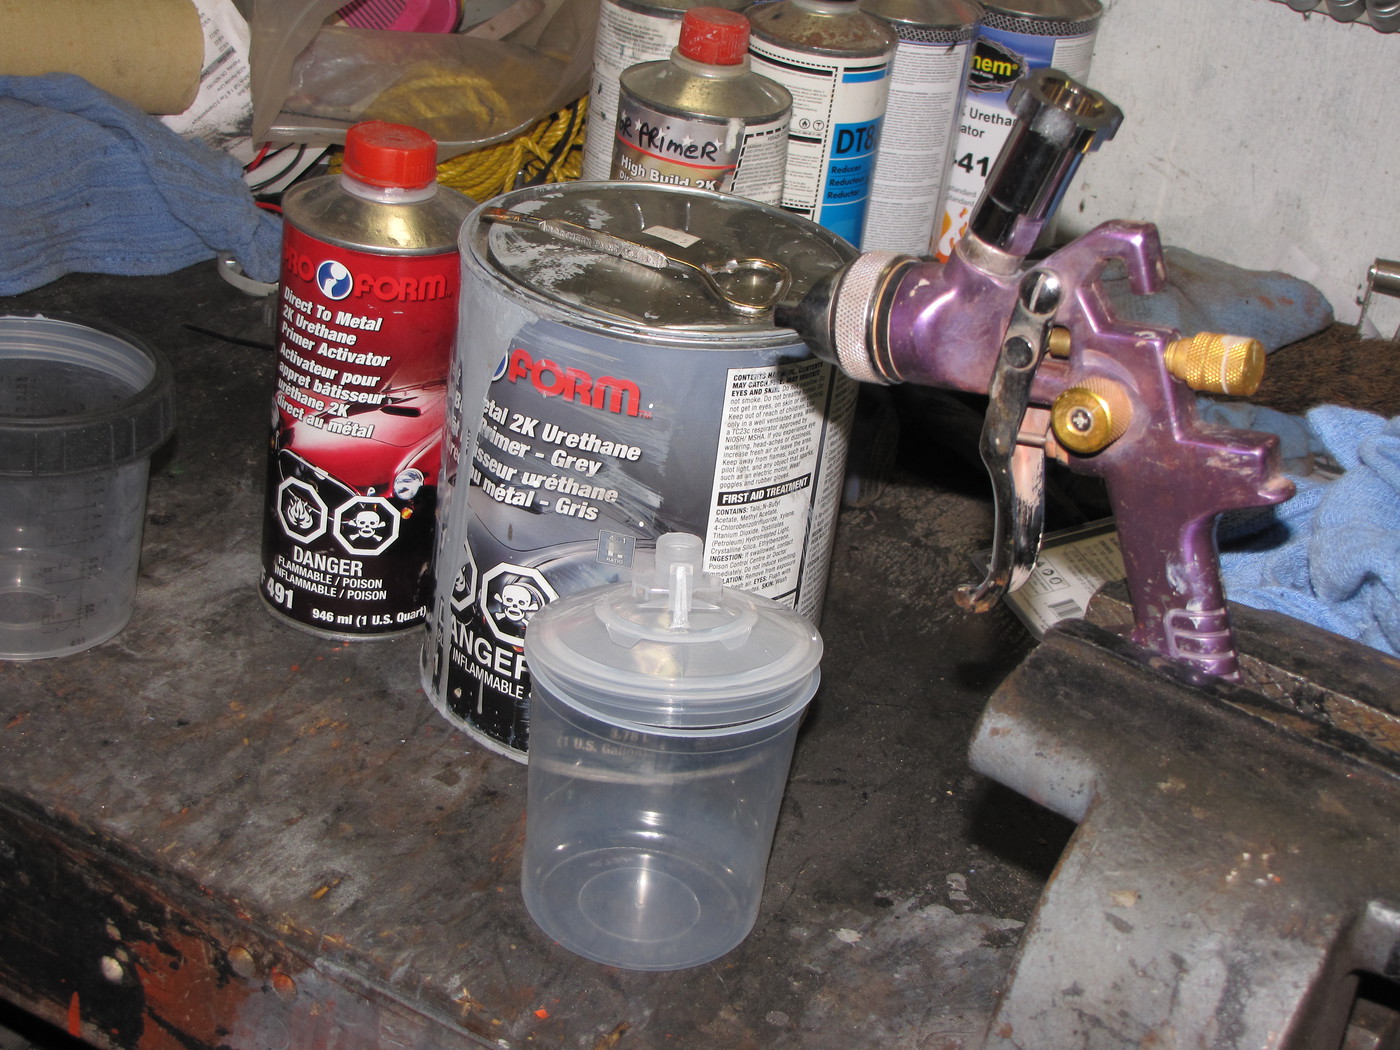
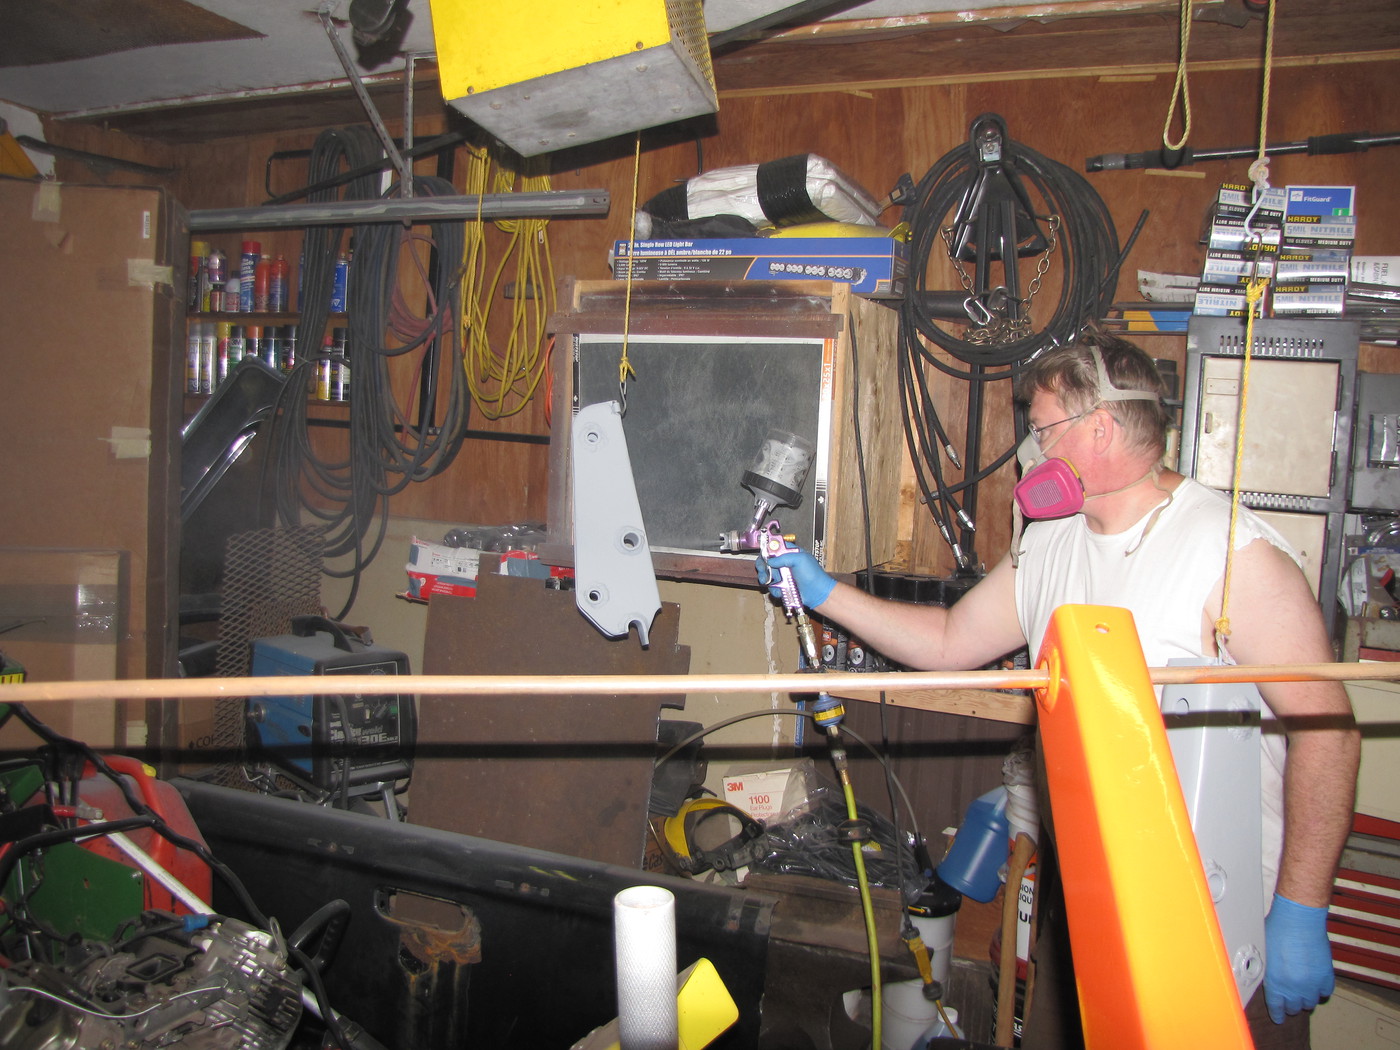
I had mixed the primer and it was in the gun already when the sky's opened up.
I had to spray in my garage.
The box with the filter on it (in the back ground) has a fan in it. It does a pretty good job with the over-spray.


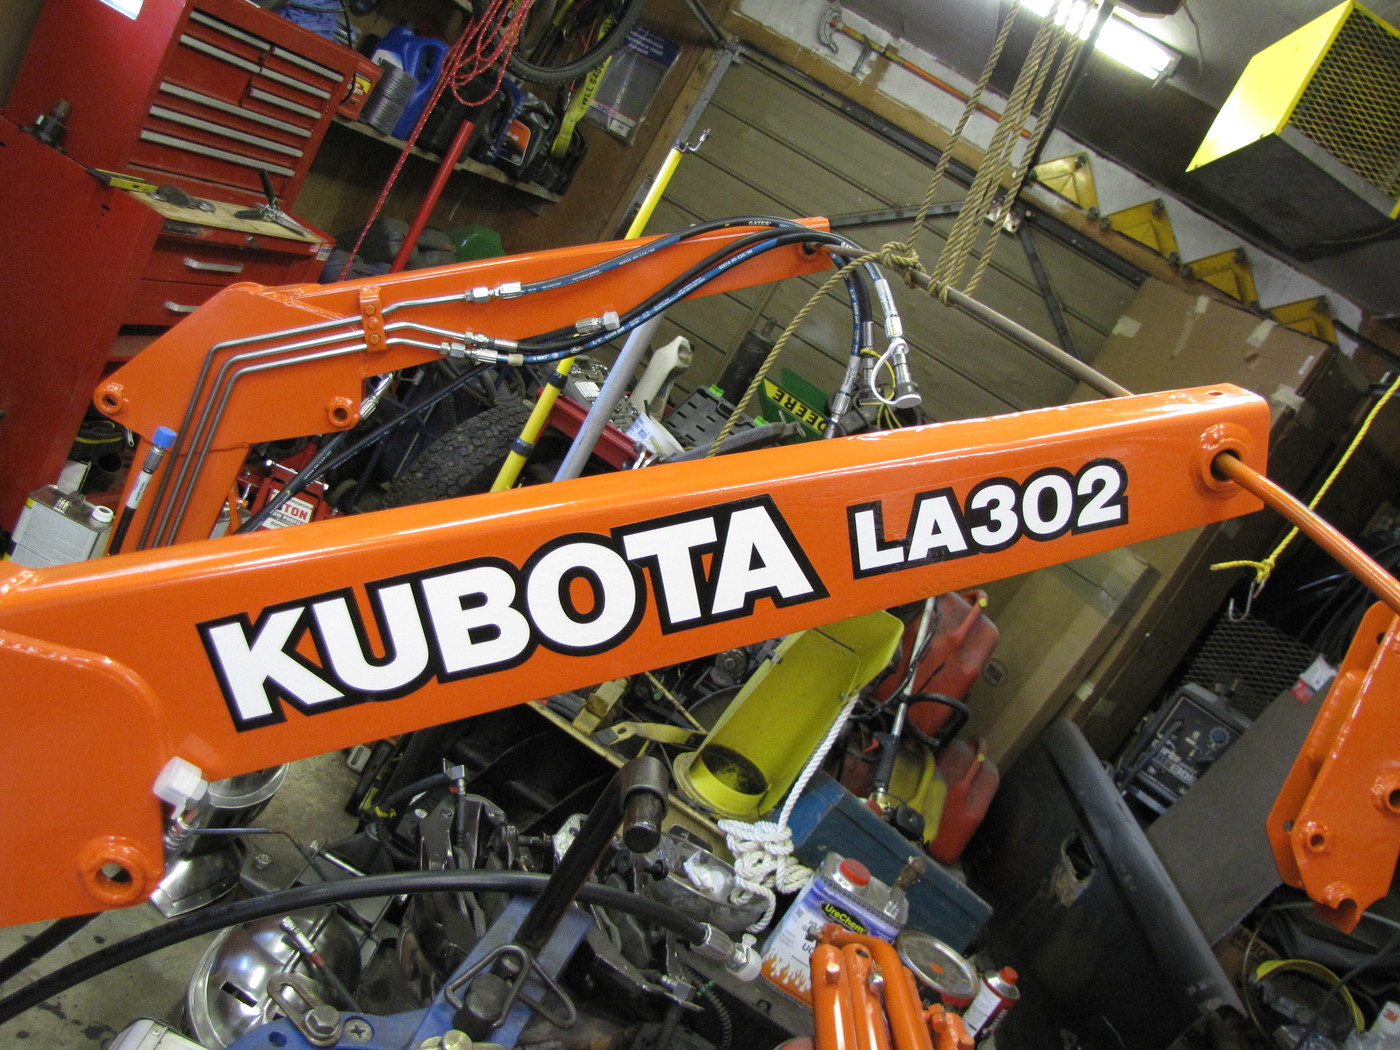
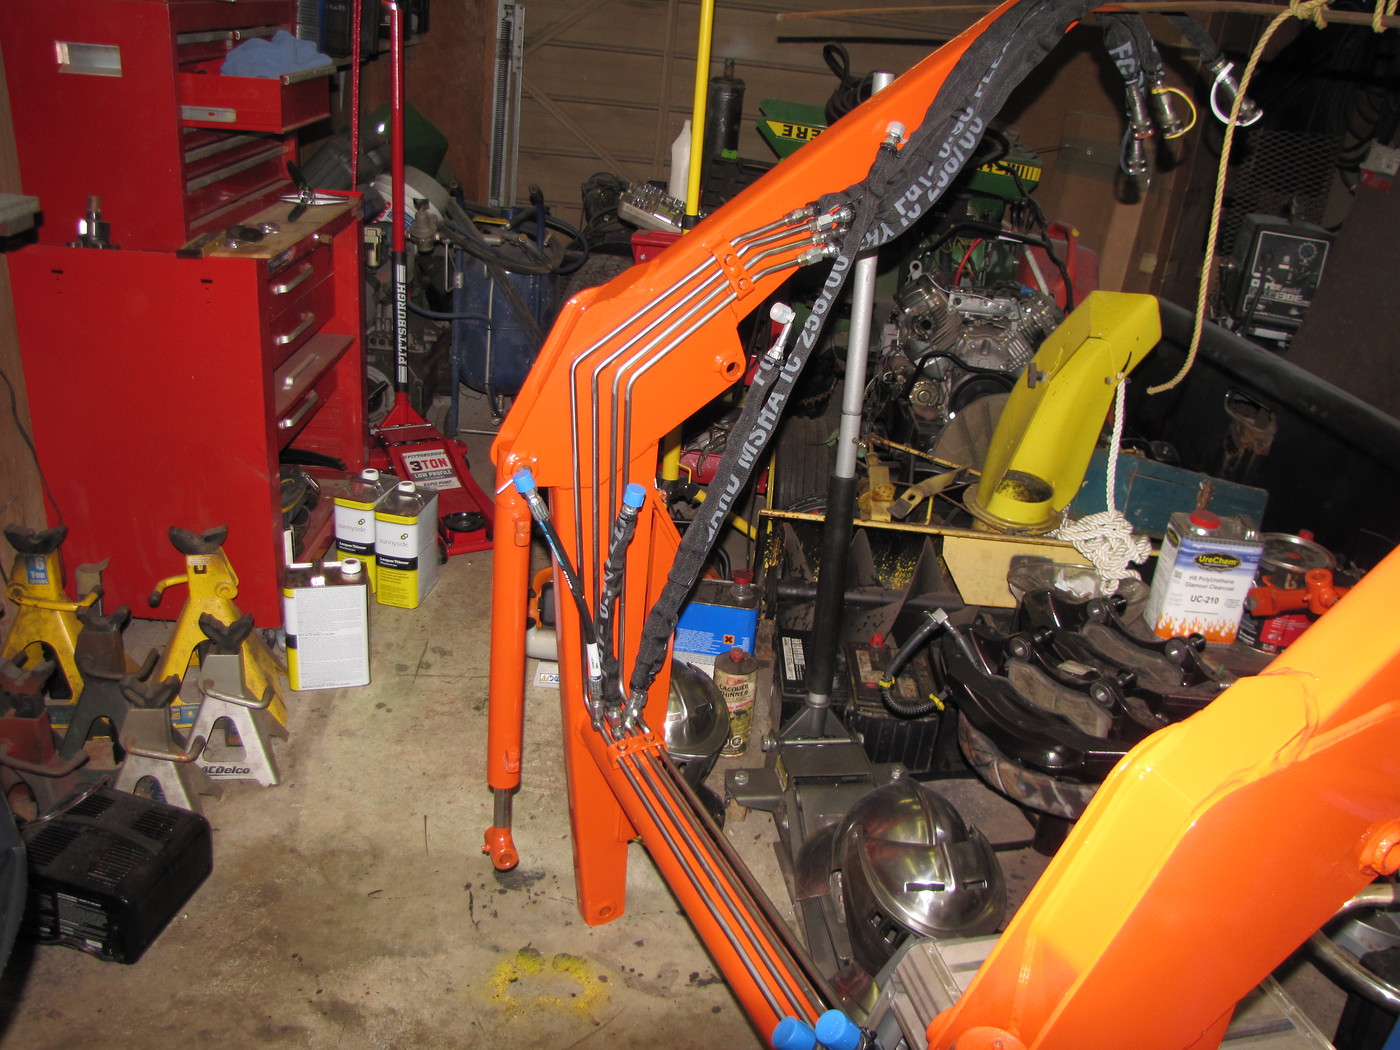
Then the next day a little orange color.


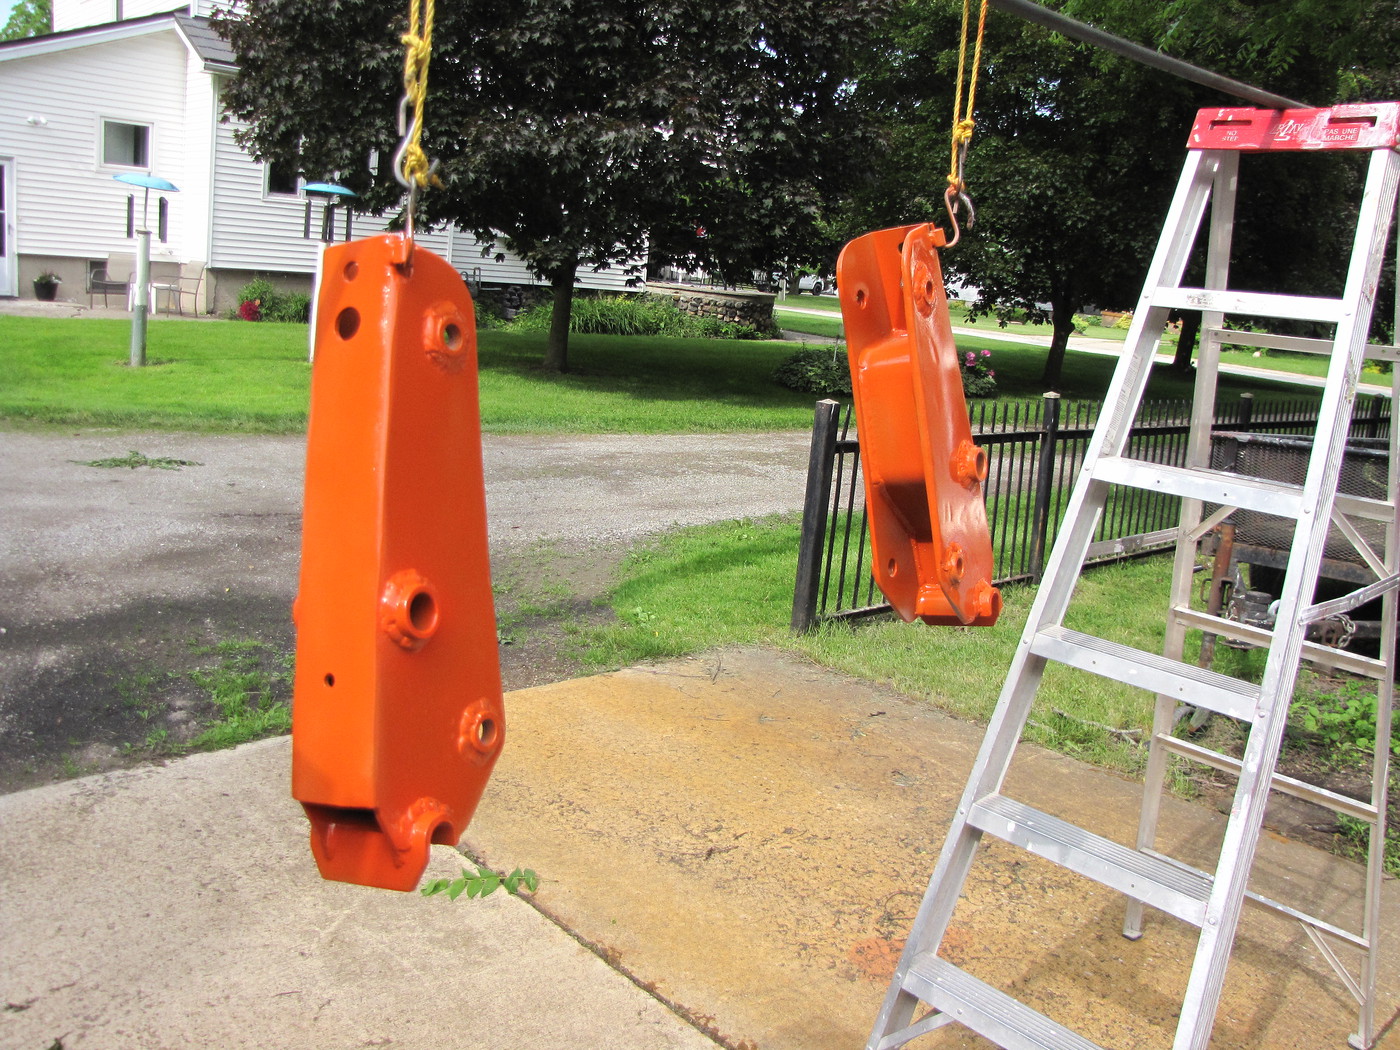
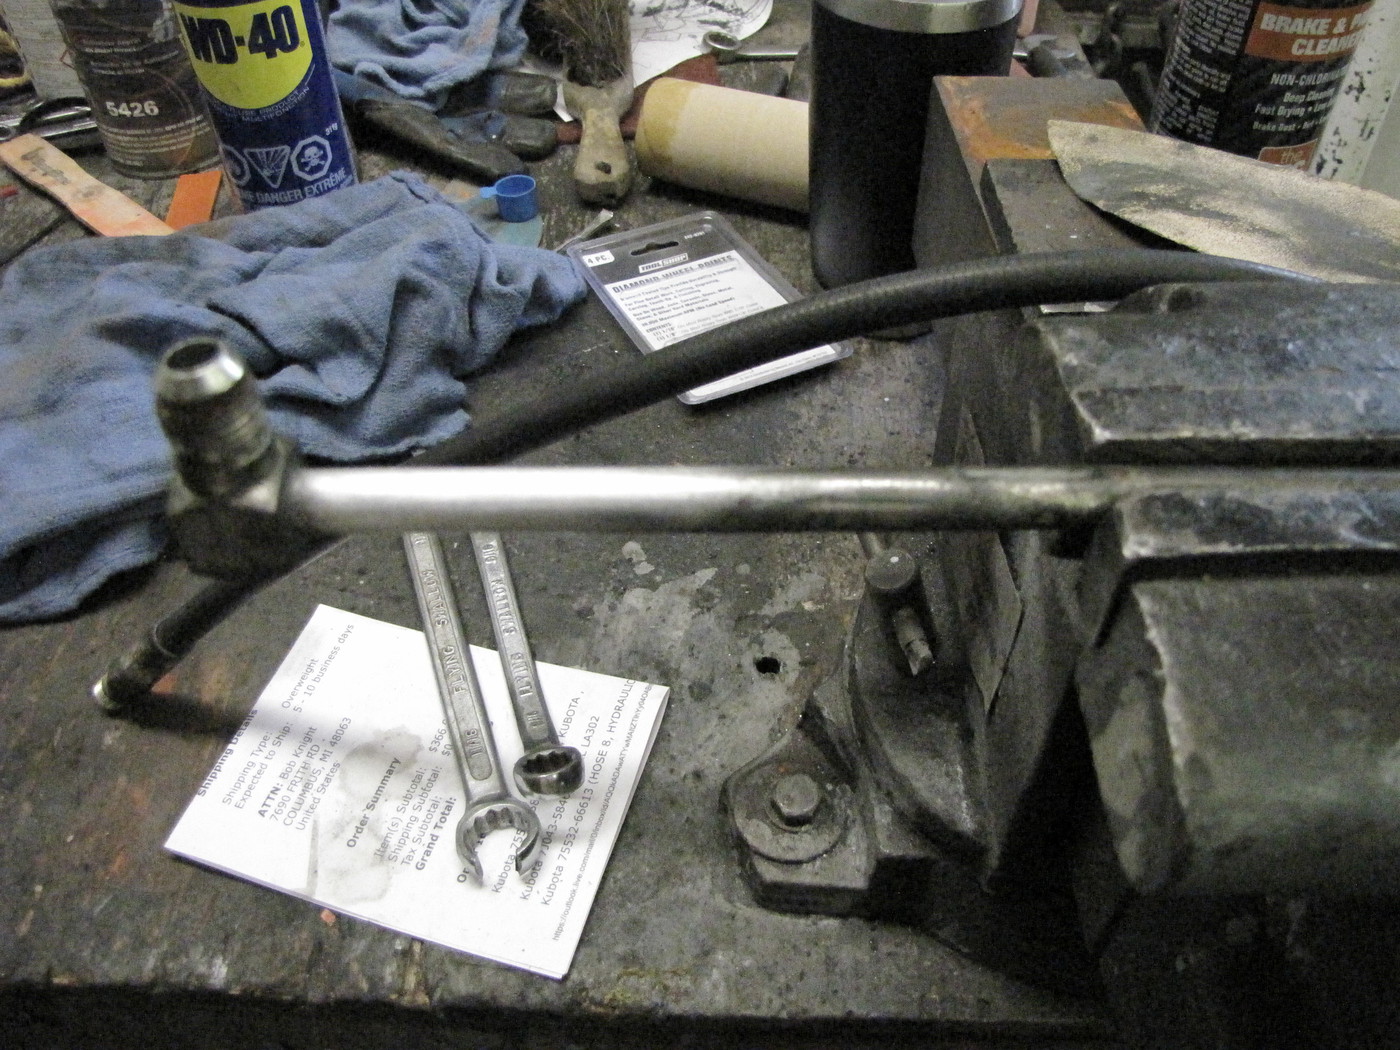
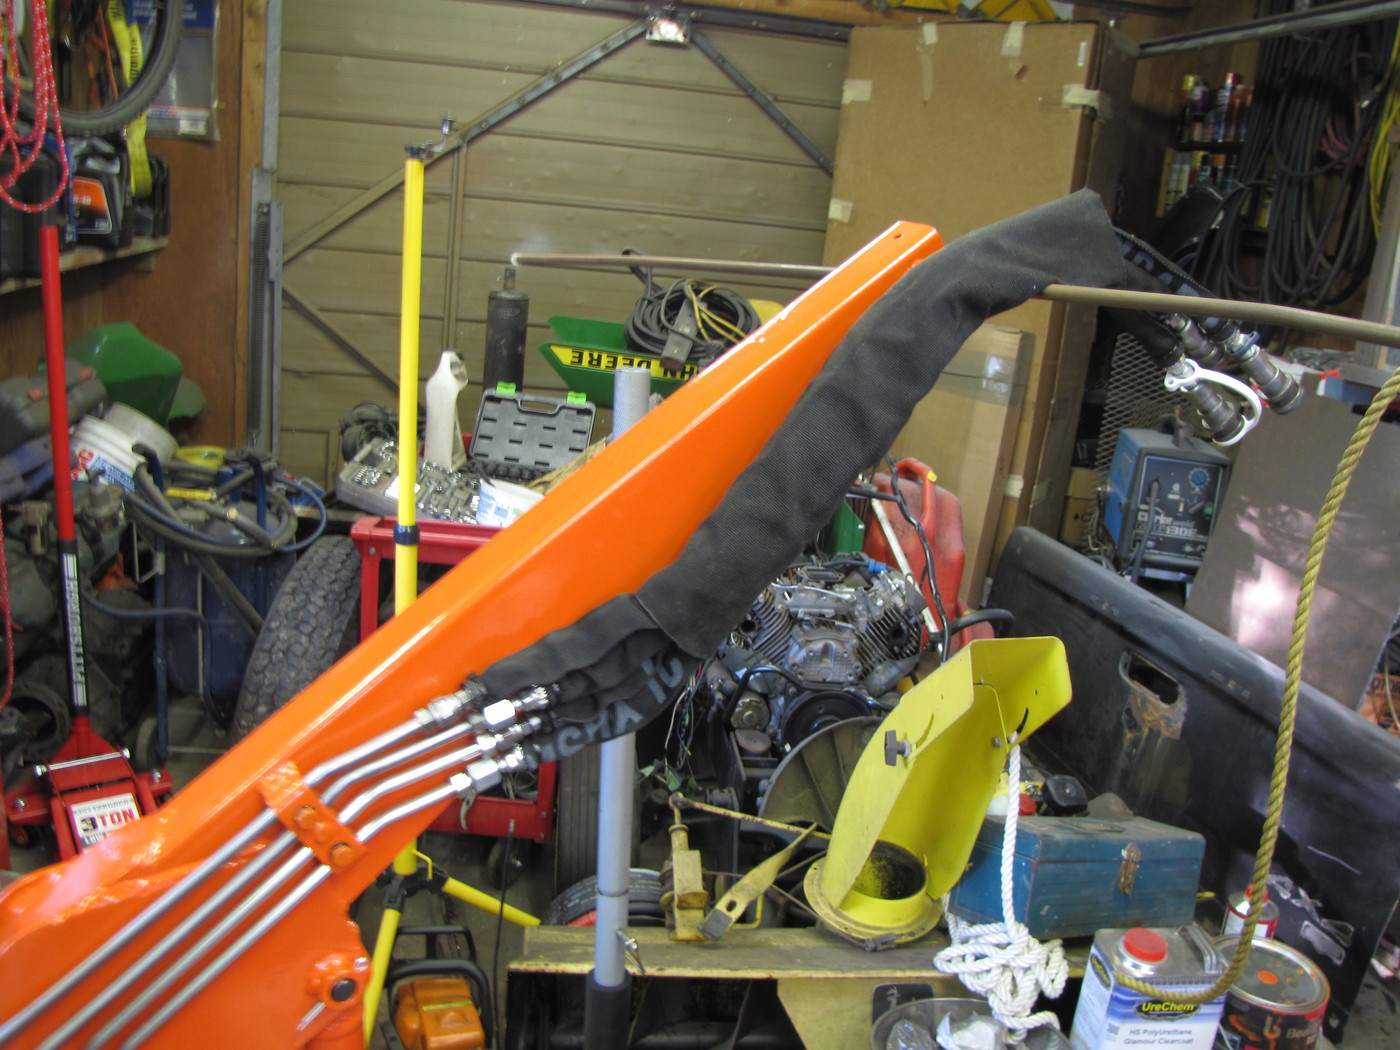
Still waiting on parts.
Hopefully by next weekend I can move on to making the mainframe.


.
 
Last edited:
  • Like
Reactions: 3 users

BobbyK

Active member

Equipment
1995 B2400
May 20, 2018
101
42
28
Petrolia, Ontario
Parts arrived!
Got things reassembled...for the most part.

Started with the new decals.


Then I started on cleaning up the hard lines.
Two of the 4 hard lines were too bent up, so I replaced them. But the other two lines were only rusted in a few spots and the bends weren't so bad that they couldn't be straightened.

I sanded the rusted lines with 120gt sandpaper and finished them off with the wire wheel


This is what the rusted lines looked like.
The 1st 2 lines from the right are new, the 3rd line has been sanded, wire wheeled and clear coated.


I painted the old lines with an automotive clear-coat. Just trying to protect them against corrosion.
Used my small Harbor Freight gun again (I think it's a 1mm tip).


Once the clear-coat dried, I installed all the hard + soft lines.
Also started to reassemble the rams.


I got my parts from Messicks.
These are the hoses they sent.


The line's are 1/4" but the fittings are 3/8" JIC


I wanted to protect the soft lines from abrasion and UV exposure so I picked this Hyd. line covering up from Princess Auto.
Cut the covering to length plus about and inch and secured the covering with zip ties.
I haven't a clue what those numbers mean.


When you cut this stuff, the ends fray.

I used a torch to melt the ends but when you do that the covering shrinks on itself.
I used an appropriate sized socket and inserted it into the covering 1st, then melted the ends with the torch. This method left a nice finished end and it slipped over the hose + fitting with no problems.


to be continued.
 
Last edited:
  • Like
Reactions: 1 user

BobbyK

Active member

Equipment
1995 B2400
May 20, 2018
101
42
28
Petrolia, Ontario
Installed new pins.


Cleaned this hose protective sleeve with soap and water using a tire brush. go rid of all that moss pretty easily.


I still need to clean up + paint the bucket.


.
 
  • Like
Reactions: 1 users

Chanceywd

Well-known member
Lifetime Member

Equipment
Kubota L2501DT BH77 VIRNIG URG60-CT 1950 8N
Mar 26, 2021
556
390
63
central ny
Installed new pins.


Cleaned this hose protective sleeve with soap and water using a tire brush. go rid of all that moss pretty easily.


I still need to clean up + paint the bucket.


.
Looking good so far!
Bill
 
  • Like
Reactions: 1 user

Dieseldonato

Well-known member

Equipment
B7510 hydro, yanmar ym146, cub cadet 1450, 582,782
Mar 15, 2022
728
437
63
Pa
Liking what your doing. Keep up the good work. I'm hoping I can get back to my kubota Monday and Tuesday. I'll try my best to remember to get picks of the under carrage for you.
 

Dieseldonato

Well-known member

Equipment
B7510 hydro, yanmar ym146, cub cadet 1450, 582,782
Mar 15, 2022
728
437
63
Pa
Finally got back to my tractor to grab a few pics, I'll have the loader off it here soon, I'll get you some better pictures when the sub frame is off and cleaned up.
 

Attachments

Dieseldonato

Well-known member

Equipment
B7510 hydro, yanmar ym146, cub cadet 1450, 582,782
Mar 15, 2022
728
437
63
Pa
That helps thanks.
Is that 3/8" or 1/2" plate that you used?
3/8" plate. There where the belly mower mount is, it's doubled up. With the factory mower mount on top. The line of 3 vertical bolts was to make it easier to get the subframe slid off the studs that go into the bell housing. (Alloy bell housing, had misgivings about the holes getting stripped out, so used studs.) There was also a thin spacer that I needed to use from the front plate to the rear plate, I can't remember how thick it was off the top of my head, but it was pretty thin.