Getting ready to rebuild an l245dt
- Thread starter LT1Pat
- Start date
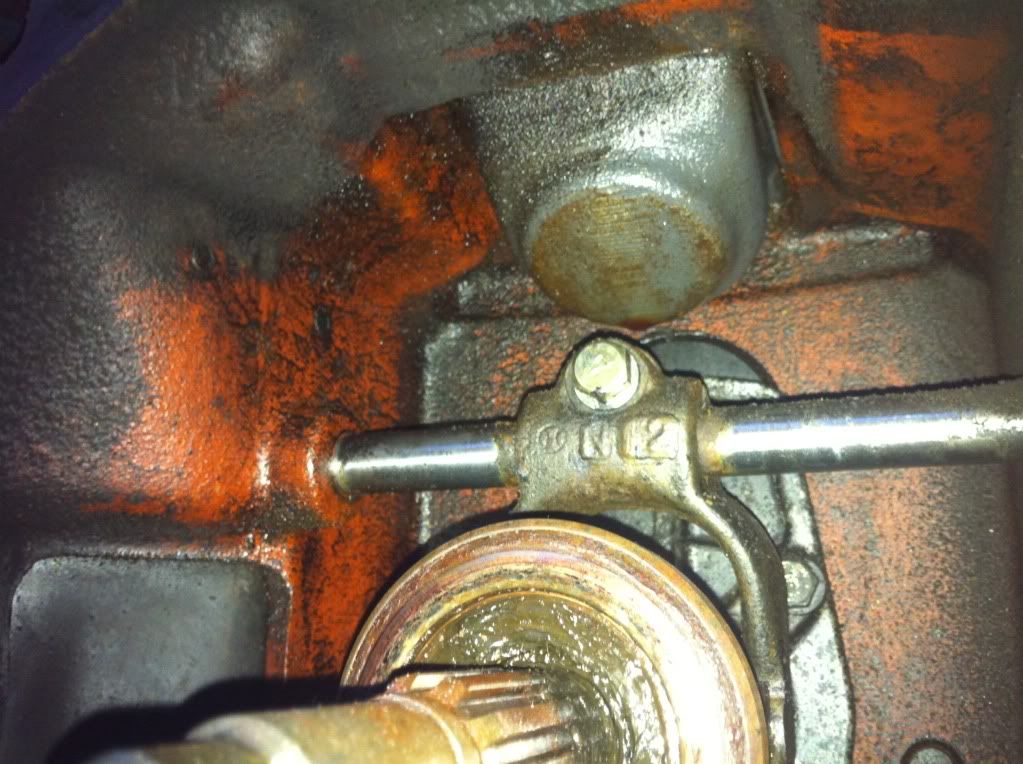
Just finished rebuilding the steering box. It looks like someone had already rebuilt it before since an RTV was used and no shims were there. Also, it looks like the case has been replaced since the sector shaft plate and the steering shaft plate are kubota grey and the main housing is unpainted. I had to make a shim for the sector shaft housing since it wanted to bind. Once the shim was in place the steering moves freely with endplay in spec.
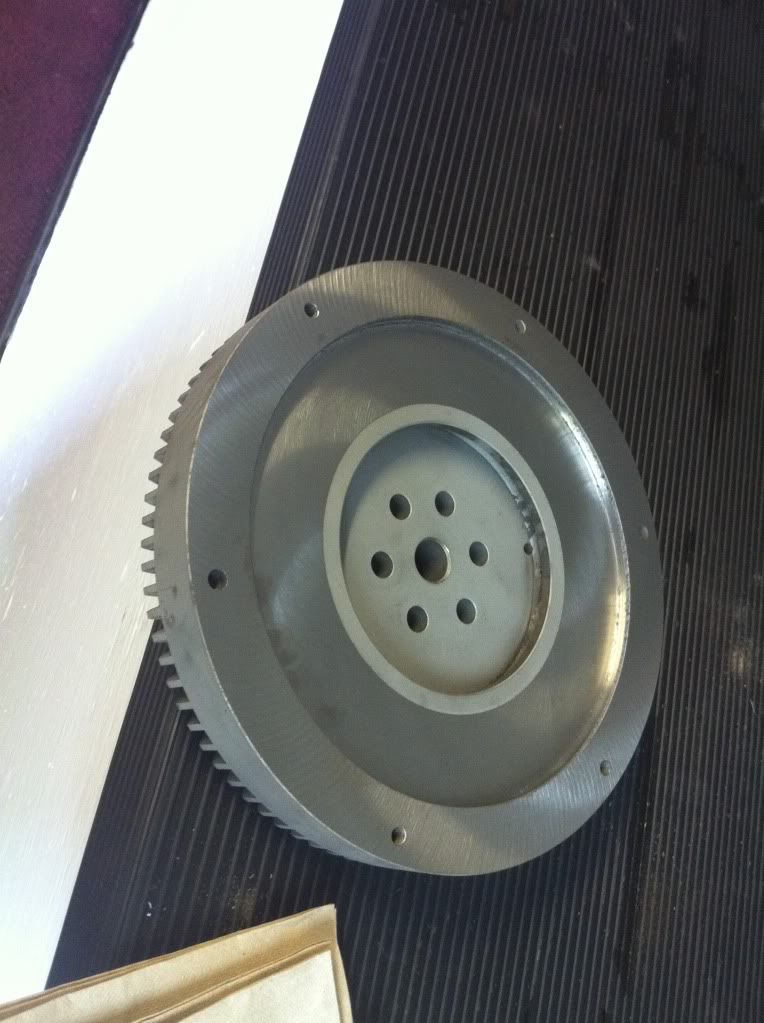
The flywheel is done, .080" had to be ground off to get through the pitting but the same was taken off the lip. Hopefully the clutch adjuster has .080" of clearance.
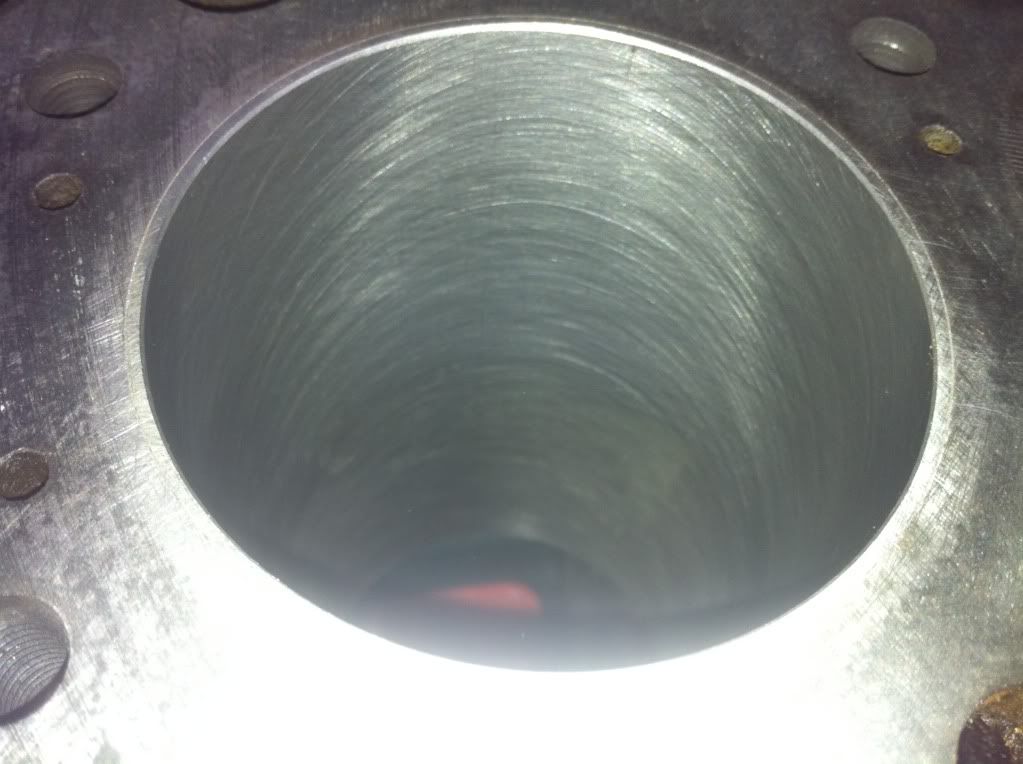
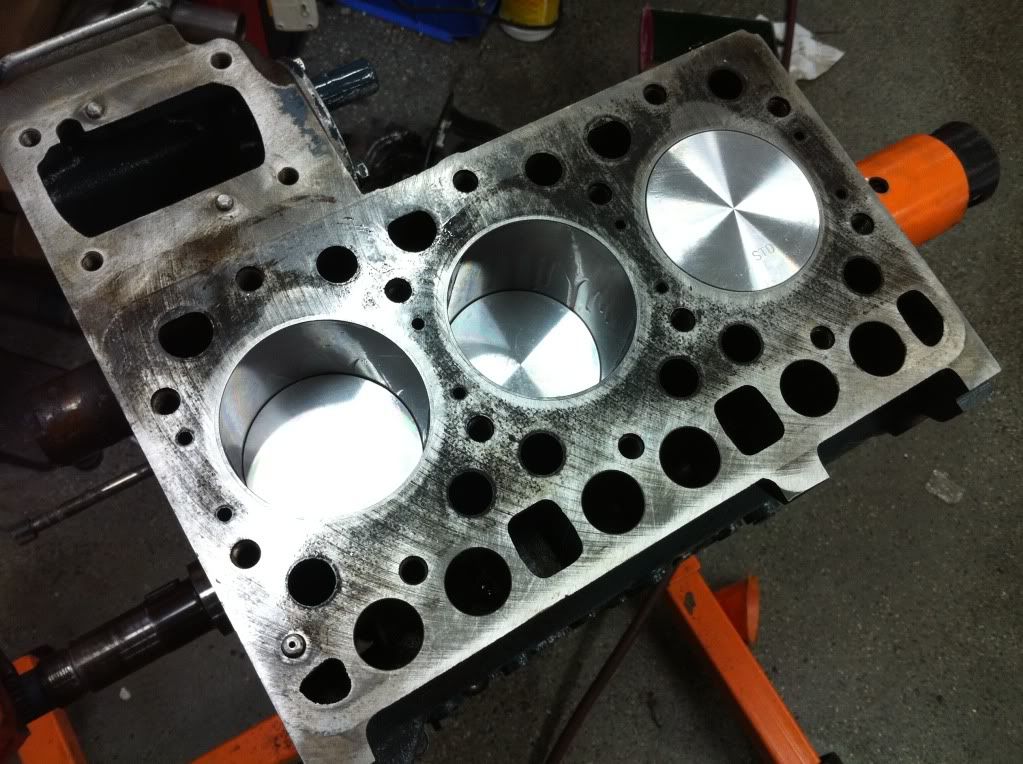
Cam bore has been bored out (took the shop 3 weeks). The old sleeves were removed and fresh ones were installed. The block was brought to another machine shop where they are boring the sleeves and chrome plating the cam to build it up a bit. It's almost ready to put back together ")
Looking forward to seeing how it all comes out. I'm sure it's going to be nice. Did you get an alignment tool for the clutch? If not then you can always do like I did and just get the bolts started on the pressure plate so the clutch is free to move. Then after you get it back together tighten up the bolts through the side cover plate where you grease the throwout bearing. Remember,never force the engine to the transmission just keep moving it around until it fits together. That will save you from breaking something that will cost you a bundle.
I have some automotive alignment tools so I might see if one of those fits. I'm excited to see how easy it starts because before it was pretty hard. The sleeves came out easier than I thought. They were able to be started with a hammer then a press was used for the rest of the way. I had a guy on ebay make a puller but the only thing I used was the puck because the puller rig bent.
Looking forward to seeing how it all comes out. I'm sure it's going to be nice. Did you get an alignment tool for the clutch? If not then you can always do like I did and just get the bolts started on the pressure plate so the clutch is free to move. Then after you get it back together tighten up the bolts through the side cover plate where you grease the throwout bearing. Remember,never force the engine to the transmission just keep moving it around until it fits together. That will save you from breaking something that will cost you a bundle.
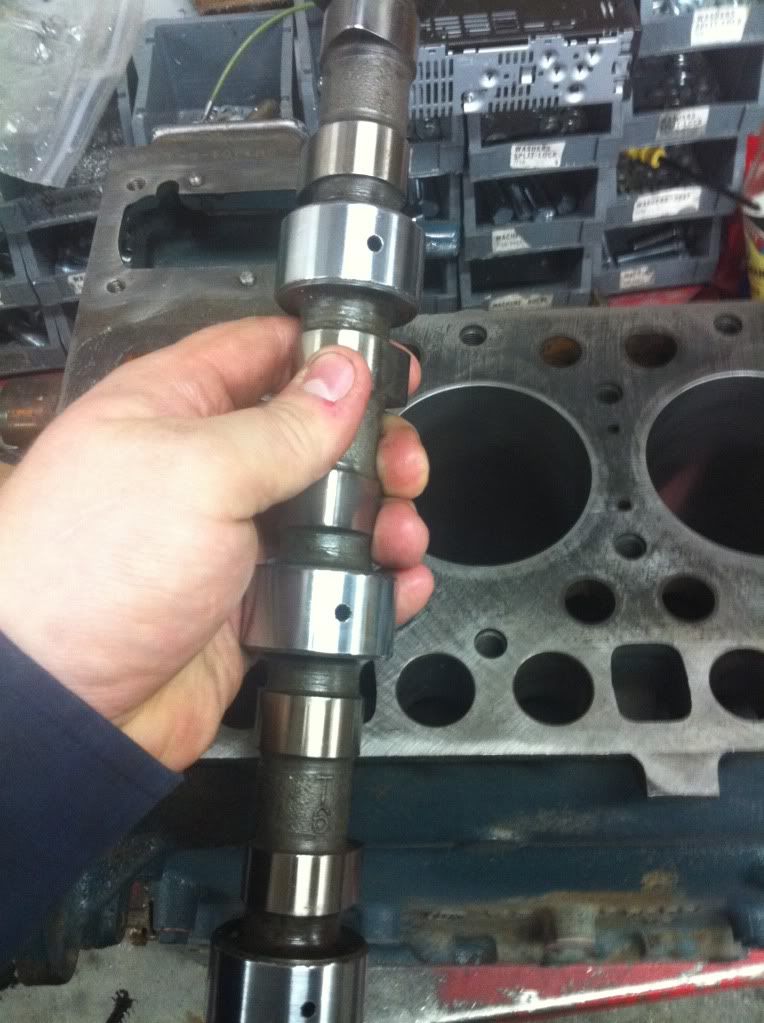
Just got the block back from the machine shop. New sleeves were installed and the crankshaft was polished and the cam was chrome plated and re-ground .030" over to 1.6017". I'll take some pics when I'm assembling it but it should fly together now.
Just measured the cam clearance and it's right at .002". I'm going to assemble it all this weekend and should be getting pretty close. You can see the chrome on the cam journals in the cam pic.

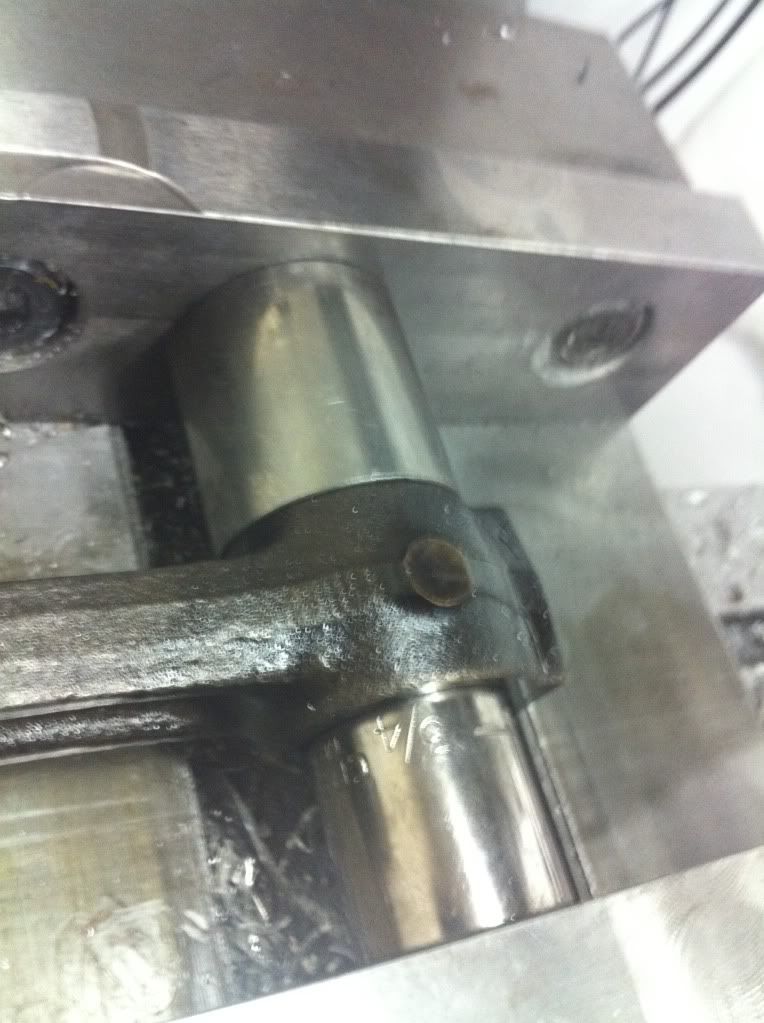
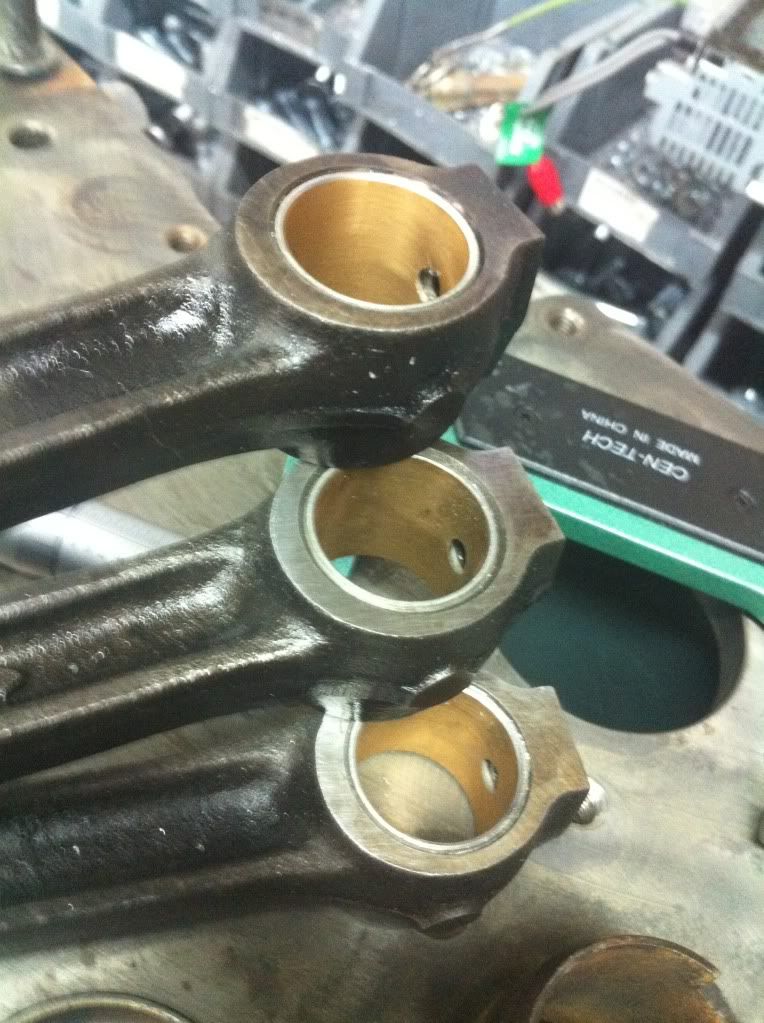
Put new bushing in the small ends of the rods. They're just light press fitted in there and a socket and metal tube was able to press them out with a vise.
Last edited:
Everything is going together really fast now!
Lining up those bearing caps was a bit tricky but I got it on the first try.

Lining up those bearing caps was a bit tricky but I got it on the first try.
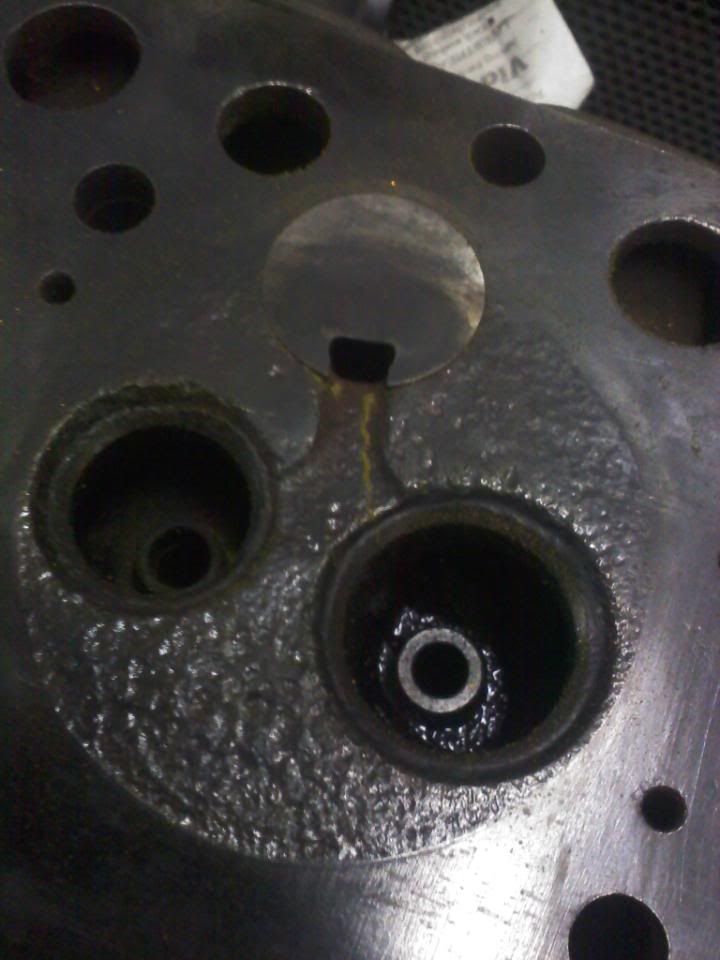
The head ended up being cracked down the middle chamber after it was magnafluxed. The head was repaired with stitching pins and the pre-chamber and valve seat had to be removed to reach the ends of the crack. I don't have an after pic but stitching pins were first put at a 45* angle into the end of the crack down both bores and were completed all the way between it. The chamber had a little bit of rust damage from the coolant but I doubt it will affect much since the crack is fixed and a new valve job was done.
A new valve job was done and all the valve were cleaned up.
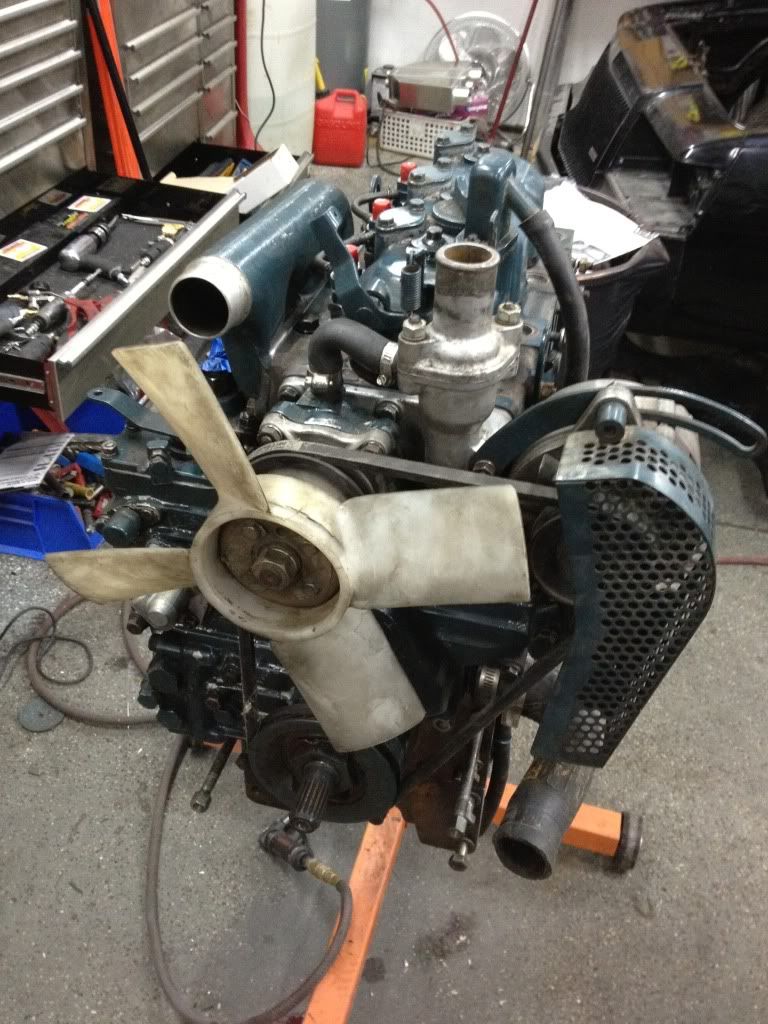
Motor is now assembled and done!
So to sum it up:
Head cracked
Block starved of oil from cam plugs
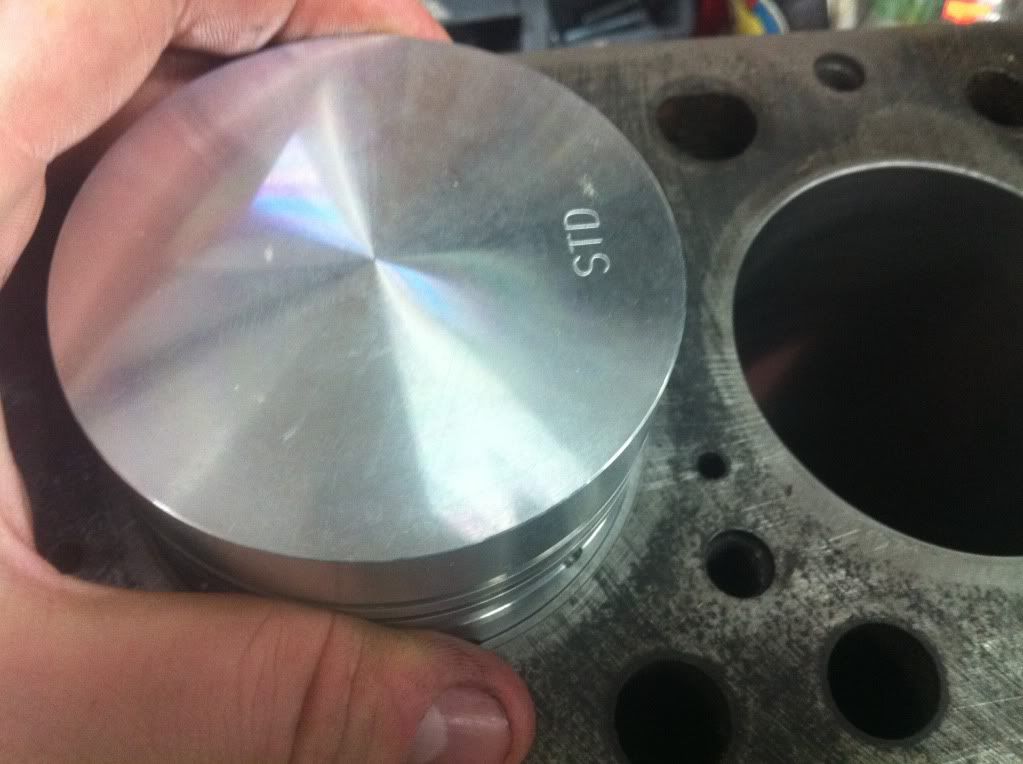
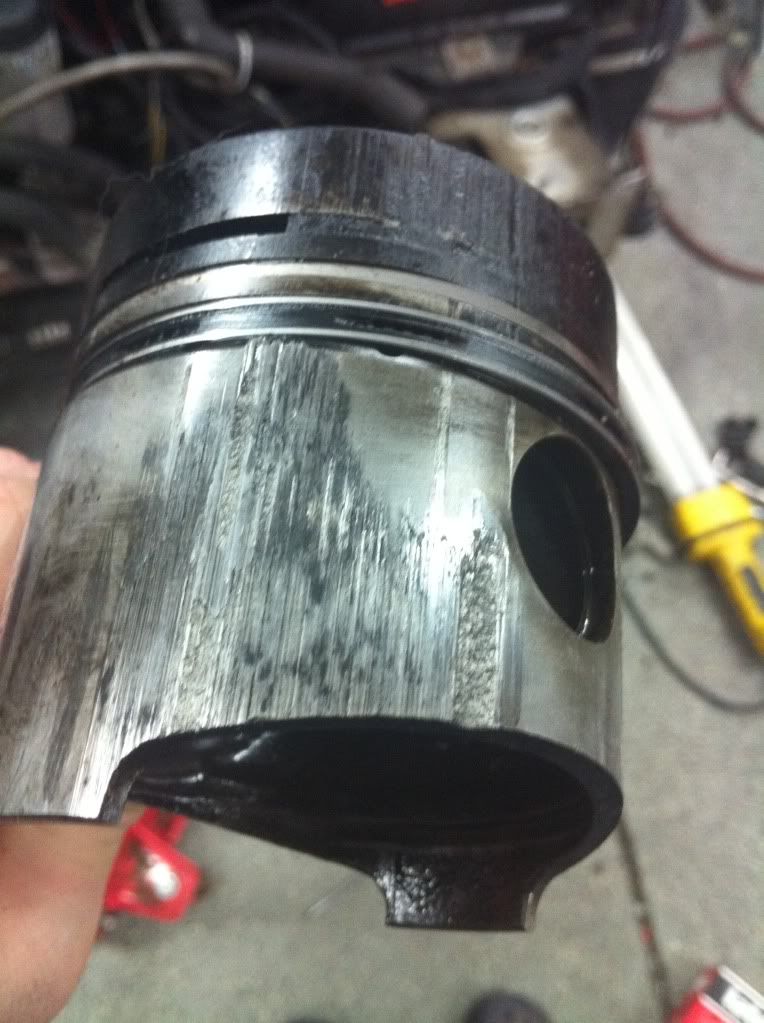
#3 piston rings cracked
The only thing I'm not sure of is if the coolant hurt the #2 injector but DFIS said they can rebuild them for under $100.
A new valve job was done and all the valve were cleaned up.
Motor is now assembled and done!
So to sum it up:
Head cracked
Block starved of oil from cam plugs
#3 piston rings cracked
The only thing I'm not sure of is if the coolant hurt the #2 injector but DFIS said they can rebuild them for under $100.
Last edited:
Project completed! I drove it around for the first time today and I'm amazed at how much different it sounds and how easy it is to start. No blowby coming from the vent tube and it starts up with 80psi of oil pressure which seems high. The bearing tolerances were pretty loose (.0045 on the loosest bearing) so I opted for the thicker stuff but maybe it's not needed. I'm in the process of installing some water temp gauge but I'm not sure where to tap into.
Nice job. Too bad you didn't have a pic of the repaired head, but I'm sure you were pretty anxious to get it back together. Glad to hear you're up and running.
The guy who did it has some pics I think. I'll try and get them from him... They were cast iron repair pins which have a tapered thread and a sealer on them. You have to drill, tap, and pin over and over as you go along the crack.
I forgot to mention that the clutch hits HARD. I almost liked the rusty clutch because it slipped a little bit as you engage it. This new clutch wants to snap my neck.
I forgot to mention that the clutch hits HARD. I almost liked the rusty clutch because it slipped a little bit as you engage it. This new clutch wants to snap my neck.
Nice job. Too bad you didn't have a pic of the repaired head, but I'm sure you were pretty anxious to get it back together. Glad to hear you're up and running.
Last edited: