Howdy All-
I've been delayed due to some projects around the place, but going back to the BT900 to complete the refurb.
I thought I'd again share what I've done to share what I've learned and the tools I'd used.
In this PART 2, I am replacing the bushings in the backhoe frame that are the BOTTOM and TOP supports for the swing cylinders. There is a very heavy steel bar that goes on the top (where the bushings are pressed) and is held in place with 4-14mm bolts
At first (don't laugh) I thought I could bang out the bushings from the bottom. I was wrong - so wrong.
Using my plasma cutter, I carefully cut several slots down the length of the bushing and then banged them out from the bottom. Yea Plasma Cutter! it took about 15 minutes.
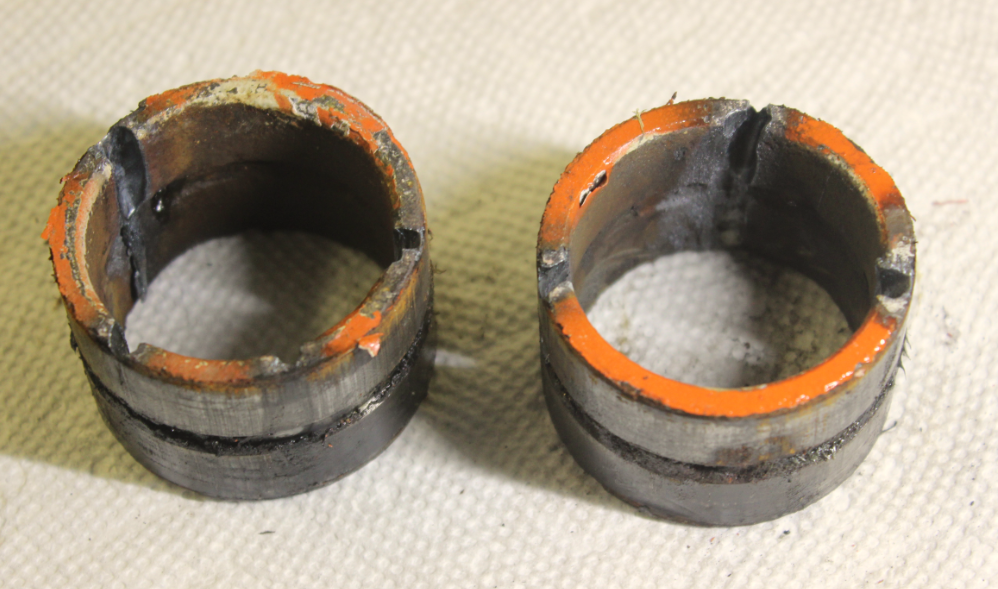
For those of you that are planning something like this - note that the bushing sits on a ridge in the collar. Thus you can only bang it out from the bottom,
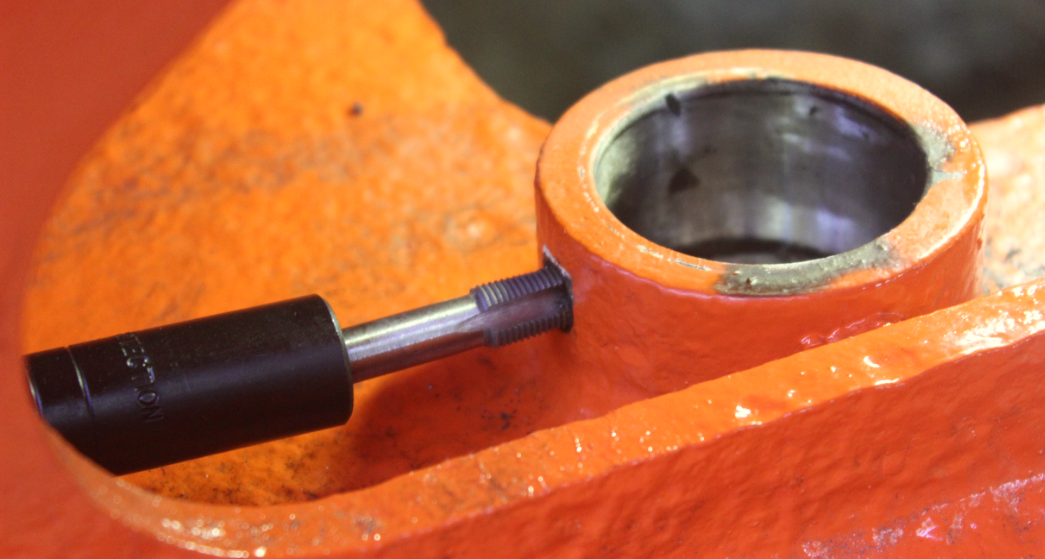
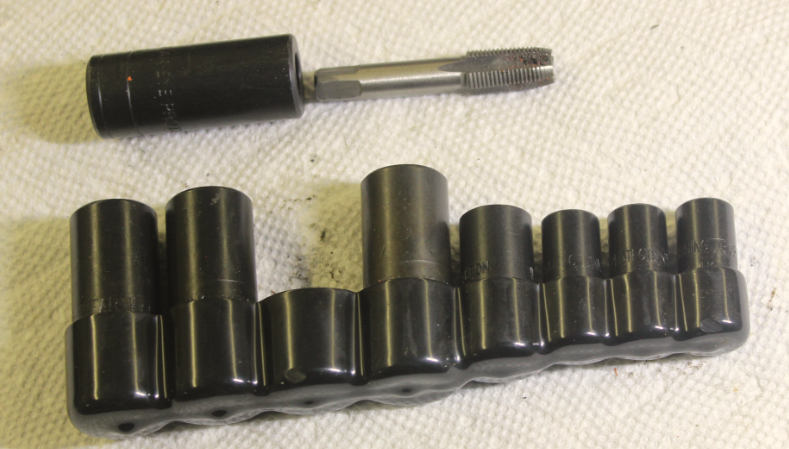
Before going further, I cleaned the threads using a 1/8 x 27 NPT tap and a tap holder. These tap holder sets are very handy and I got mine on Amazon. CORRECTION (I HAD 1/8 X 37 WHICH WAS INCORRECT)
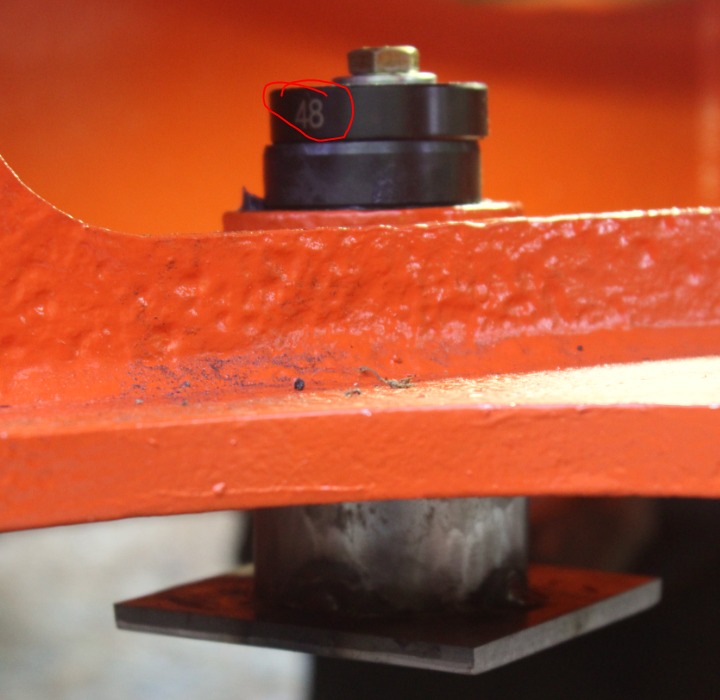
I started the new bushings (which I froze in my freezer) with a hammer (barely room) and then used a little home made bolt press to pull the bushing down. This works, but getting everything ready to install, the bushing loses that cold really fast. I used a 48mm bearing/bushing press disk. I used a 9/16 Grade 8 bolt and nut to do the pulling. You also need to buy Grade 8 washers Regular steel washers will deform!
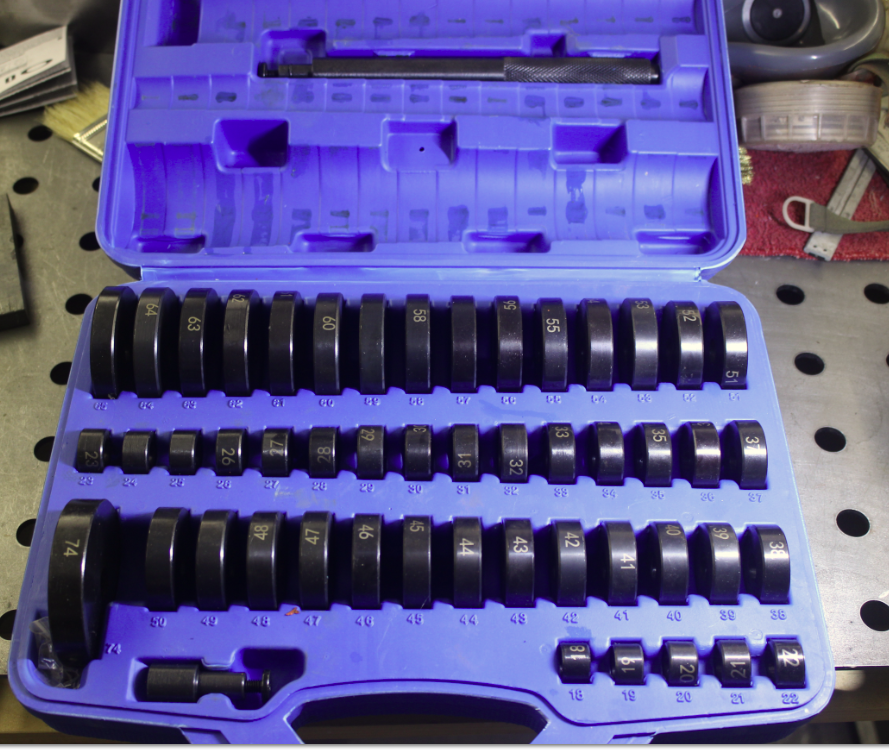
This is the bushing/bearing kit I found on Amazon.
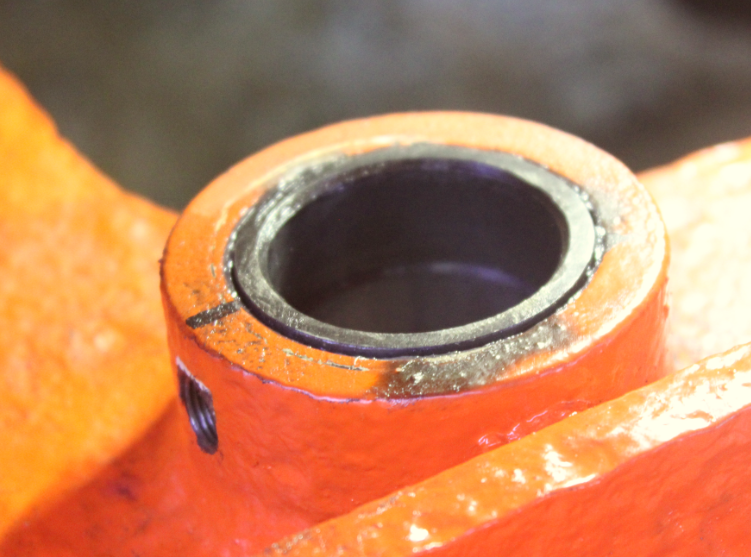
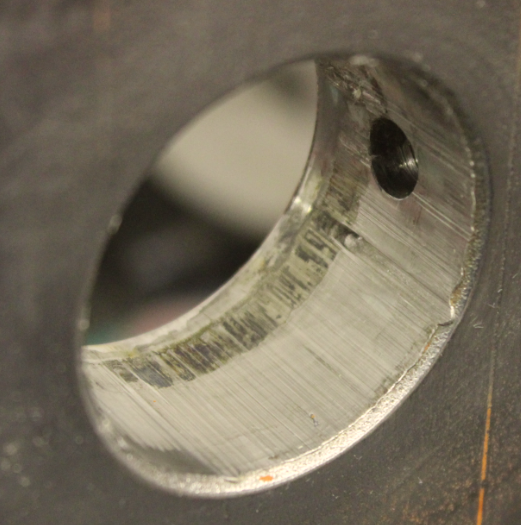
Completed new installed bushing. Remember to line up the grease hole in the bushing with the grease nipple!
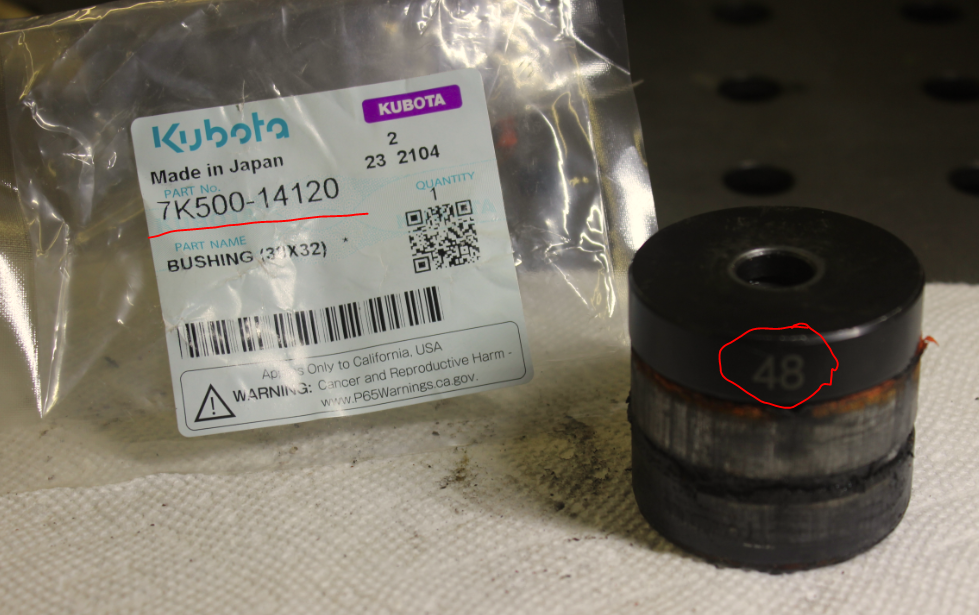
This is the new bushing part number. You will need 2 on top and 2 on bottom. Note the 48mm disk.
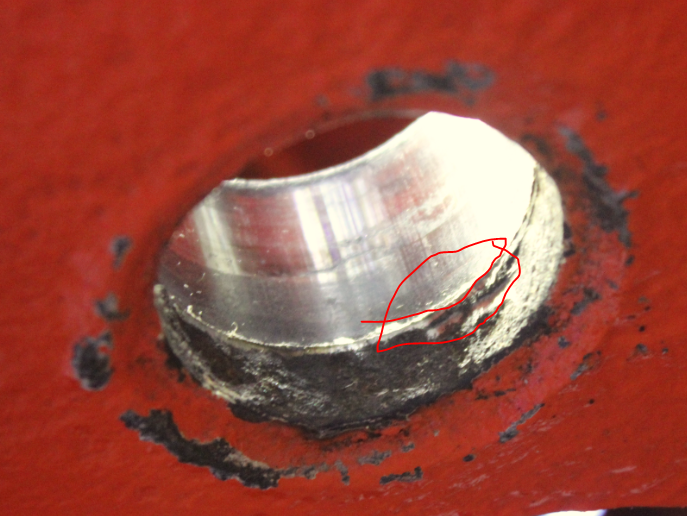
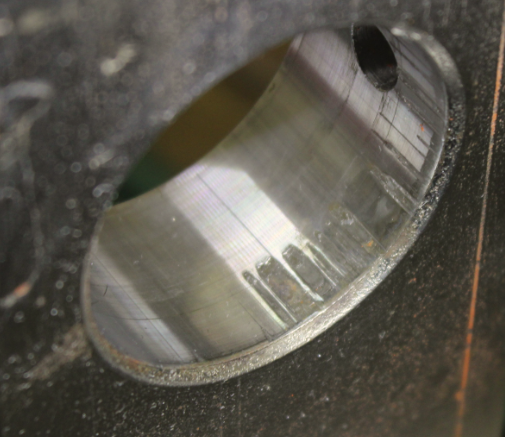
This is the TOP rail after removing the old bushings. Someone before me really had fun here - note the scratches.
I cleaned them up with a sanding drum.
I've been delayed due to some projects around the place, but going back to the BT900 to complete the refurb.
I thought I'd again share what I've done to share what I've learned and the tools I'd used.
In this PART 2, I am replacing the bushings in the backhoe frame that are the BOTTOM and TOP supports for the swing cylinders. There is a very heavy steel bar that goes on the top (where the bushings are pressed) and is held in place with 4-14mm bolts
At first (don't laugh) I thought I could bang out the bushings from the bottom. I was wrong - so wrong.
Using my plasma cutter, I carefully cut several slots down the length of the bushing and then banged them out from the bottom. Yea Plasma Cutter! it took about 15 minutes.
For those of you that are planning something like this - note that the bushing sits on a ridge in the collar. Thus you can only bang it out from the bottom,
Before going further, I cleaned the threads using a 1/8 x 27 NPT tap and a tap holder. These tap holder sets are very handy and I got mine on Amazon. CORRECTION (I HAD 1/8 X 37 WHICH WAS INCORRECT)
I started the new bushings (which I froze in my freezer) with a hammer (barely room) and then used a little home made bolt press to pull the bushing down. This works, but getting everything ready to install, the bushing loses that cold really fast. I used a 48mm bearing/bushing press disk. I used a 9/16 Grade 8 bolt and nut to do the pulling. You also need to buy Grade 8 washers Regular steel washers will deform!
This is the bushing/bearing kit I found on Amazon.
Completed new installed bushing. Remember to line up the grease hole in the bushing with the grease nipple!
This is the new bushing part number. You will need 2 on top and 2 on bottom. Note the 48mm disk.
This is the TOP rail after removing the old bushings. Someone before me really had fun here - note the scratches.
I cleaned them up with a sanding drum.
Last edited:

