installed these feild ready stabilizers tonight
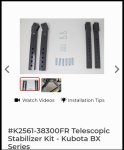
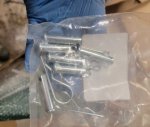
Photo 1: Shows the product
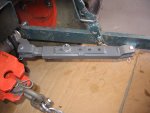
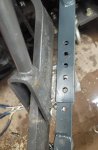
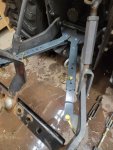
Photo 2: I inverted the steel bracket that hold the stabilizer to the tactor. It nows sits vertical rather than dropping down a bit. By inverting it I gained a a couple of centimeters in addition space for any rear PTO attachments
Photo 3: New pins and clips that came with the kit. I only used two of those amd elected to go with a difference pin for ease of readjusting the 3 point hitch.
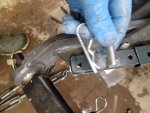
Photo 4: Shows the left stabilzer installed without the adjustment pins
Photo 5: Shows the pins that came with the kit.
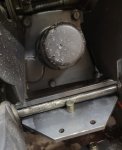
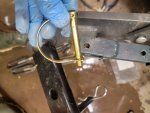
Photo 6: Is the pins I installed rather than the factory supplied pins
Photo: 6 & 7 Show the completed installation on both right and left sides.
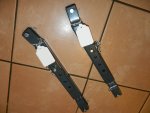
Photo 7: is the old stabilizers.
I think the upgrade was well worth the money. The ease and simplicity of adjusting the lift arms is GOLD in my books.
Removal and install time. 20-30 minutes including cleanup.
Photo 1: Shows the product
Photo 2: I inverted the steel bracket that hold the stabilizer to the tactor. It nows sits vertical rather than dropping down a bit. By inverting it I gained a a couple of centimeters in addition space for any rear PTO attachments
Photo 3: New pins and clips that came with the kit. I only used two of those amd elected to go with a difference pin for ease of readjusting the 3 point hitch.
Photo 4: Shows the left stabilzer installed without the adjustment pins
Photo 5: Shows the pins that came with the kit.
Photo 6: Is the pins I installed rather than the factory supplied pins
Photo: 6 & 7 Show the completed installation on both right and left sides.
Photo 7: is the old stabilizers.
I think the upgrade was well worth the money. The ease and simplicity of adjusting the lift arms is GOLD in my books.
Removal and install time. 20-30 minutes including cleanup.
Attachments
-
 154.3 KB Views: 147
 -
 246.2 KB Views: 149
 -
 373 KB Views: 135
 -
 473.8 KB Views: 139
 -
 622.1 KB Views: 136
 -
 405.3 KB Views: 143
 -
 585.1 KB Views: 141