L3800 improvements

Rokee95

Member
Jun 24, 2014
56
1
6
Round Hill, Virginia
Hello all.
I joined the forum last year to inquire pricing on an L3800 HST.
Got distracted with life and didn't write or follow up anymore.
In short, I bought the tractor last April before I moved.
Since I had most of my things in storage throughout the move I spent a lot of time tinkering with it.
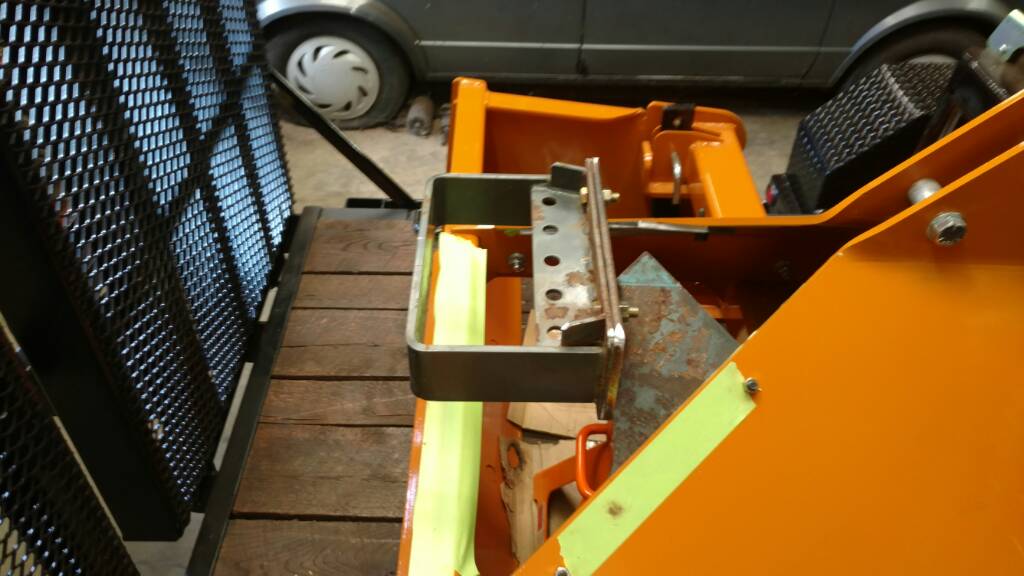
Thought I'd share some of the things I did to give ideas to others, and to correct some areas I thought needed improvement on this model tractor.

By the way, have patients while I figure out how to lead the pictures.


Sent from my XT1585 using Tapatalk
 

Rokee95

Member
Jun 24, 2014
56
1
6
Round Hill, Virginia
http://cloud.tapatalk.com/s/578af976e3c94/IMG_20150503_185614_286.jpg

First was to add the Parker Racor filter in place of the OE plastic on in the way of the oil filter.

By the way. Please let me know if I'm doing this right.
I'm learning this Tap Talk app.

Second was to add Linex to the floor and install cruise the Kubota cruise control. I didn't add those pics because that stuff can be seen throughout the rest of what I did.
If there is anyone that wants to do these things to their tractor and has questions, I'll do what I can to assist.

Next is to add a cutting edge to the bucket.


Then came time to install the third function valve kit.
I chose to use the Land Pride kit.
Except I added my spin on it using steel hydraulic tubing.


All the tubing is Parker.
I bent it all by hand (hand tubing bender) and fitted one at a time


For the 12 volt source to power my solenoid valve I went to a junk yard and got the terminals from a fuse box of a Nissan truck.
I added them to the empty spots of the Kubota box and soldered jumpers in to bridge power over to them.

Final result is two 5 amp fuses. One for each solinoid on the double acting valve.
Then one extra single wire for future use.
All the connections after the fuse box were done with GM weatherpack connectors.

Here you can see the lower right fuse locations now with terminals.
They are Tyco terminals I believe.


Sent from my XT1585 using Tapatalk
 

Rokee95

Member
Jun 24, 2014
56
1
6
Round Hill, Virginia
While I was bending tubing I added the three rear remotes also.


Made a bracket for the quick couplings.


Ran all the tubing for the hydraulics. Removed and painted. Then reinstalled.


Sent from my XT1585 using Tapatalk
 

Rokee95

Member
Jun 24, 2014
56
1
6
Round Hill, Virginia
Next was a subframe underneath that incorporated slots for T handles to use for tie downs.
The T handles are my favorite from my experience with tow trucks.


Then came the wheel weights.
All the weights are John Deere weights painted orange.
Part number BM17968, and BM17969.

Step one. Drill the rim. Also while the tires are off have Rim Guard installed by hauling them to a local Rim Guard carrier.


Paint the weights.
Install the smaller starter weight.


Add three more outside of the rim.
And two additional 55 pounders to the inside of the rim.


Sent from my XT1585 using Tapatalk
 

Rokee95

Member
Jun 24, 2014
56
1
6
Round Hill, Virginia
By the way, Dupli Color Chevrolet engine orange is a perfect match for Kubota.
Covers twice what Kubota branded paint covers, and half the cost.
Plus it dries so much faster.


The stabilizers I modified on a mill to accept the John Deere pins because I found them much easier to use.


Almost done.
I wanted more rear ballast, but didn't want to spend $500.00 on a one purpose use ballast box, so I added weight to my box blade.
Made a bracket to mount a modified L series front weight bracket.


Well, that's my list of things I did.
If anyone would like more info or more detailed pics I can provide.
There is just too many pics to upload all of them.

I hope you enjoyed the post, and I hope someone can find the ideas useful for themselves.


Sent from my XT1585 using Tapatalk
 

Rokee95

Member
Jun 24, 2014
56
1
6
Round Hill, Virginia
Thank you!
The pictures are loading?
On my tap talk I keep getting 0% logos in each picture icon.
Maybe I'm being impatient.
I'll keep figuring this out.

Sent from my XT1585 using Tapatalk
 

Boo

Member

Equipment
MX5800; BH92, BB2572, Forks 3048
Jul 1, 2016
123
4
18
HOLT, Florida
Nice looking workshop! Also, some pretty good work. Looks like you are ready to go....
 

cn2redjeep

New member

Equipment
L3901, tiller, finish mower, pallet forks, rear blade
Mar 27, 2015
25
0
0
Illinois
I'm impressed Kubota research and develop should put you on retainer to add all the items to there accessory list. Or better yet you supply all the parts and instructions for about half of what the dealer charges. My dealership didn't even blink when I ask about adding a remote hydraulic hookup.....1200.00 and 1 week in the shop...seems totally over priced to me.


Sent from my iPhone using Tapatalk
 

Rokee95

Member
Jun 24, 2014
56
1
6
Round Hill, Virginia
Thank you for the compliments!
I found it strange that the dealer's around me didn't act interested in selling the remote hydraulic kits.
I also inquired about buying a backhoe subframe kit with the intention of modifying it to use as a skid plate and tie down points.
Three local dealers quoted me $750.oo and kept insisting it was dumb to ad that without the hoe.
One other dealer quoted me $1250.oo
Those prices are not even including install or delivery.
I wanted the strength, weight, and the tie downs there so I made my own from scraps.
In the end I abandoned the skid plate idea because I was afraid it would just collect dirt and grass clippings if I mow with it.


Sent from my XT1585 using Tapatalk
 

Lil Foot

Well-known member
Lifetime Member

Equipment
1979 B7100DT Gear, Nissan Hanix N150-2 Excavator
May 19, 2011
7,281
2,234
113
Peoria, AZ
Very nice work, great photos & write up!
 

Rokee95

Member
Jun 24, 2014
56
1
6
Round Hill, Virginia
Cn2redjeep I agree that is overpriced.
One hydraulic rear remote is roughly $750-800 with the valve, mount and leaver kit all included.
Sounds like your dealer is charging in the $400 range to install.
It's not hard at all to do it, and you don't have to disassemble the whole tractor like I did.
If you use the included hoses it's really easy to add the kit.
I was just dead set on using steel tubing so it took me a long time to map it out and bend it, remove it, paint it a d reinstall.

Sent from my XT1585 using Tapatalk
 

JasonW

Active member
Jan 29, 2015
238
101
43
Al
Do you happen to have the part number for the Racor fuel filter? Any more pictures on the install?