Grouse Feathers
New member
Lifetime Member
Equipment
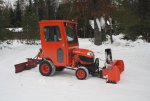
BX2370, FEL, Snowblower-BX5455, Homebuilt Forks, LP RB1560, LP GS1548
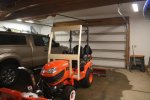
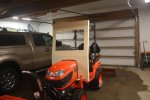
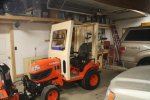
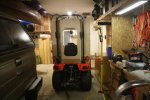
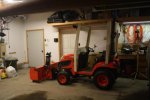
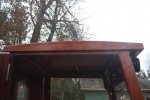
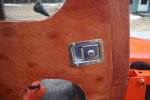
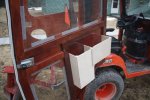
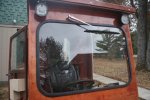
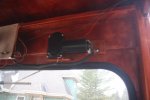
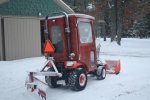
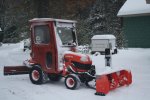
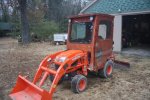
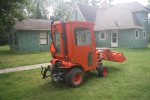
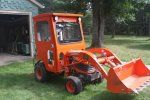
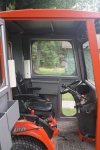
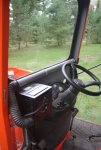
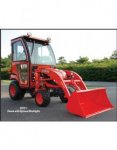
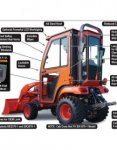
When I bought my tractor in December a cab for snow blowing was in my plans. After this winter I’m not sure why I wanted a cab as we had more snow before I bought the tractor than after. Apparently buying a tractor and snow blower deflected all the snow to the south and east. The price of the Curtis hard or soft cabs sold by the dealer was higher than I was willing to pay and I was not impressed with the quality of the soft sided cabs on the internet. After looking at many different cabs I decided to build a wooden cab modeled on the Curtis Cab for BX2370s, http://www.curtisindustries.net/cab-system-for-kubota-bx70-1/, (pictures one & two). Unlike many of the owner built and aftermarket cabs, the Curtis Cab sets under and inside the ROPS. This means the cab can be almost a foot shorter for more clearance around trees and have a smaller volume for heating.
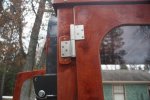
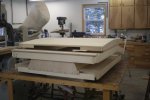
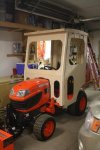
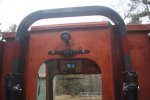
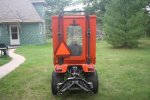
The cab is built as five separate panels; front, back, top, and two doors. When installed the top interlocks on the front and back and only needs to be held down. The back is securely fastened to the ROPS at four points and the front is fastened to the floor on each side.
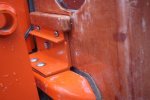
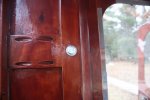
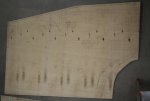
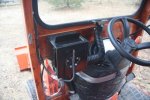
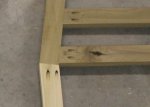
The frames for each panel are mostly of 1x2 maple or poplar with a skin of ¼ inch plywood. The plywood is subflooring that is normally used over chipboard subflooring to provide a smooth surface for installation of a finished floor. The ¼ plywood subflooring is five ply with no voids so it is much better than other ¼ plywood except Baltic plywood. For a while my supply of ¼ plywood subflooring was made in China, the plywood for the tractor was again from the US and is of higher quality.
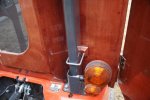
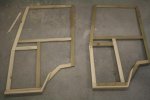
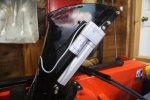
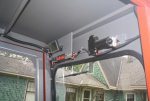
The frames were assembled with pocket hole screws (picture three) and glue. With the pocket holes it is easy to assemble flat square frames. The plywood skin in then glued to the frames. The pocket hole frames covered by plywood makes the panels rigid, strong, and flat.
The cab is built as five separate panels; front, back, top, and two doors. When installed the top interlocks on the front and back and only needs to be held down. The back is securely fastened to the ROPS at four points and the front is fastened to the floor on each side.
The frames for each panel are mostly of 1x2 maple or poplar with a skin of ¼ inch plywood. The plywood is subflooring that is normally used over chipboard subflooring to provide a smooth surface for installation of a finished floor. The ¼ plywood subflooring is five ply with no voids so it is much better than other ¼ plywood except Baltic plywood. For a while my supply of ¼ plywood subflooring was made in China, the plywood for the tractor was again from the US and is of higher quality.
The frames were assembled with pocket hole screws (picture three) and glue. With the pocket holes it is easy to assemble flat square frames. The plywood skin in then glued to the frames. The pocket hole frames covered by plywood makes the panels rigid, strong, and flat.
Attachments
-
 9.9 KB Views: 1,221
 -
 15.1 KB Views: 1,103
 -
 25.4 KB Views: 1,066