BX2350 Project Post
Hey all, been a longtime lurker and am finally posting some of what I've been working on. Should start with a little background...
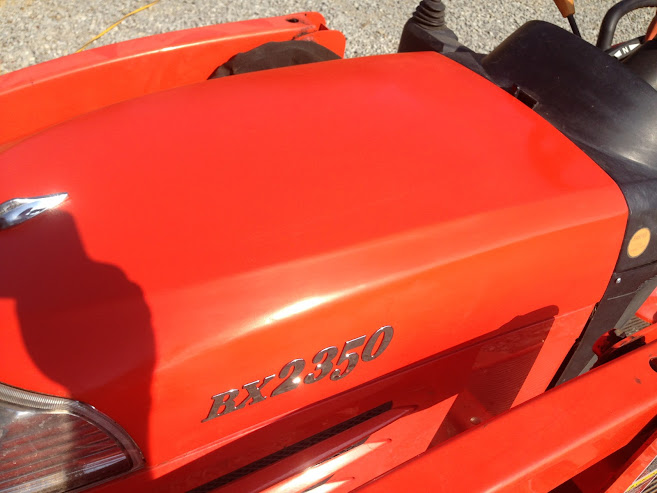
I have wanted/needed a tractor for my vineyard work and maintenance since August. I started looking last year and decided on the Kubota BX series but it just wasn't in the budget for a new one. After months of searching I finally found what I was looking for, a one owner BX2350 with front loader and belly mower with documented dealer maintenance for it's entire life. It was a steal and I jumped on it, the previous owner was retiring and selling the place in the country to move to a condo in town.
Now I had done my homework and I was aware of the "error" kubota made regarding plastic body panels and this tractor was part of that lapse in manufacturer judgement. I wasn't jazzed about the plastic parts but everything else about this tractor was too good to pass up. Well, less than a week after delivery my only fear was realized. While doing some dirt work a clod rolled out of the bucket and back down onto the hood. Punched a nice hole right through the top and broke the headlight assembly as well.
I priced a replacement ($250 through Coleman, which is less than 20 miles from me) and decided it was worth it to try to fix. I've searched here and multiple forums and saw lots of talk but never any pictures of fixing a busted hood or fenders so I thought I would give it a go. I wanted to maintain the flexibility and no paint/dents you get with plastic but needed the strength of steel. This is my attempt, I'll try to keep you all updated as I progress.
Here's the link for the full Photostream I tried to post the big ones and they aren't showing up. I'll try to explain.
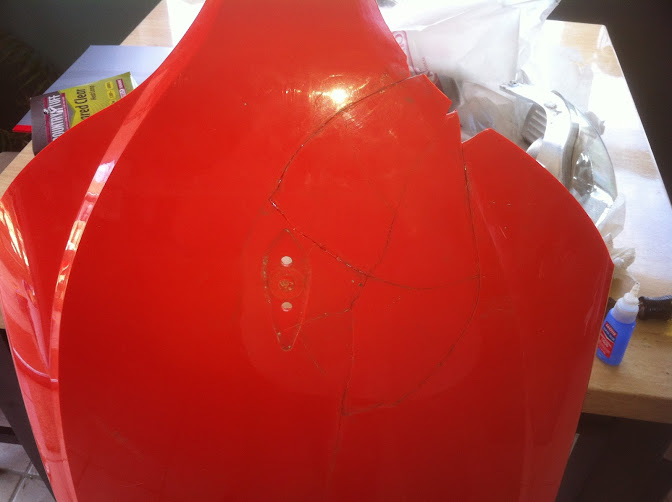
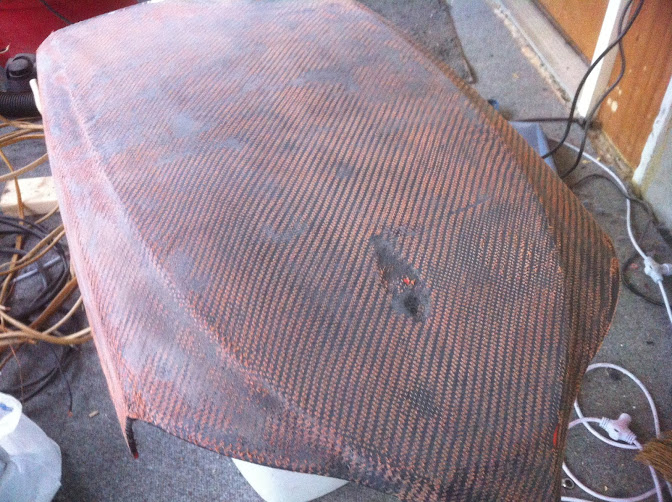
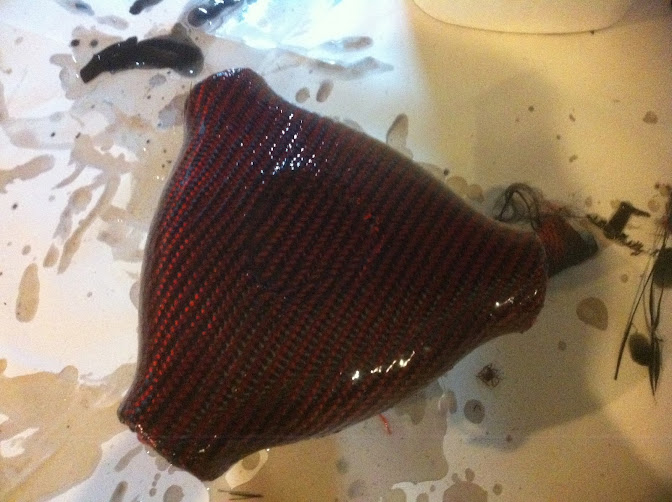
The Hood doesn't really look that bad here but this was with all of the pieces fit back and puzzled together. I picked up 5-6 pieces off the ground and out of the engine compartment to get to this point. The headlight lens was OK, just cracked straight across from the mounting bracket. I removed the hood with the pieces lightly sanded and tacked in place with superglue. It broke some of the bracket beneath too. Just shook my head when I saw how brittle and flimsy the whole design was. Serious Kubota Fail. I sanded and applied a coat of JB Weld to the back side for support, just step one, bear with me here. I've read a lot of posts that suggested JB weld but this isn't a long term fix. I have no doubt it will eventually de-laminate and that's OK, just needed something to support it while I fix it all. Headlight was an easy fix, probably won't do much more to it at this point. A couple off pics you can really start to see the extent of the damage. Going to take some body work to get it back to looking right. This was the end of the JB Weld, I think I got enough in there to hold everything in place. Sanded this down to 120 grit to prepare for the Bondo applied to the worst area, the dip in the top of the hood and the missing shattered piece at the front edge where the hood meets the headlight assembly. I wet sanded down to 220 Grit, off to prime and prep for the next step.
Hey all, been a longtime lurker and am finally posting some of what I've been working on. Should start with a little background...
I have wanted/needed a tractor for my vineyard work and maintenance since August. I started looking last year and decided on the Kubota BX series but it just wasn't in the budget for a new one. After months of searching I finally found what I was looking for, a one owner BX2350 with front loader and belly mower with documented dealer maintenance for it's entire life. It was a steal and I jumped on it, the previous owner was retiring and selling the place in the country to move to a condo in town.
Now I had done my homework and I was aware of the "error" kubota made regarding plastic body panels and this tractor was part of that lapse in manufacturer judgement. I wasn't jazzed about the plastic parts but everything else about this tractor was too good to pass up. Well, less than a week after delivery my only fear was realized. While doing some dirt work a clod rolled out of the bucket and back down onto the hood. Punched a nice hole right through the top and broke the headlight assembly as well.
I priced a replacement ($250 through Coleman, which is less than 20 miles from me) and decided it was worth it to try to fix. I've searched here and multiple forums and saw lots of talk but never any pictures of fixing a busted hood or fenders so I thought I would give it a go. I wanted to maintain the flexibility and no paint/dents you get with plastic but needed the strength of steel. This is my attempt, I'll try to keep you all updated as I progress.
Here's the link for the full Photostream I tried to post the big ones and they aren't showing up. I'll try to explain.
The Hood doesn't really look that bad here but this was with all of the pieces fit back and puzzled together. I picked up 5-6 pieces off the ground and out of the engine compartment to get to this point. The headlight lens was OK, just cracked straight across from the mounting bracket. I removed the hood with the pieces lightly sanded and tacked in place with superglue. It broke some of the bracket beneath too. Just shook my head when I saw how brittle and flimsy the whole design was. Serious Kubota Fail. I sanded and applied a coat of JB Weld to the back side for support, just step one, bear with me here. I've read a lot of posts that suggested JB weld but this isn't a long term fix. I have no doubt it will eventually de-laminate and that's OK, just needed something to support it while I fix it all. Headlight was an easy fix, probably won't do much more to it at this point. A couple off pics you can really start to see the extent of the damage. Going to take some body work to get it back to looking right. This was the end of the JB Weld, I think I got enough in there to hold everything in place. Sanded this down to 120 grit to prepare for the Bondo applied to the worst area, the dip in the top of the hood and the missing shattered piece at the front edge where the hood meets the headlight assembly. I wet sanded down to 220 Grit, off to prime and prep for the next step.
Last edited:

 .. And welcome to the Orange , I have the 60 series same tractor and my friend I ll tell you that you wont be sorry, she is as you know by now for its size a beast,,,