On 12/4/09 I bought my first tractor, a B7100 HST-D. This thread will be a journal of all of the work I do to this tractor. My goal is not a complete restoration and wont always be with the original stock items, but it will be thorough and it will be nice.
I found this site before making my purchase, and made the choice to buy my tractor based on some of the information I learned here. Orangetractortalks has already been a wealth of info for me since buying the tractor. I know I will have many questions along my way and I know to some of you, they will be mundane and monotonous. In return for the help thus far, and in advance for all future help you may lend, I am making this thread to give back to the site. This thread could become a great resource for info for any newbie B7100 owner. I guess a lot of it can also apply to B6000, B6100 and B7200.
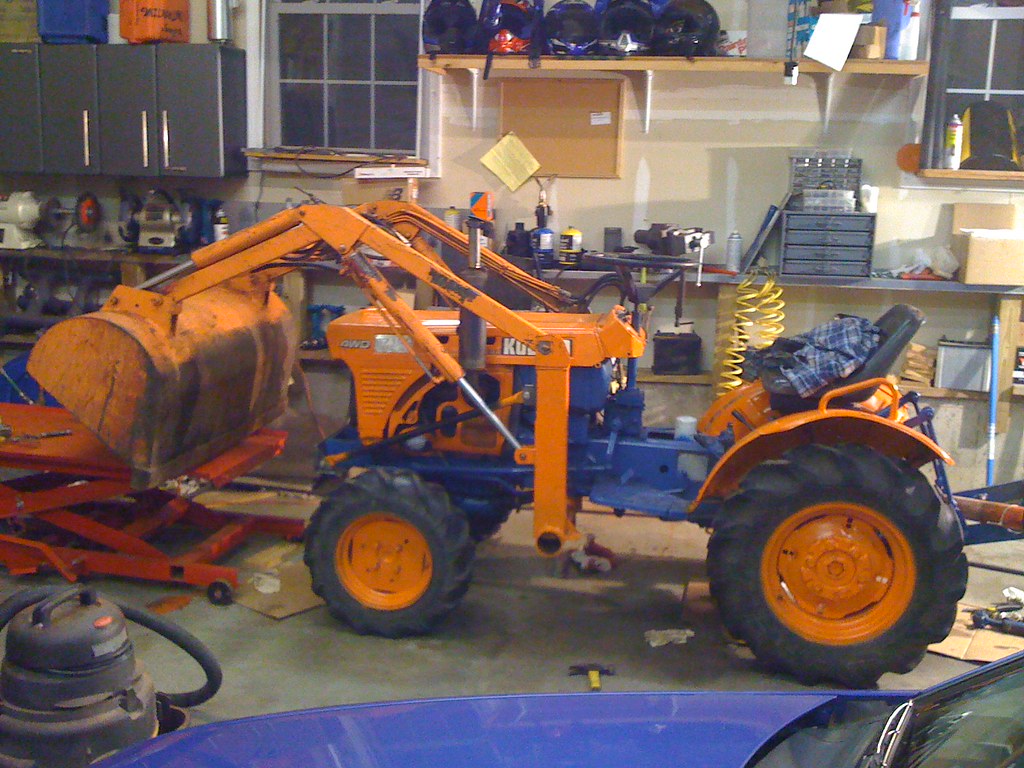
I paid $2,600.00 dollars for my tractor. It came with a Woods RM59 60" 3 pt mower and a front end loader. I was told it might be a Johnson but he know that it did come off a Bolens tractor (this meant nothing to me lol). I made the offer on the phone without having seen it and he accepted. So I rented a U-Haul trailer the same day (Friday) and then drove 4 hours upstate NY to get it. The whole way up I was thinking there was a chance that it was not as clean and well working as stated in the ad. When I got there the tractor looked great. Started easily on a very cold night seemed to have good power. Done, I bought it and headed back home. Got home around midnight and was annoyed I had to work Saturday because all I wanted to do was play.
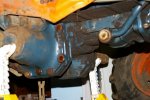
Saturday afternoon came soon enough. I started it up, drove around for a while testing every handle I could find. Everything worked and worked well. Well, as best as a newbie to tractors could tell. But worked well enough for me. Only thing I noticed was a little wobble in the front end while testing top speed. But I would worry about that later. (who needs top speed anyway?)
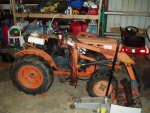
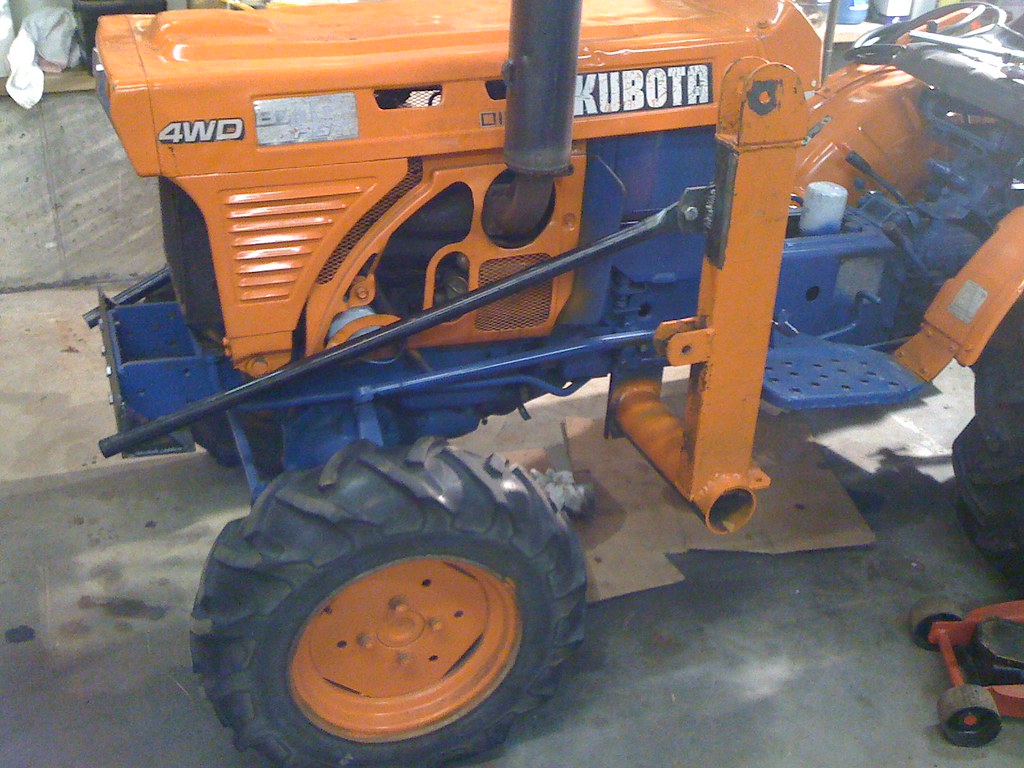
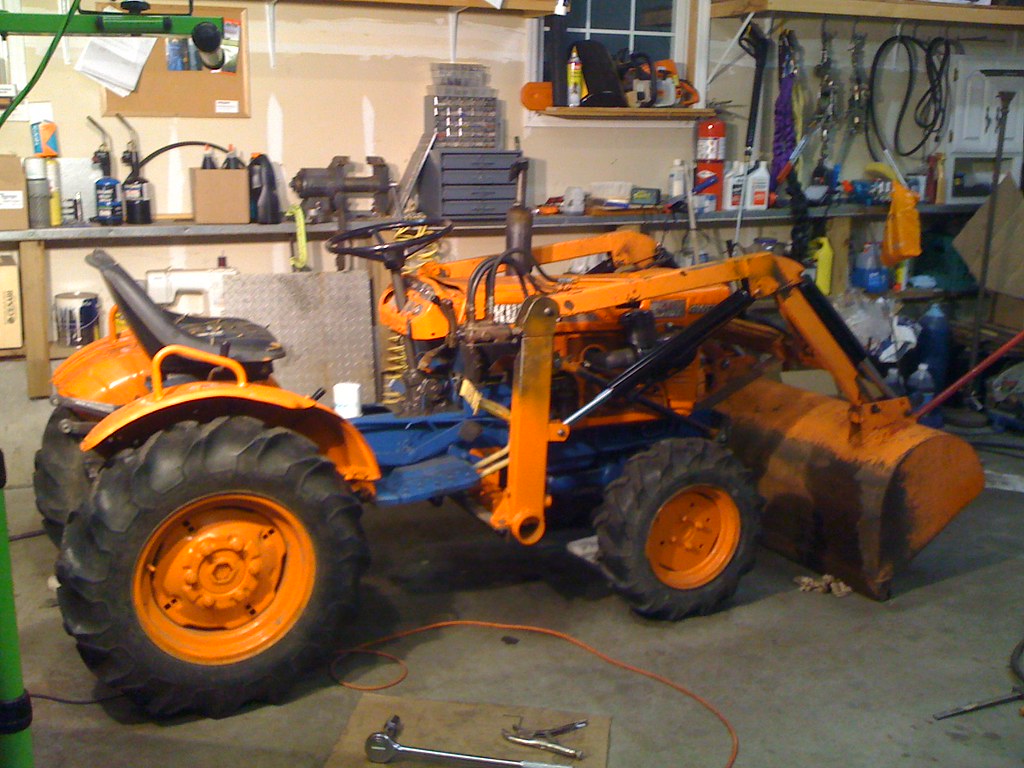
The Tractor

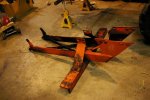
The mower

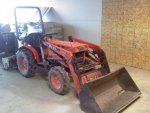
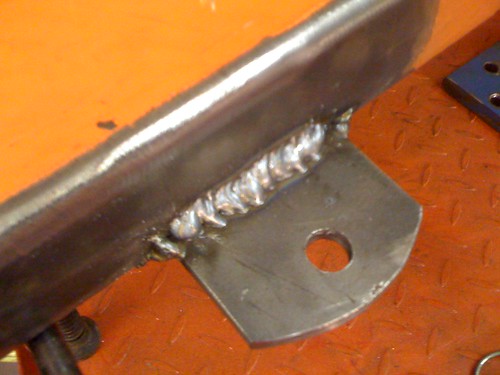
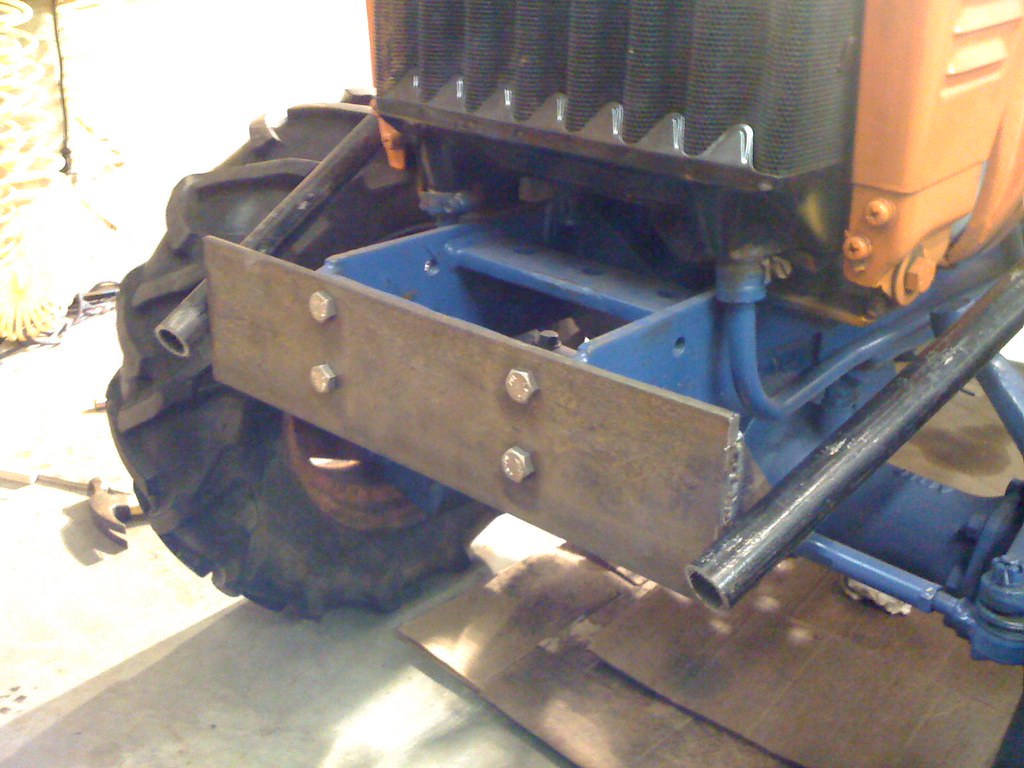
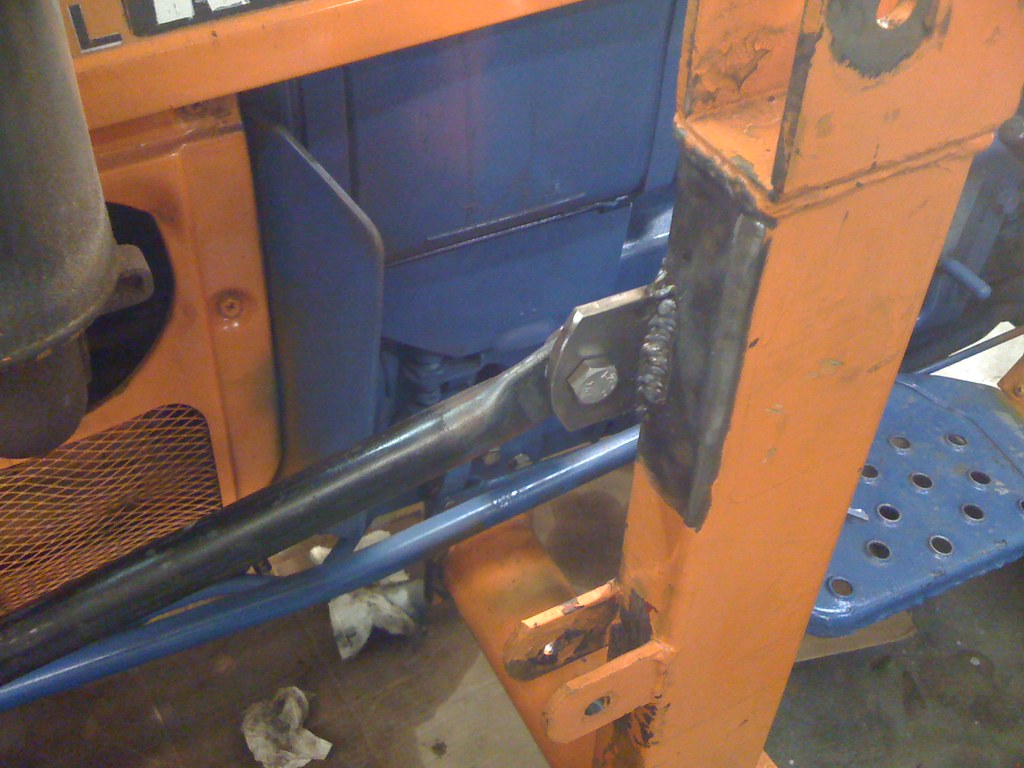
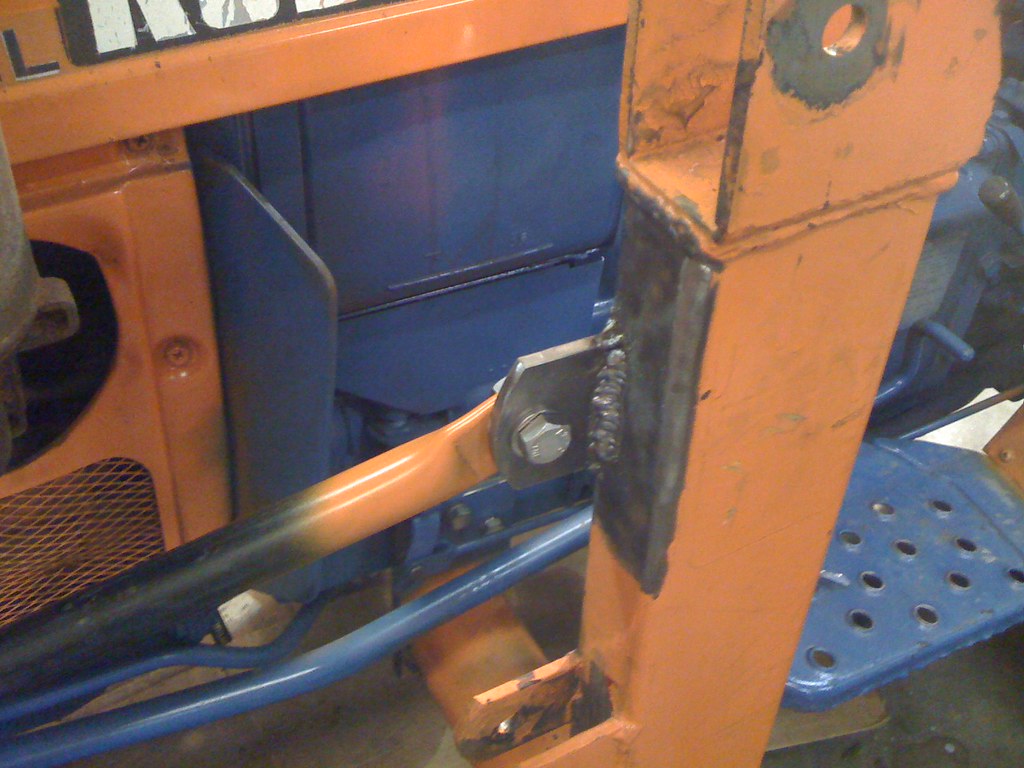
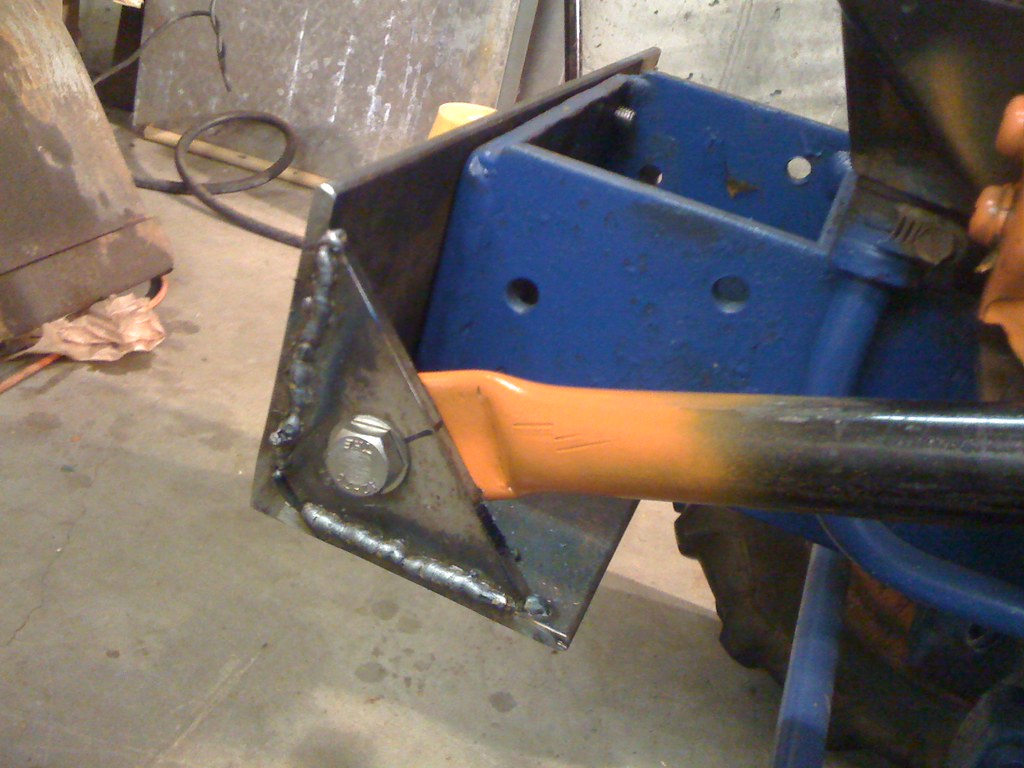
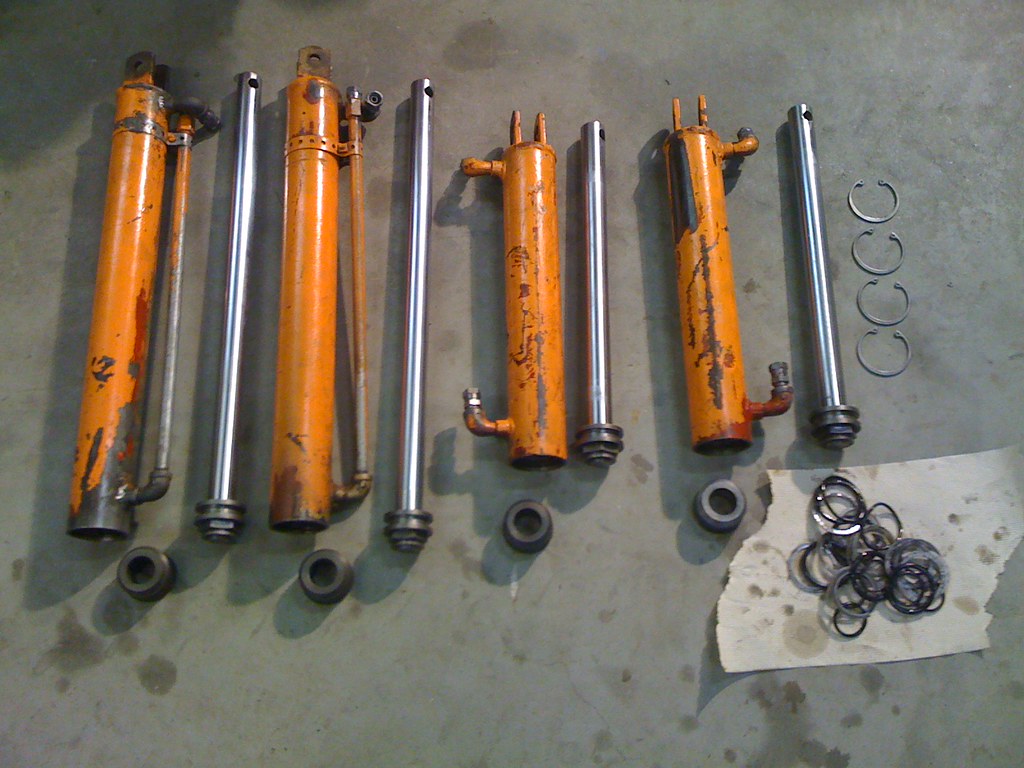
The Loader

Let the fun begin
I found this site before making my purchase, and made the choice to buy my tractor based on some of the information I learned here. Orangetractortalks has already been a wealth of info for me since buying the tractor. I know I will have many questions along my way and I know to some of you, they will be mundane and monotonous. In return for the help thus far, and in advance for all future help you may lend, I am making this thread to give back to the site. This thread could become a great resource for info for any newbie B7100 owner. I guess a lot of it can also apply to B6000, B6100 and B7200.
I paid $2,600.00 dollars for my tractor. It came with a Woods RM59 60" 3 pt mower and a front end loader. I was told it might be a Johnson but he know that it did come off a Bolens tractor (this meant nothing to me lol). I made the offer on the phone without having seen it and he accepted. So I rented a U-Haul trailer the same day (Friday) and then drove 4 hours upstate NY to get it. The whole way up I was thinking there was a chance that it was not as clean and well working as stated in the ad. When I got there the tractor looked great. Started easily on a very cold night seemed to have good power. Done, I bought it and headed back home. Got home around midnight and was annoyed I had to work Saturday because all I wanted to do was play.
Saturday afternoon came soon enough. I started it up, drove around for a while testing every handle I could find. Everything worked and worked well. Well, as best as a newbie to tractors could tell. But worked well enough for me. Only thing I noticed was a little wobble in the front end while testing top speed. But I would worry about that later. (who needs top speed anyway?)
The Tractor
The mower
The Loader
Let the fun begin
Last edited: