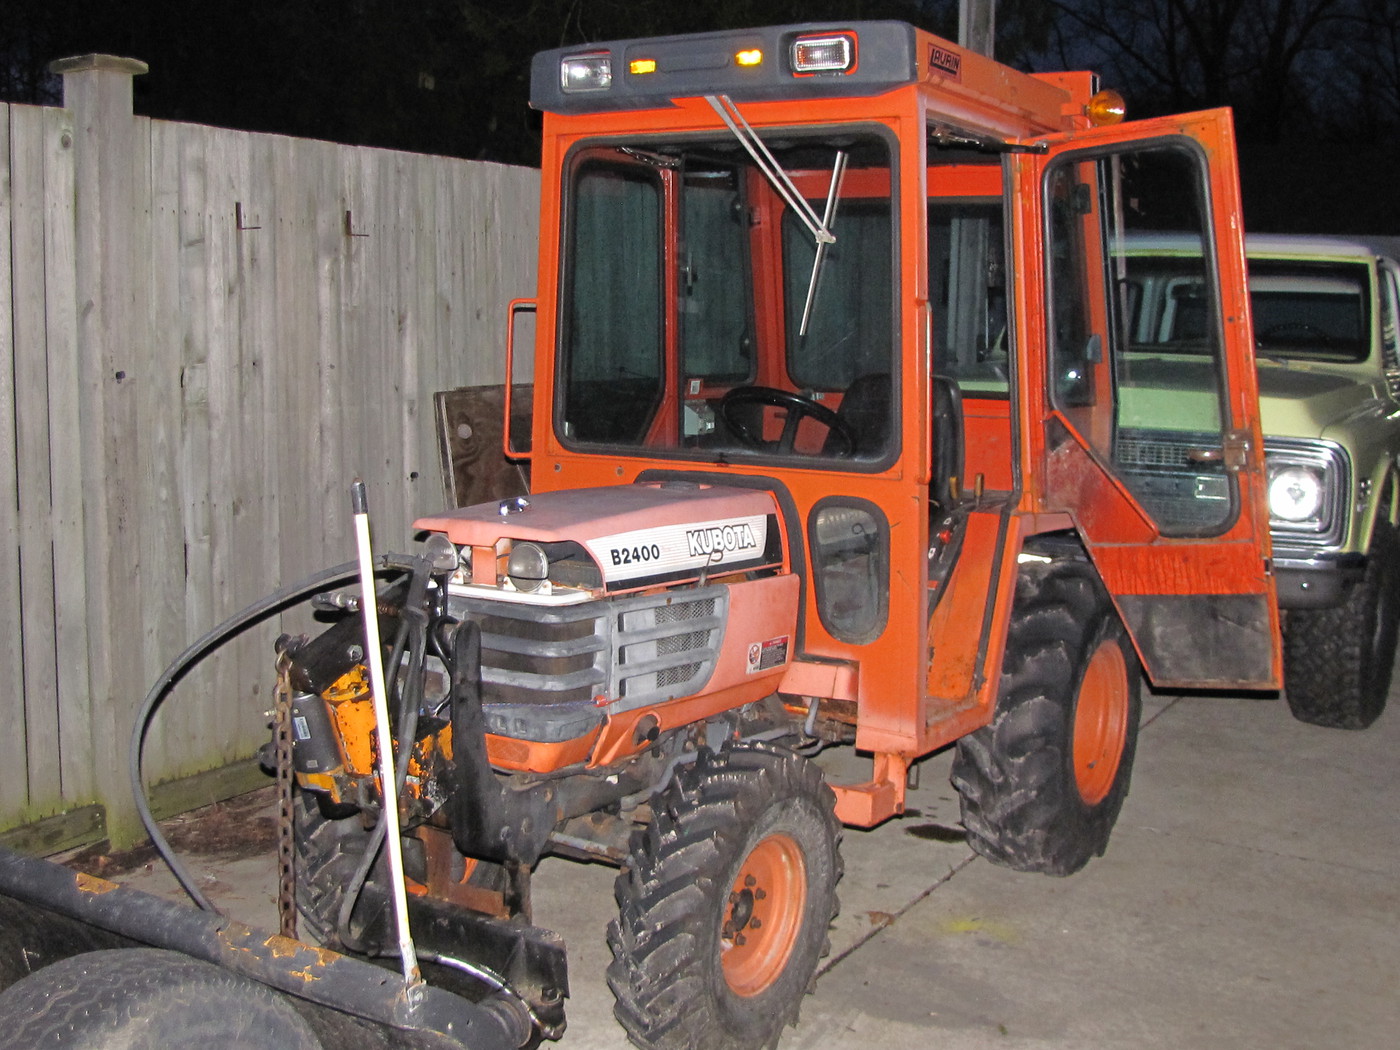
I bought a B2400 in the spring this year and have spent the summer going through it. I'll post pic's of the paint and cab refurbish when I'm done but wanted to quickly post this hydraulic install I just completed.
I had a hard time finding anything on the net that showed how to do this.
Once you have the parts it's REALLY easy.
Hope this helps anyone looking to do the same.
On the B2400 the hydraulic block will be installed on the right side of the tractor (if sitting in the seat)
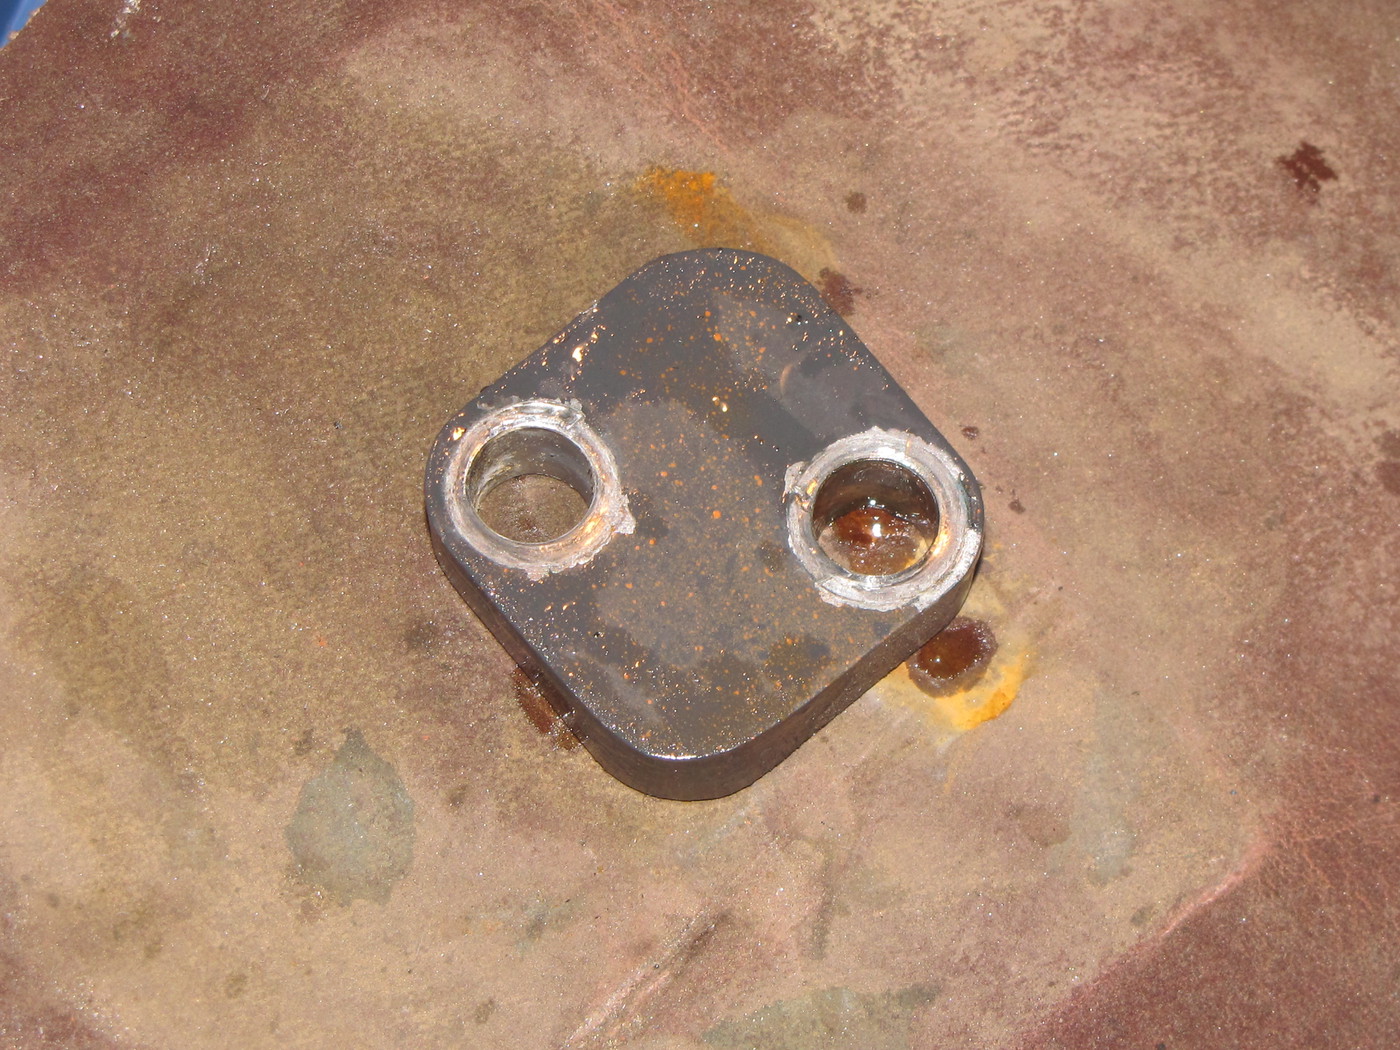
I've already taken the block-off plate here. Just two 12mm blots hold it on.

Here is the block off plate (topside)
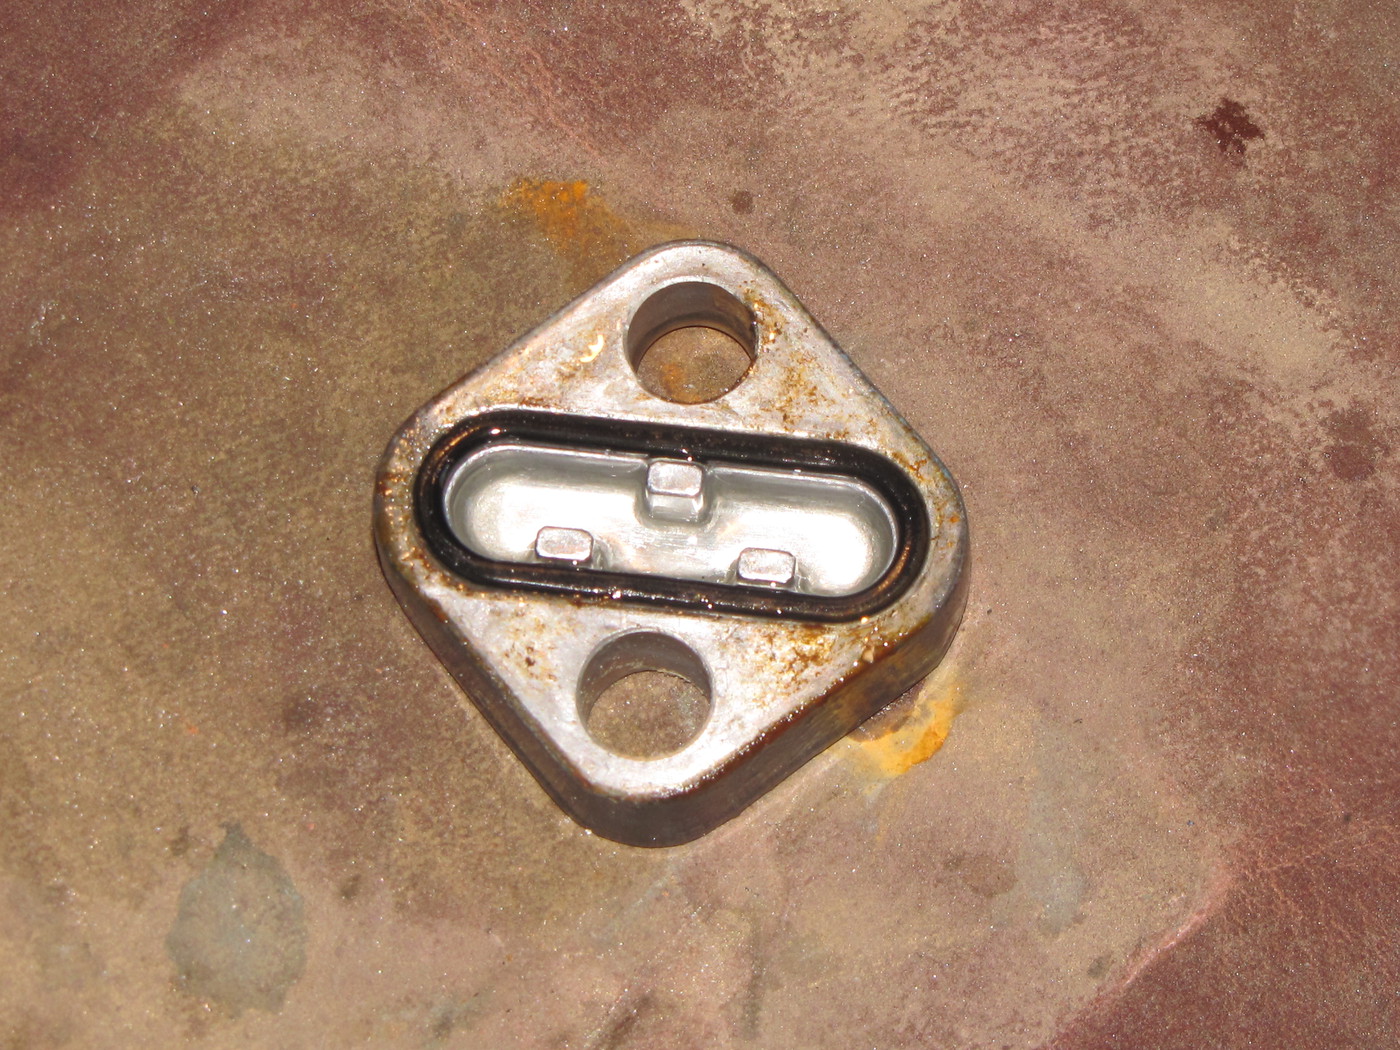
The underside of the block off plate. The two ports are allowed to flow through this plate via this channel.
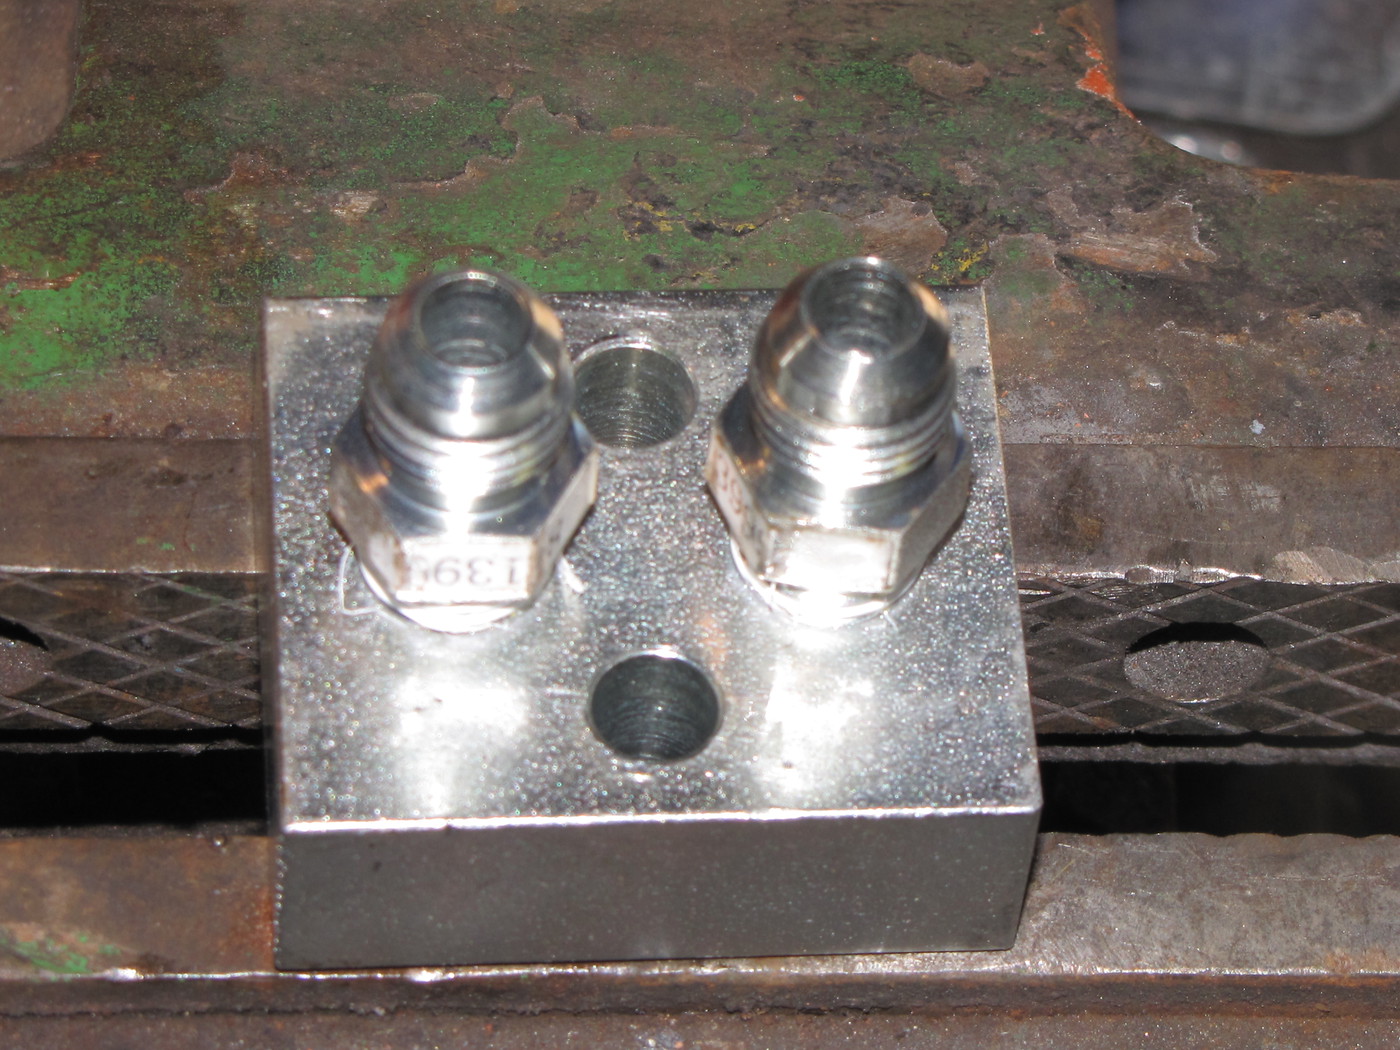
New hydraulic block from Kubota Dealer. Part #75536-68113. Cost was $18.87. The hydraulic block does NOT include the NPT to JIC fitting. Those fittings are 1/4"NPT to 3/8" JIC. They were about $3.00 each in the hydraulic section of Princess Auto.
This side has the relief for the O-rings. O-rings are NOT included when you buy the block.
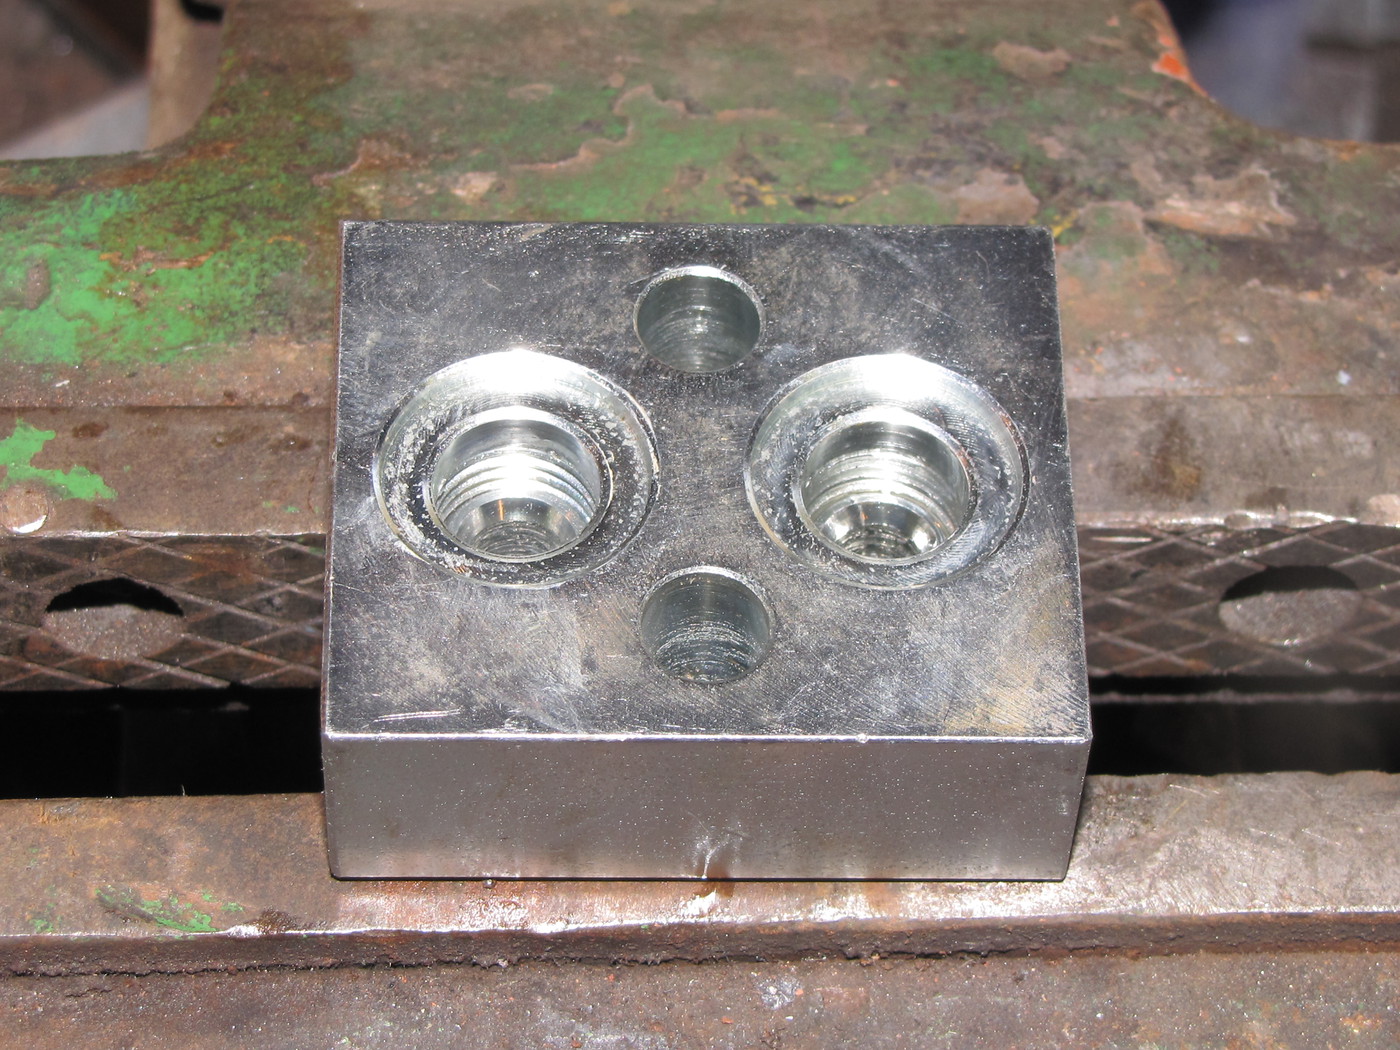
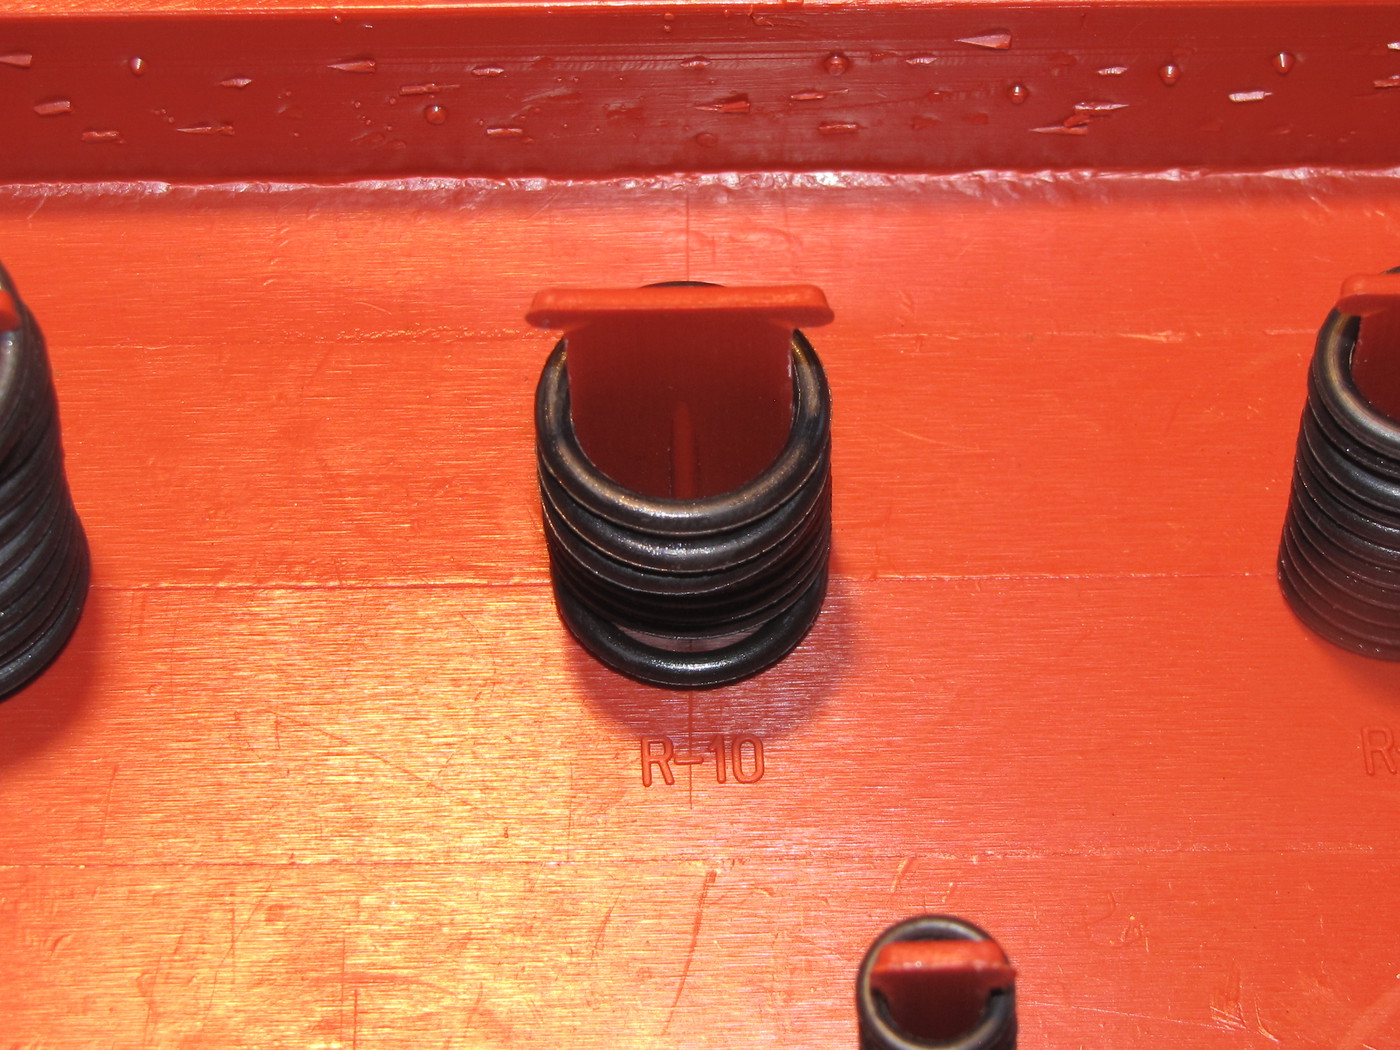
This is the size of O-ring that fits the Block (R-10). It's a Standard size O-ring, not Metric.
When installing the block, a little hydraulic oil helps keep the O-rings in place.

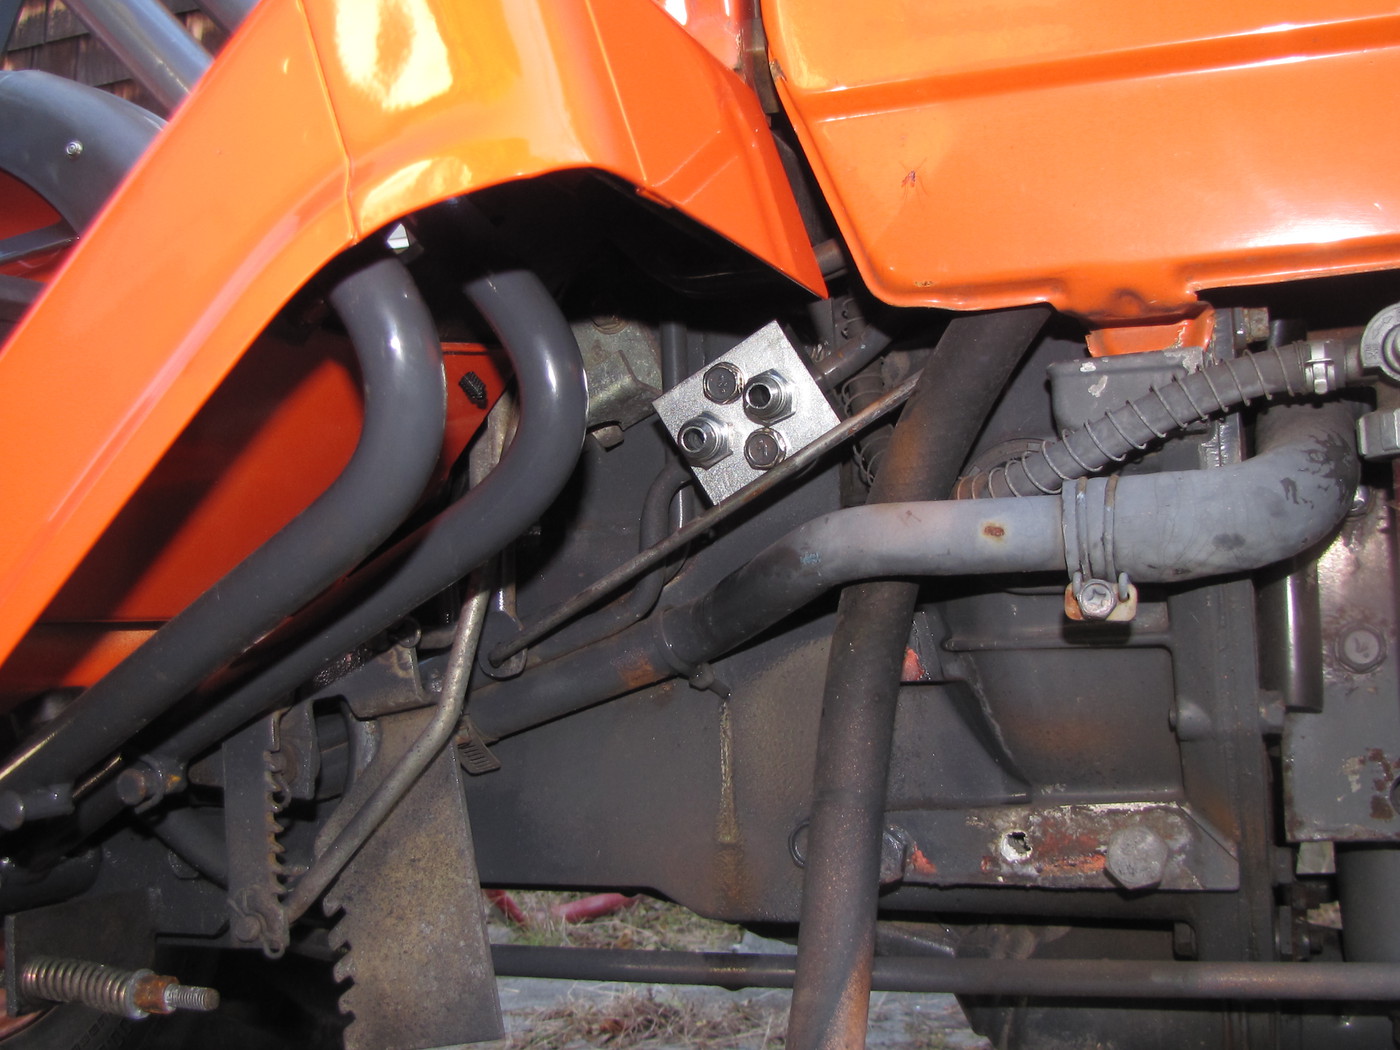
New hydraulic block installed.
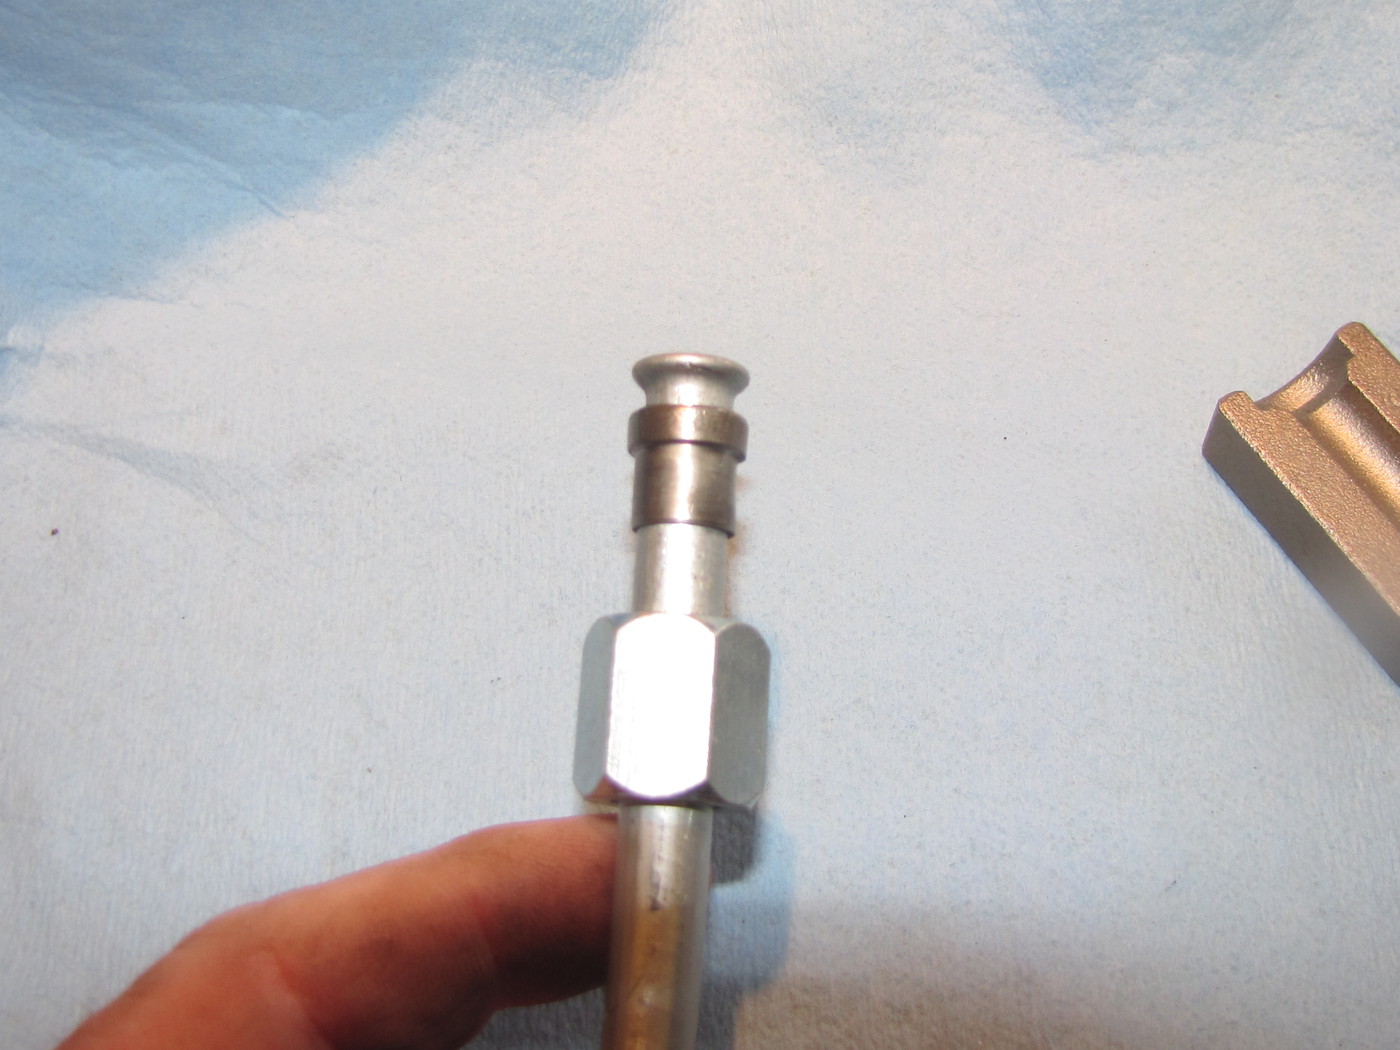
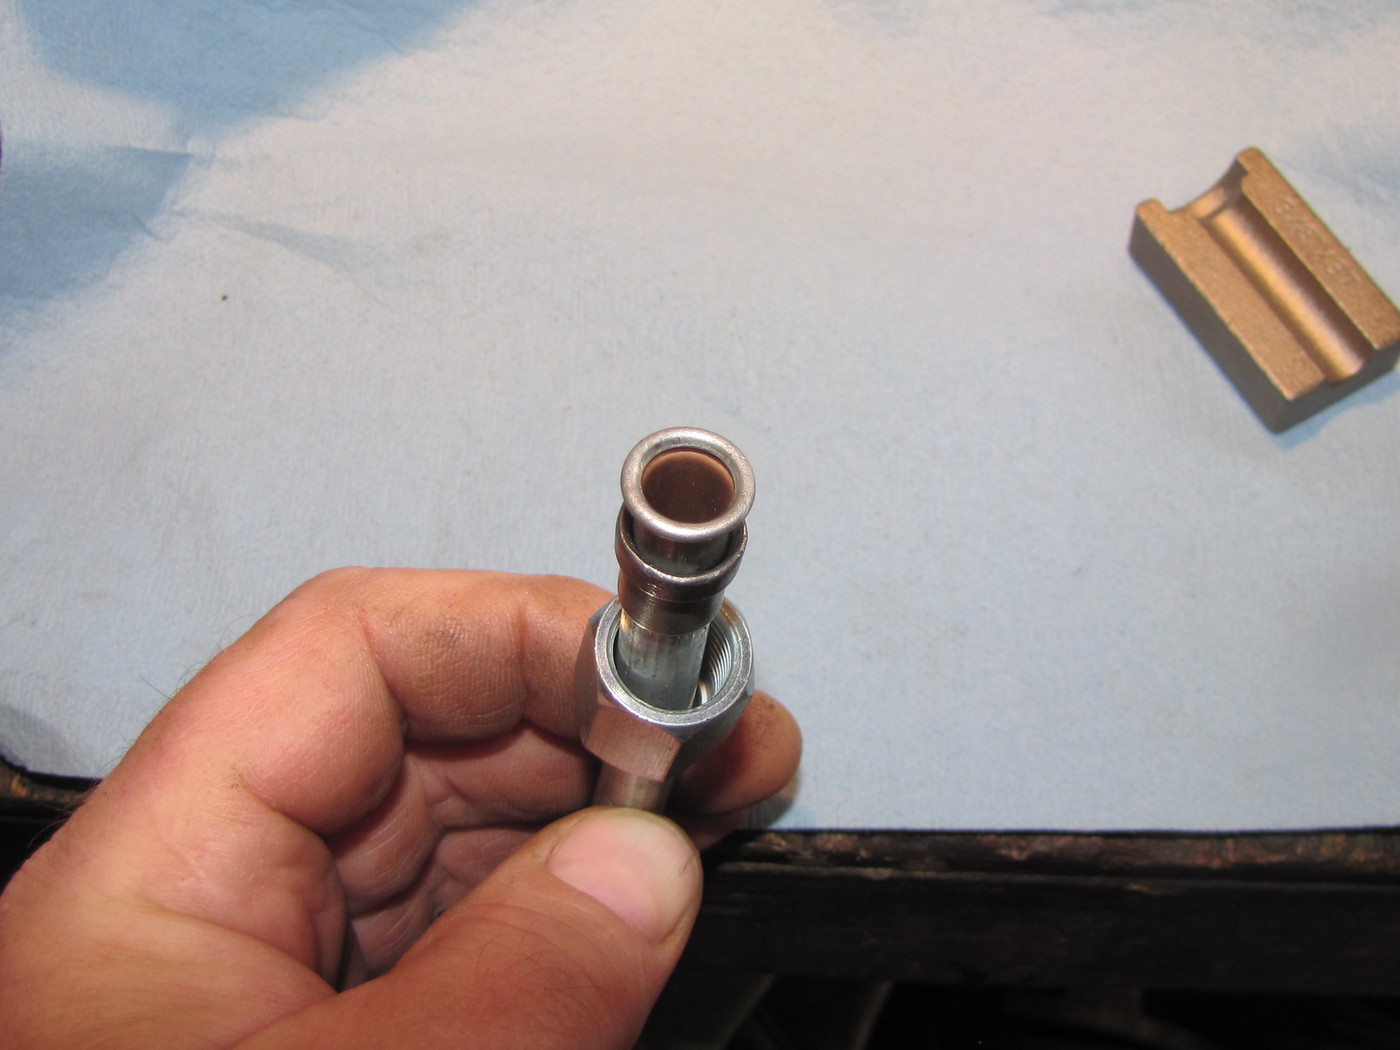
I was not ready to hook-up a hydraulic spool valve yet so I had to make a bypass tube to connect the two ports. Short piece of 3/8" tubing with back-up sleeves and nut installed before I flare the tube.

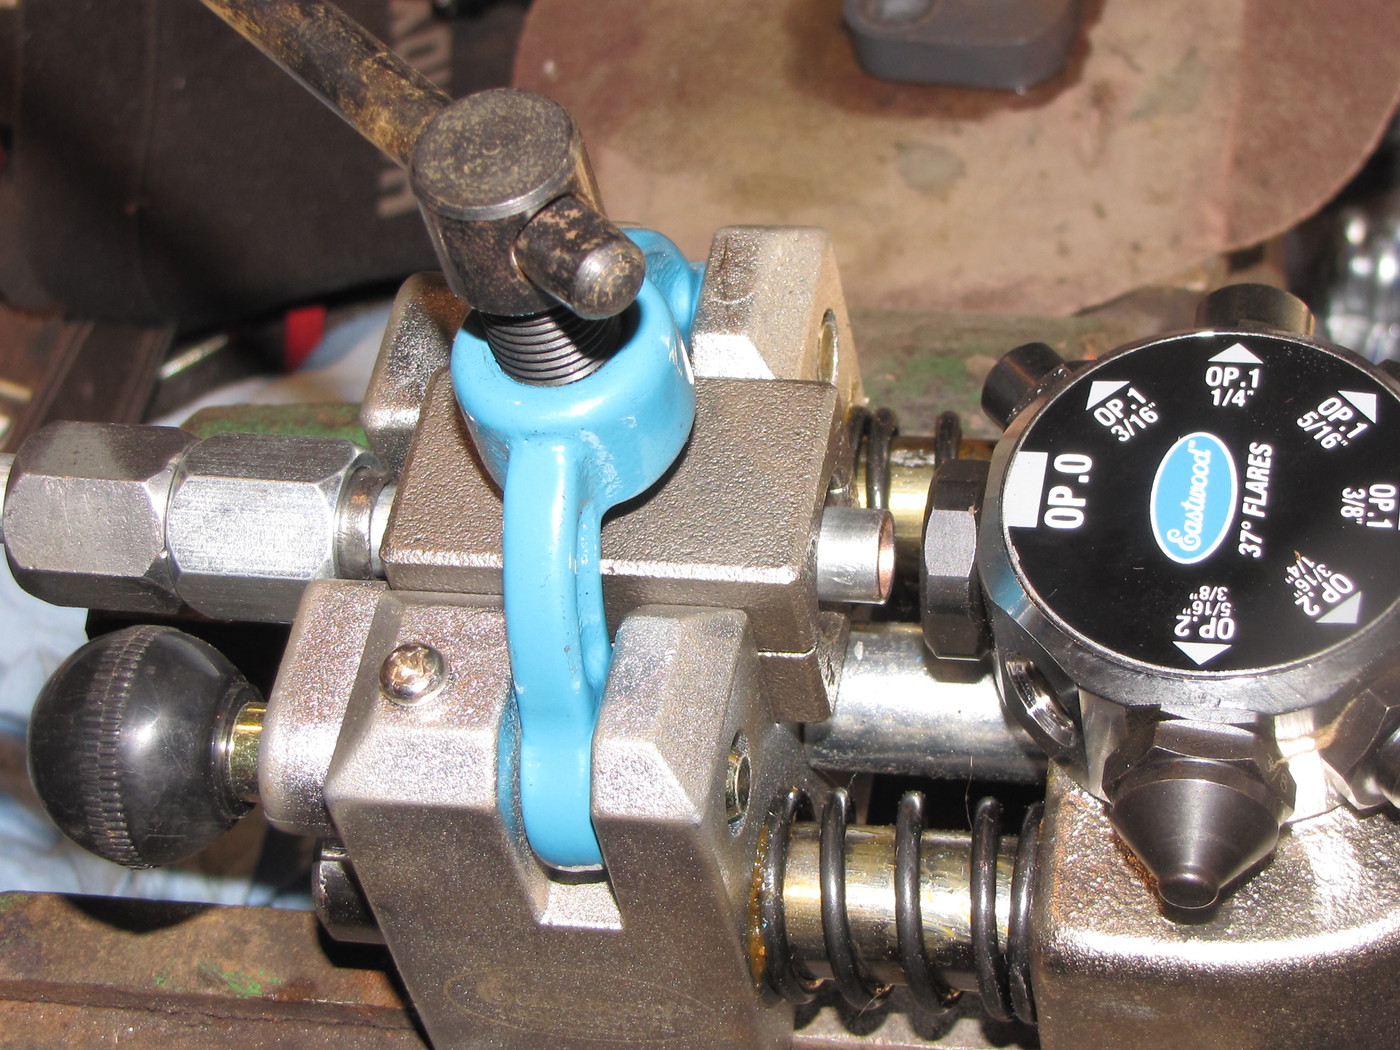
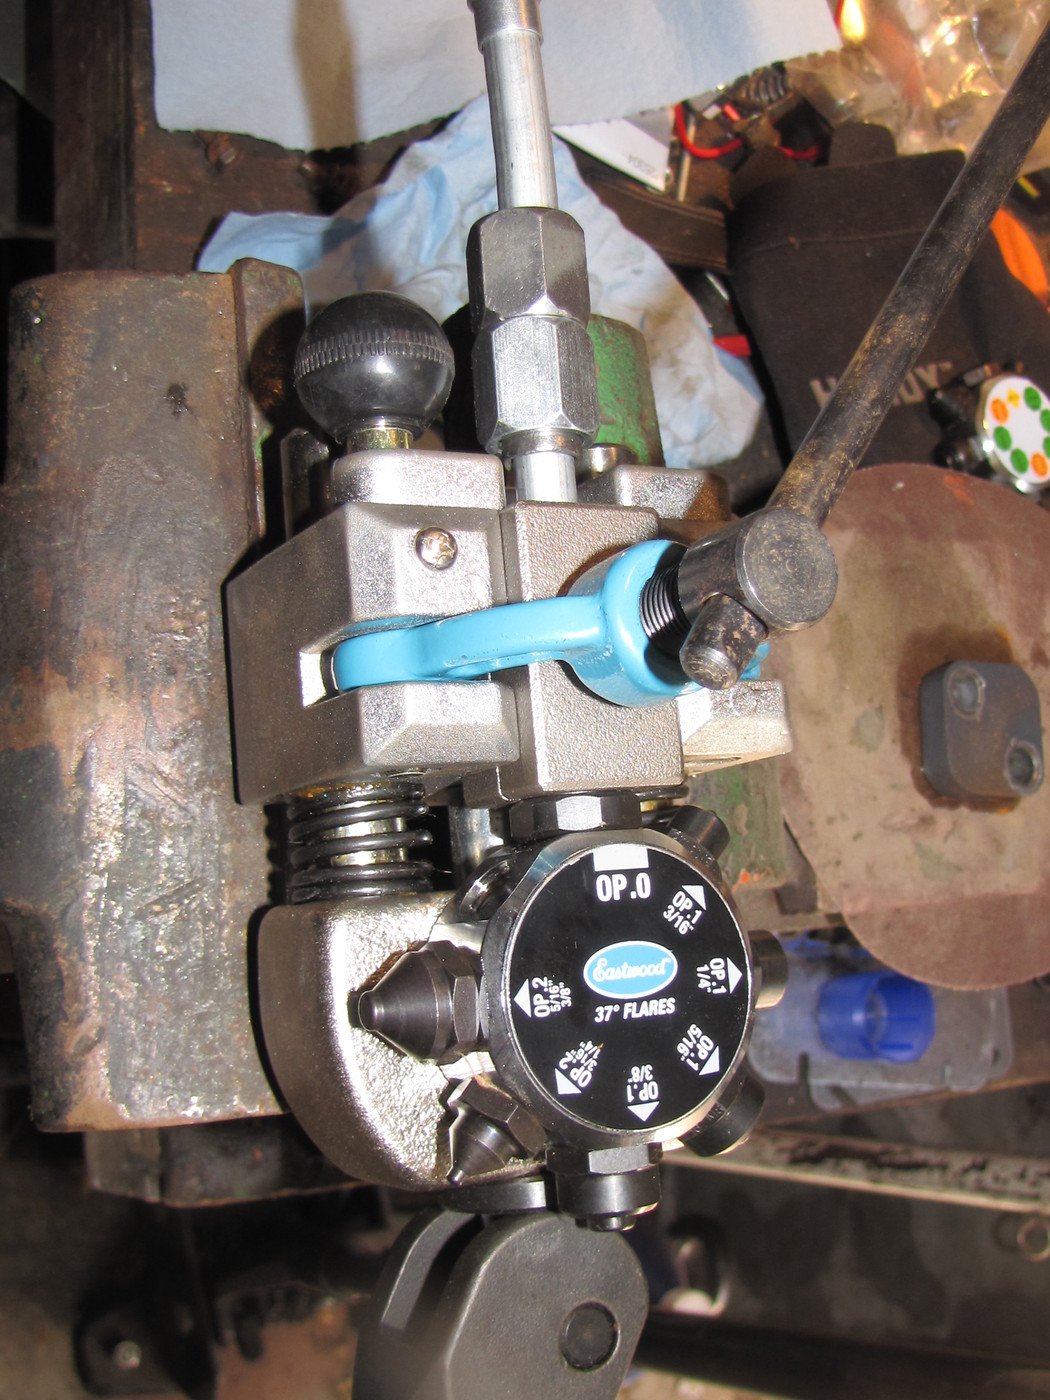
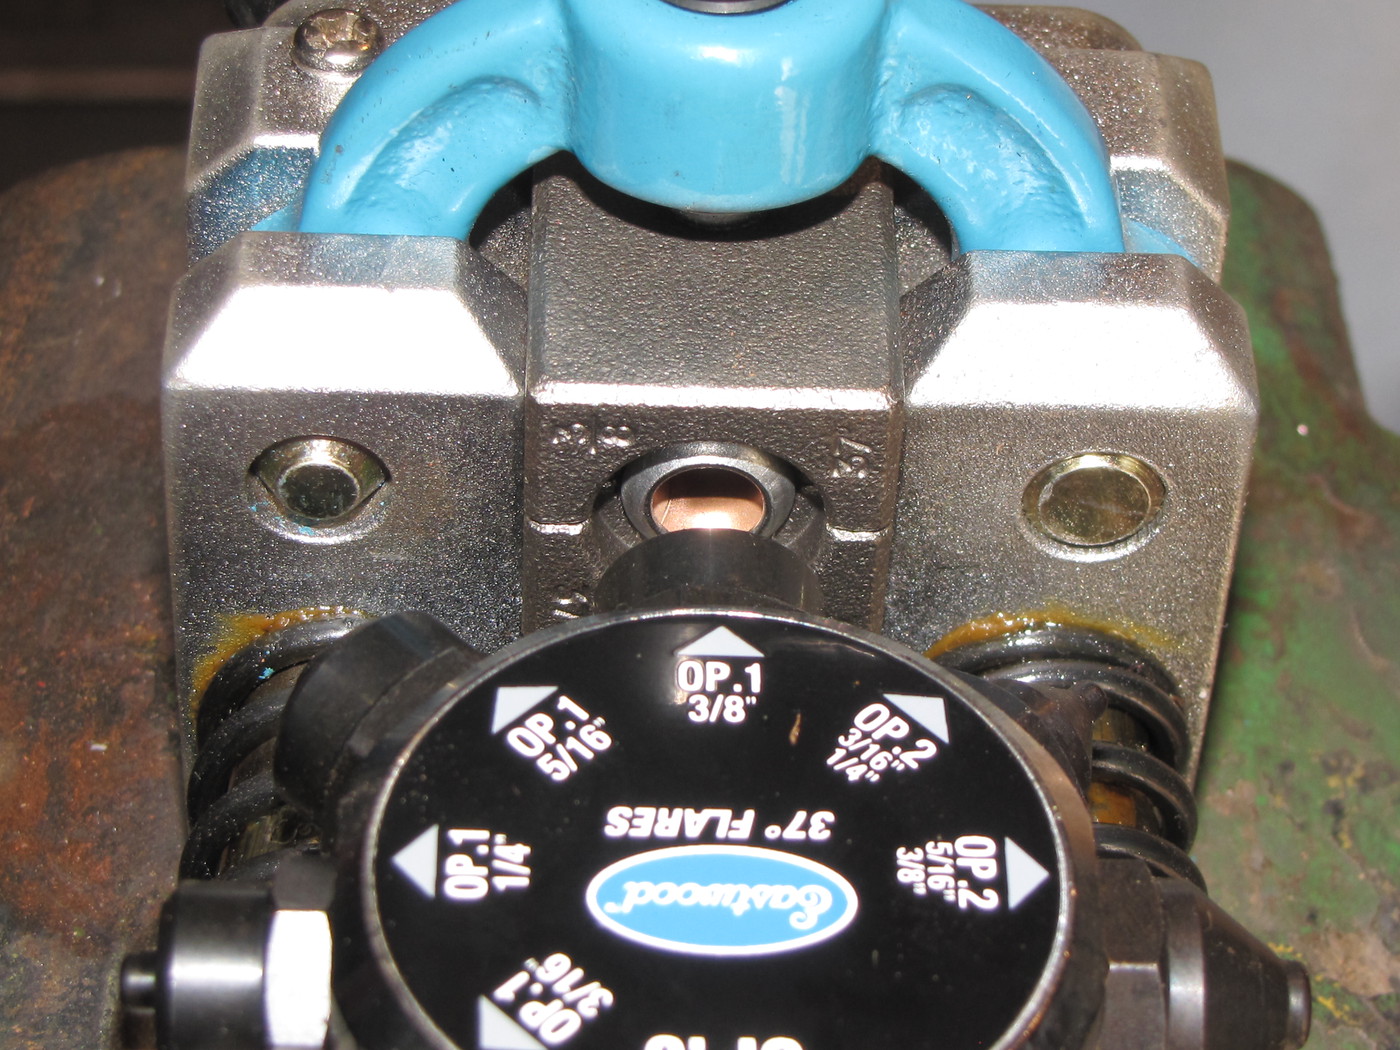
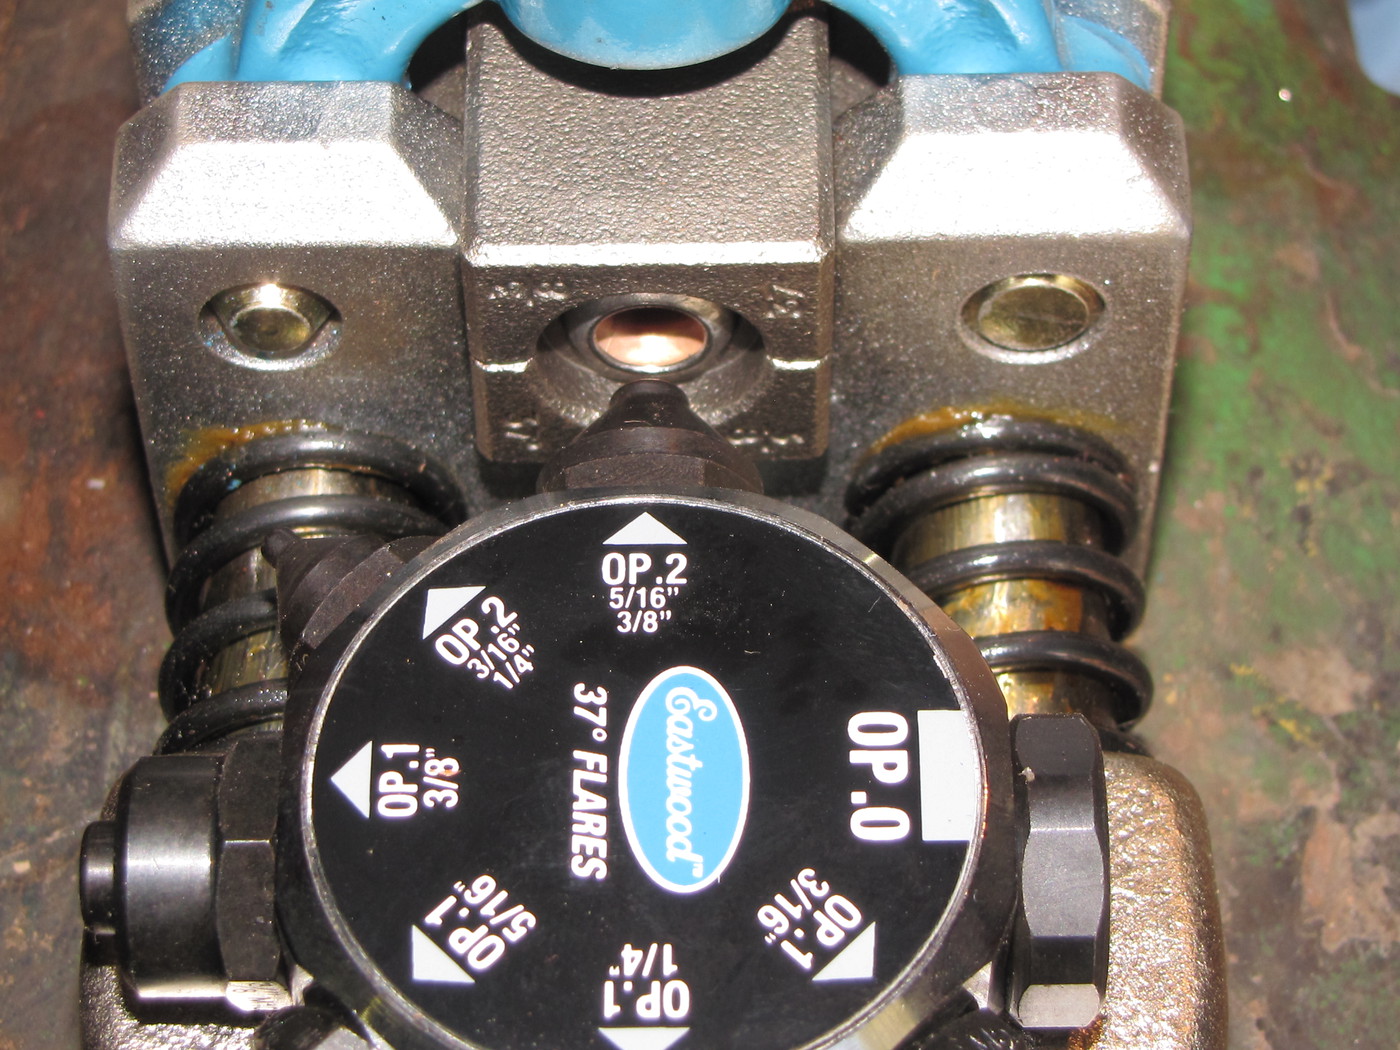
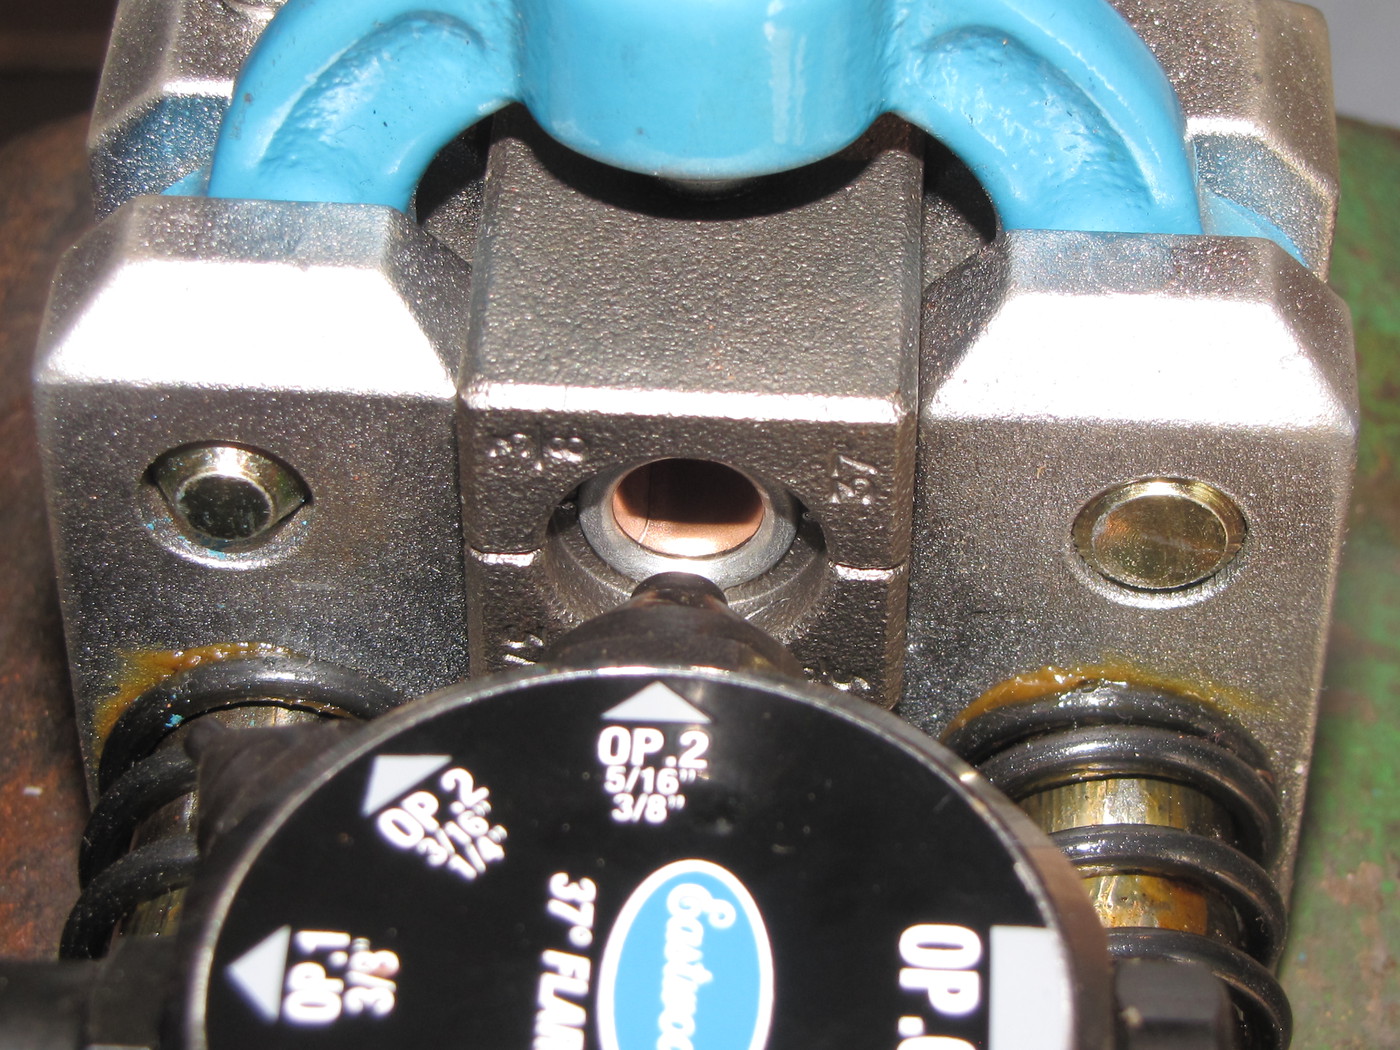
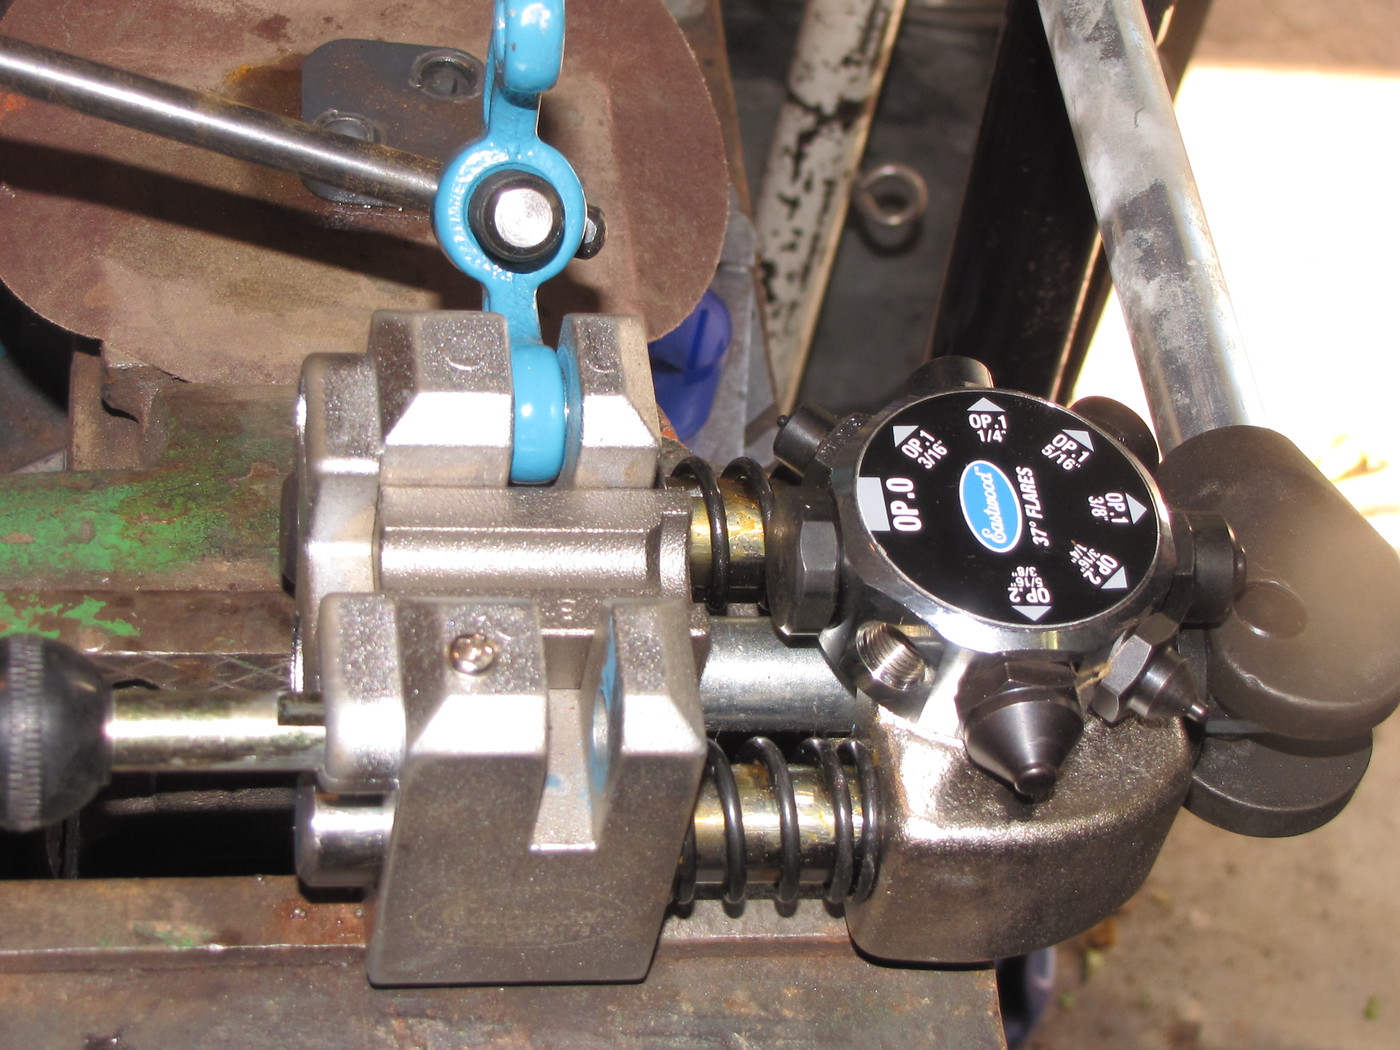
I have an Eastwood flaring tool that does an excellent job. Super easy to use as well.
Limited to 10 pic's per post. CONTINUED.
I had a hard time finding anything on the net that showed how to do this.
Once you have the parts it's REALLY easy.
Hope this helps anyone looking to do the same.
On the B2400 the hydraulic block will be installed on the right side of the tractor (if sitting in the seat)
I've already taken the block-off plate here. Just two 12mm blots hold it on.
Here is the block off plate (topside)
The underside of the block off plate. The two ports are allowed to flow through this plate via this channel.
New hydraulic block from Kubota Dealer. Part #75536-68113. Cost was $18.87. The hydraulic block does NOT include the NPT to JIC fitting. Those fittings are 1/4"NPT to 3/8" JIC. They were about $3.00 each in the hydraulic section of Princess Auto.
This side has the relief for the O-rings. O-rings are NOT included when you buy the block.
This is the size of O-ring that fits the Block (R-10). It's a Standard size O-ring, not Metric.
When installing the block, a little hydraulic oil helps keep the O-rings in place.
New hydraulic block installed.
I was not ready to hook-up a hydraulic spool valve yet so I had to make a bypass tube to connect the two ports. Short piece of 3/8" tubing with back-up sleeves and nut installed before I flare the tube.
I have an Eastwood flaring tool that does an excellent job. Super easy to use as well.
Limited to 10 pic's per post. CONTINUED.
Last edited: