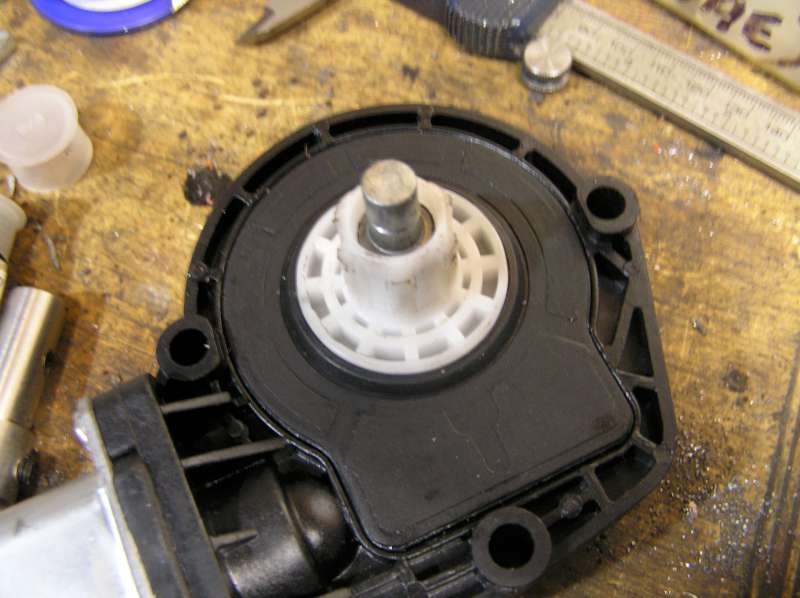
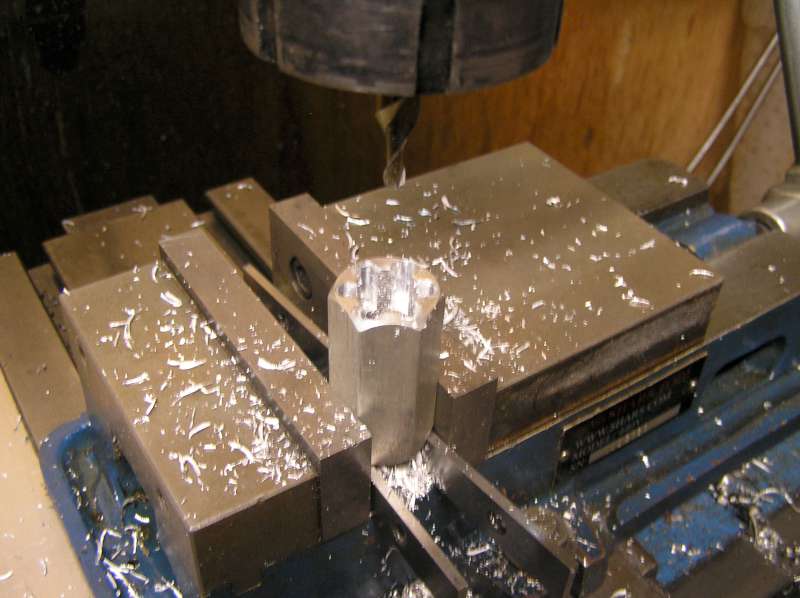
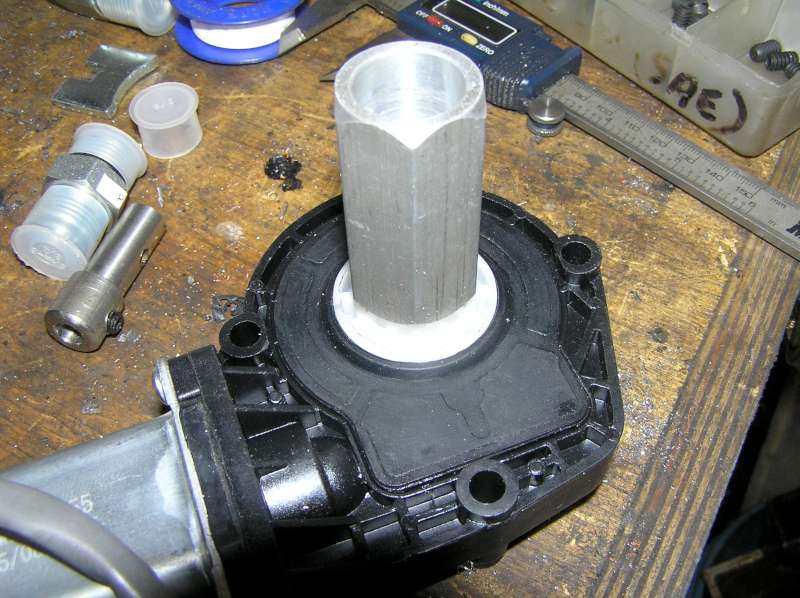
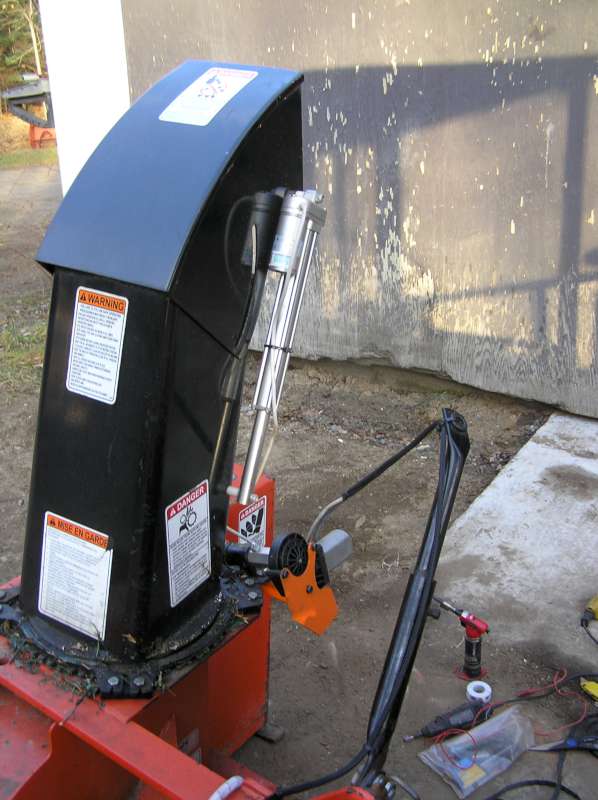
Today I decided to change it up a bit. Technically this isn't part of the cab itself, but the cab is going to necessitate replacing the hand crank with remote chute rotation. And as long as I'm at it, I may as well add remote deflector control too, right?

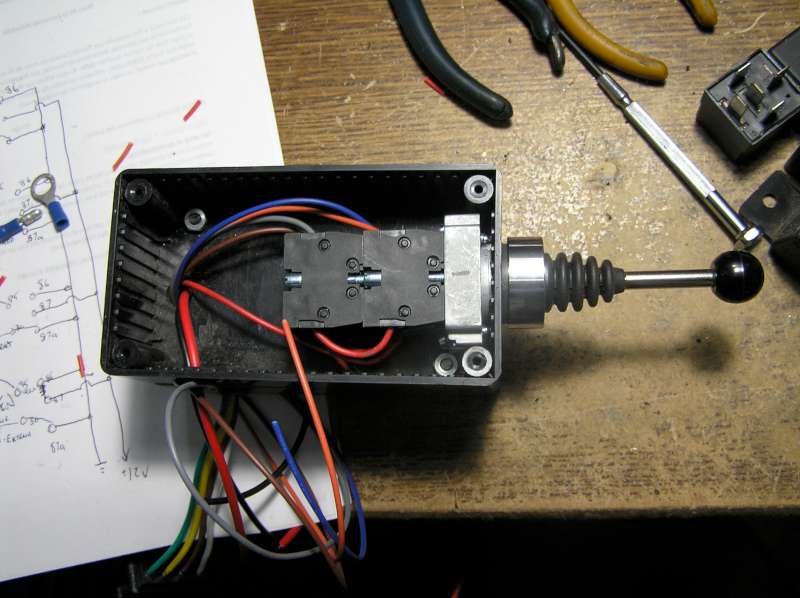
I guess I could go with a pair of DPDT centre-off switches, but where's the fun in that? I want joystick control! So I found the IP67 rated joystick switch pack online and mounted it in a project box.
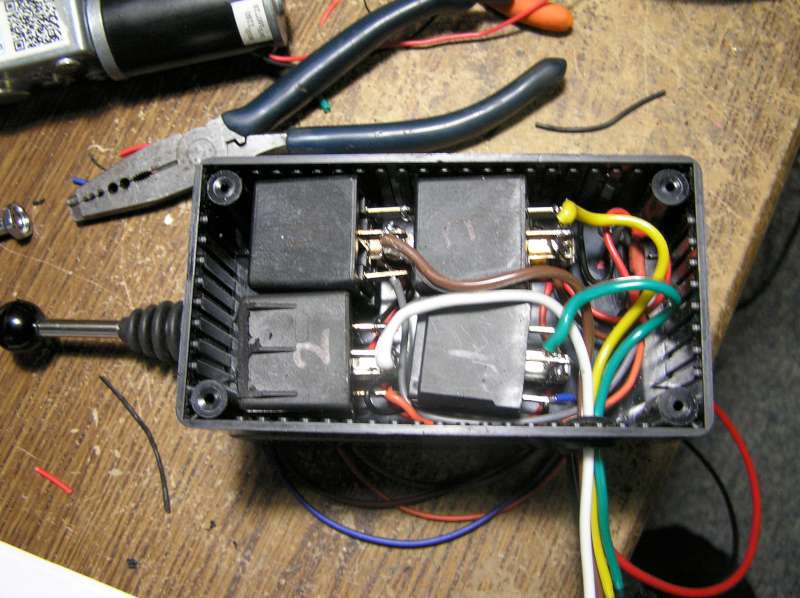
Unfortunately I could not find a similar item with double pole switches. So I mounted another project box back-to-back to house 4 relays. Which I then wired in classic dead-bug configuration worthy of a 1950's era test instrument:
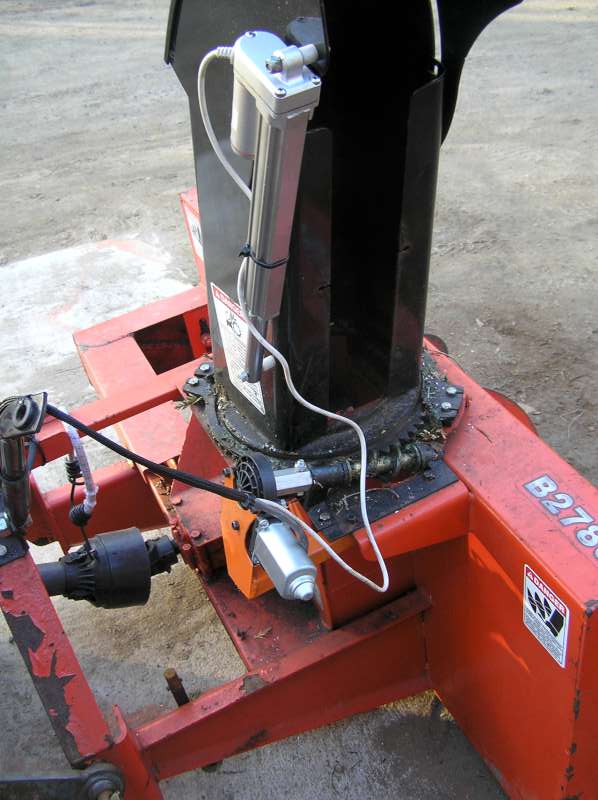
Every NC terminal (ie: 87a) is wired to ground. Every NO (87) is wired to +12v. Each common (30) is brought out to the motor wires. And each relay is activated by one joystick switch. So all motor wires are grounded until the joystick turns one wire positive. Since either wire can be connected to positive, each motor can run in forward or reverse.
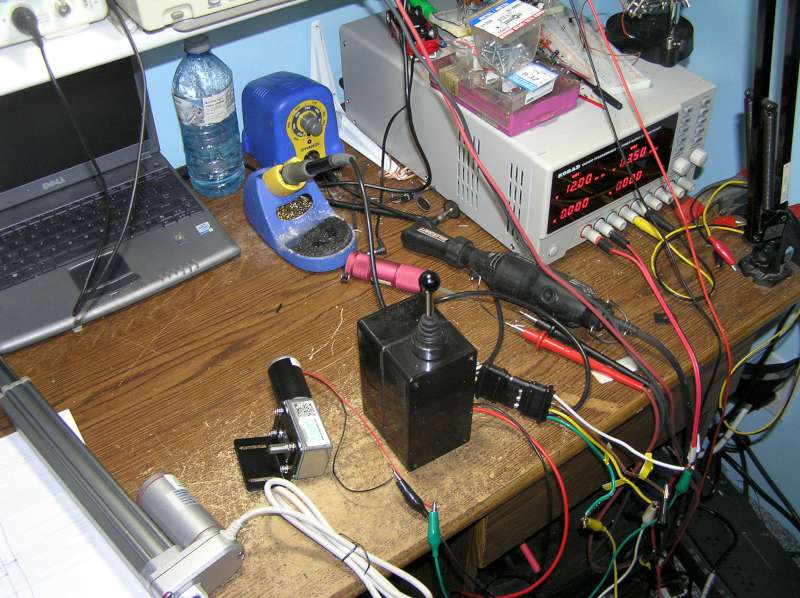
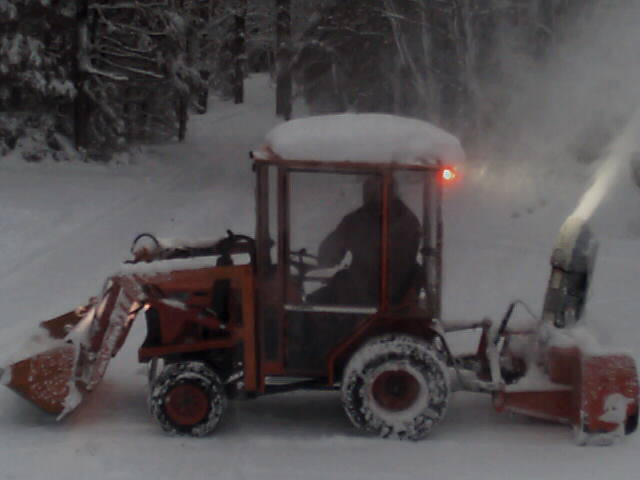
The final result being tested:
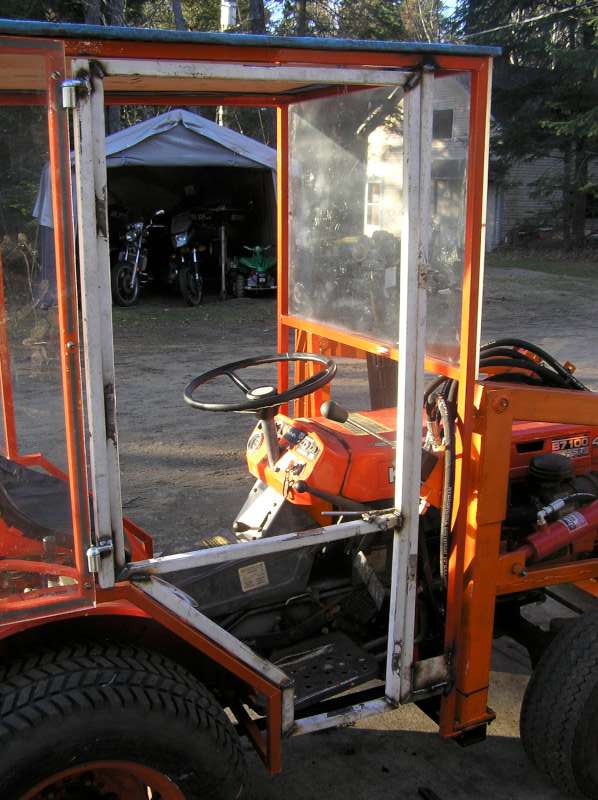
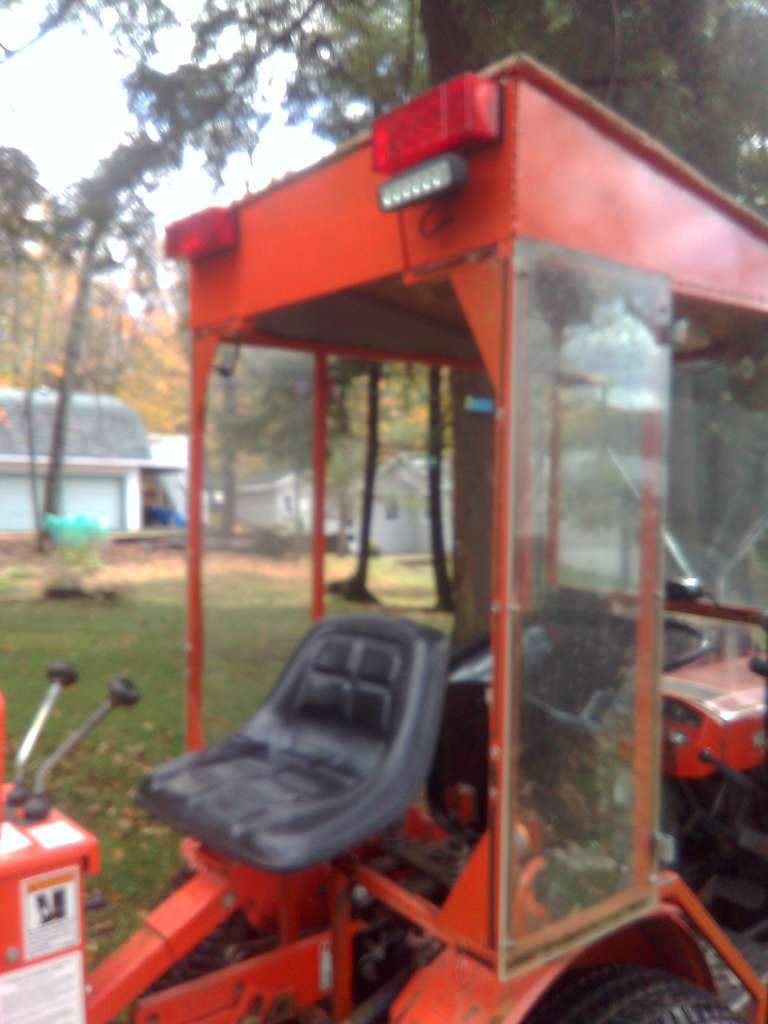
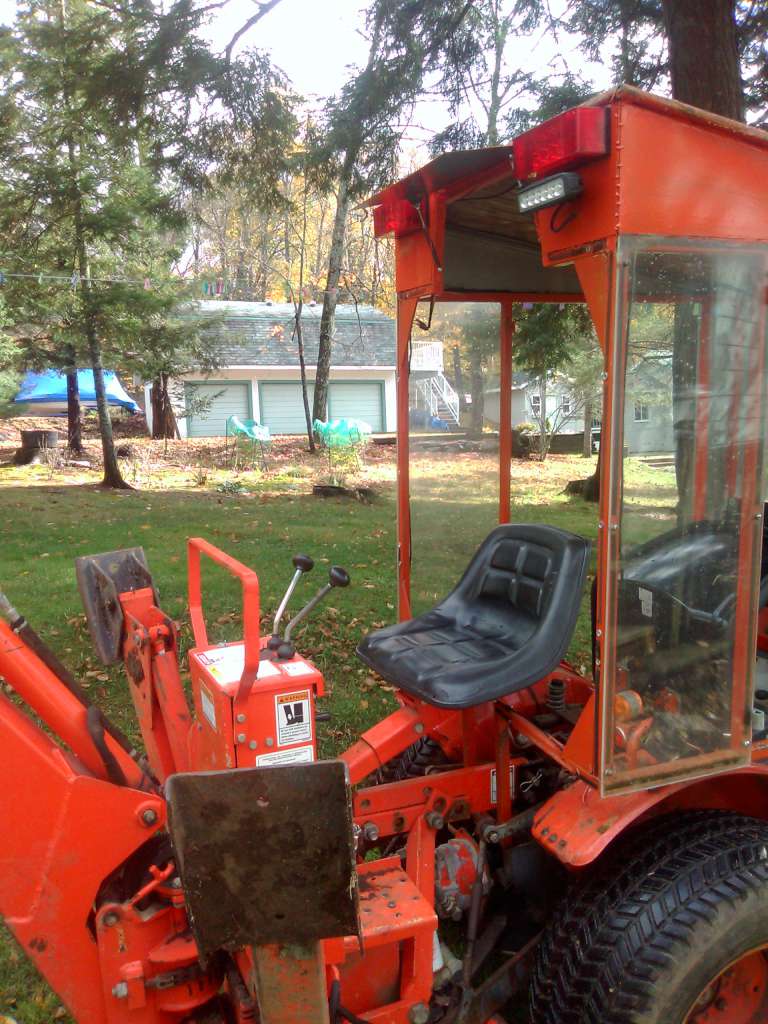
I haven't decided exactly where I'm going to mount it yet. Probably beside the seat for now. Eventually, if I get the front-mount blower running, it'll probably live next to the FEL joystick.