LA302 Front End Loader... breakdown,cleanup,repair + reassemble (PIC'S)

BobbyK

Active member

Equipment
1995 B2400
May 20, 2018
101
44
28
Petrolia, Ontario
The story starts like this,
There once was a guy who wanted a FEL (front end loader) for his B2400.
He looked and looked both far and wide. After 4.5 years, he found one he could afford and bought it.
The end.


I'm a crappy short story writer, I know.

It is a true story though. After 4.5 year of looking...I got this for $2000 Cdn. at .78 cents on the dollar as of today that's $1557.68 Usd.

It has it's issue's, which, I'll get into. But I think I did OK.
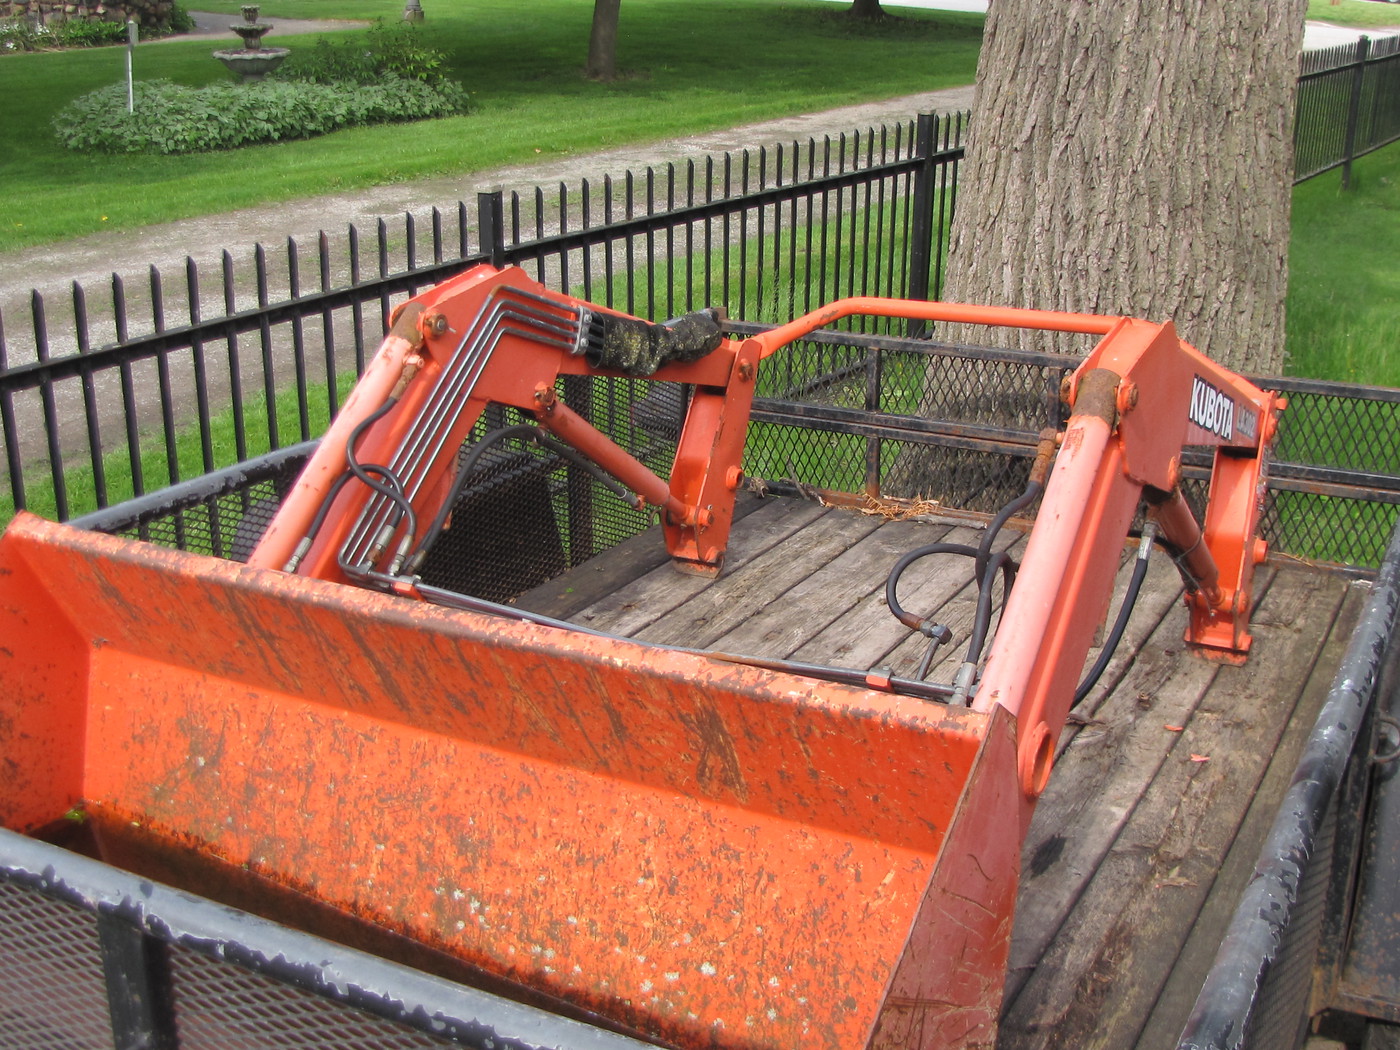


This post will document the disassembly, the repair, the painting and reassembly of this LA302 FEL.
Hoping I can get some questions answered along the way as well as provide info of the rebuild process.
I'm also doing this in real time so as I complete things I will be posting my progress.

Thanks in advance for any help this board may provide!


.
 
Last edited:
  • Like
Reactions: 1 users

BobbyK

Active member

Equipment
1995 B2400
May 20, 2018
101
44
28
Petrolia, Ontario
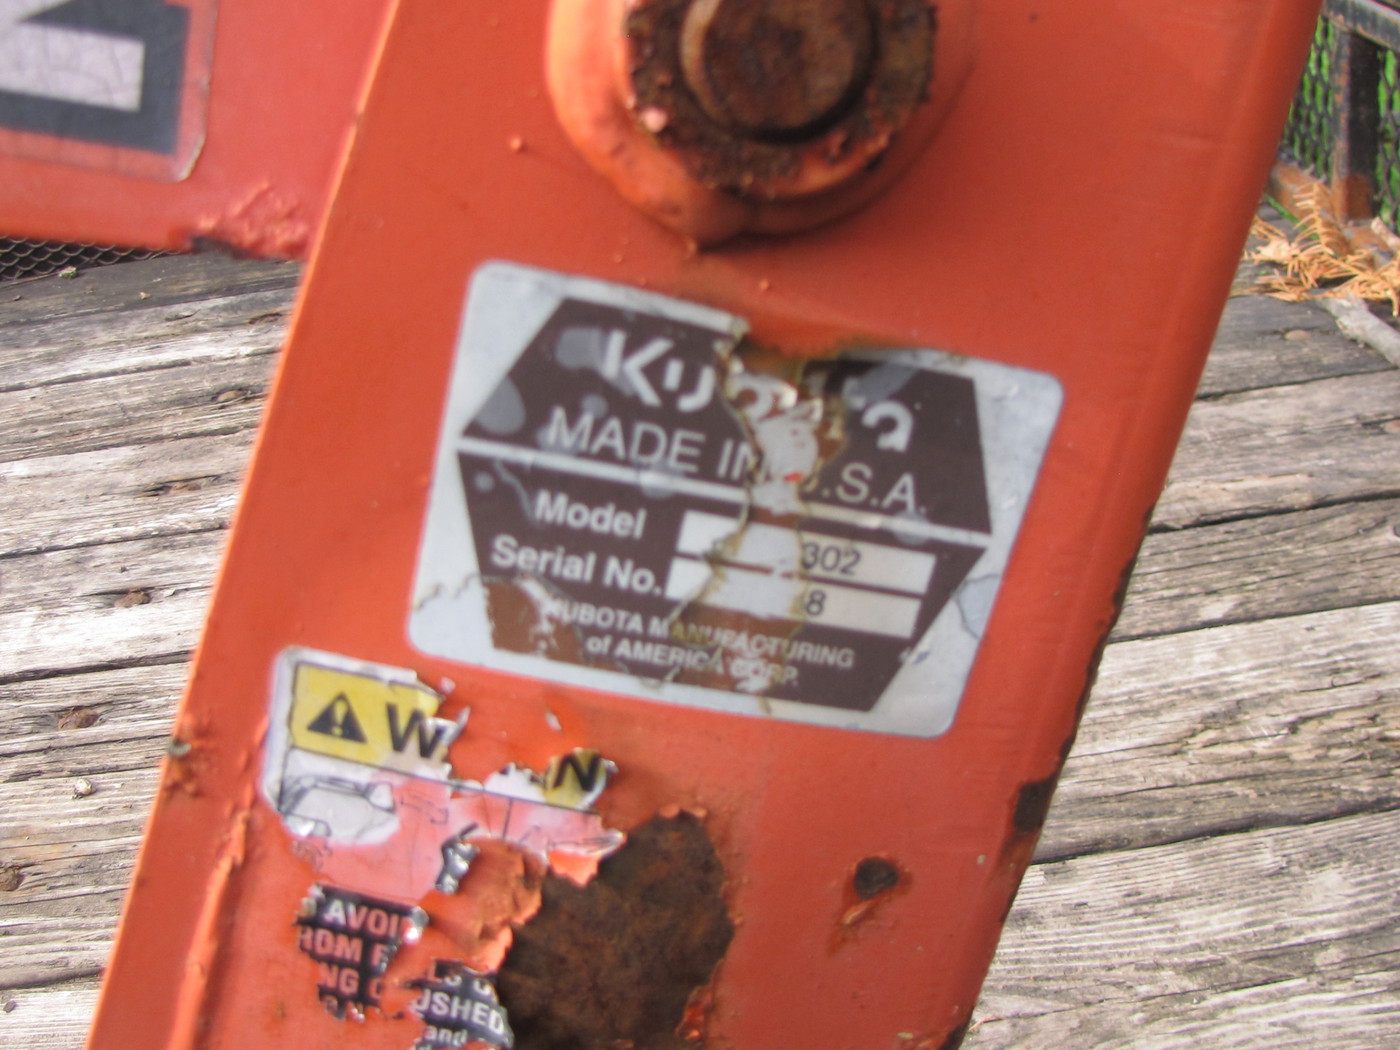
This Loader was on a B7500. According to tractordata.com b7500 data, that production run was between 2000-2003.
The serial # on this FEL is 8 so this has to be a 2000 model
.


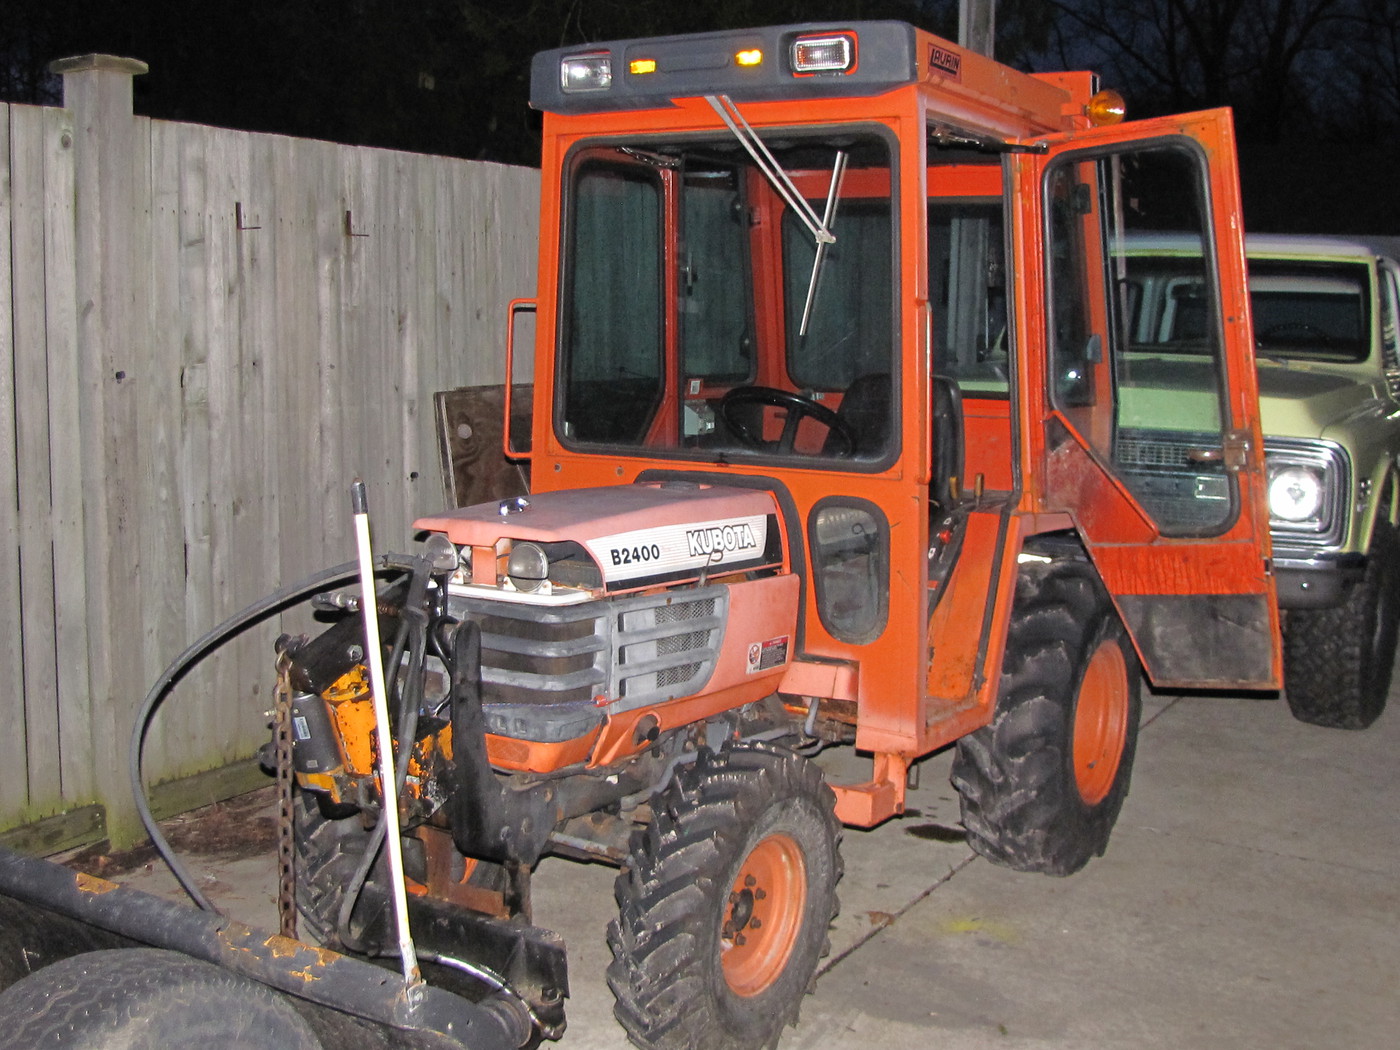
I'm putting this on my 1995 B2400. The B2400 used a LA301 B2400 Loader info
Dimensionally they are very similar, I'm confident I can make this LA302 work with my B2400.
What I'm mating it to.


.
 
Last edited:

BobbyK

Active member

Equipment
1995 B2400
May 20, 2018
101
44
28
Petrolia, Ontario
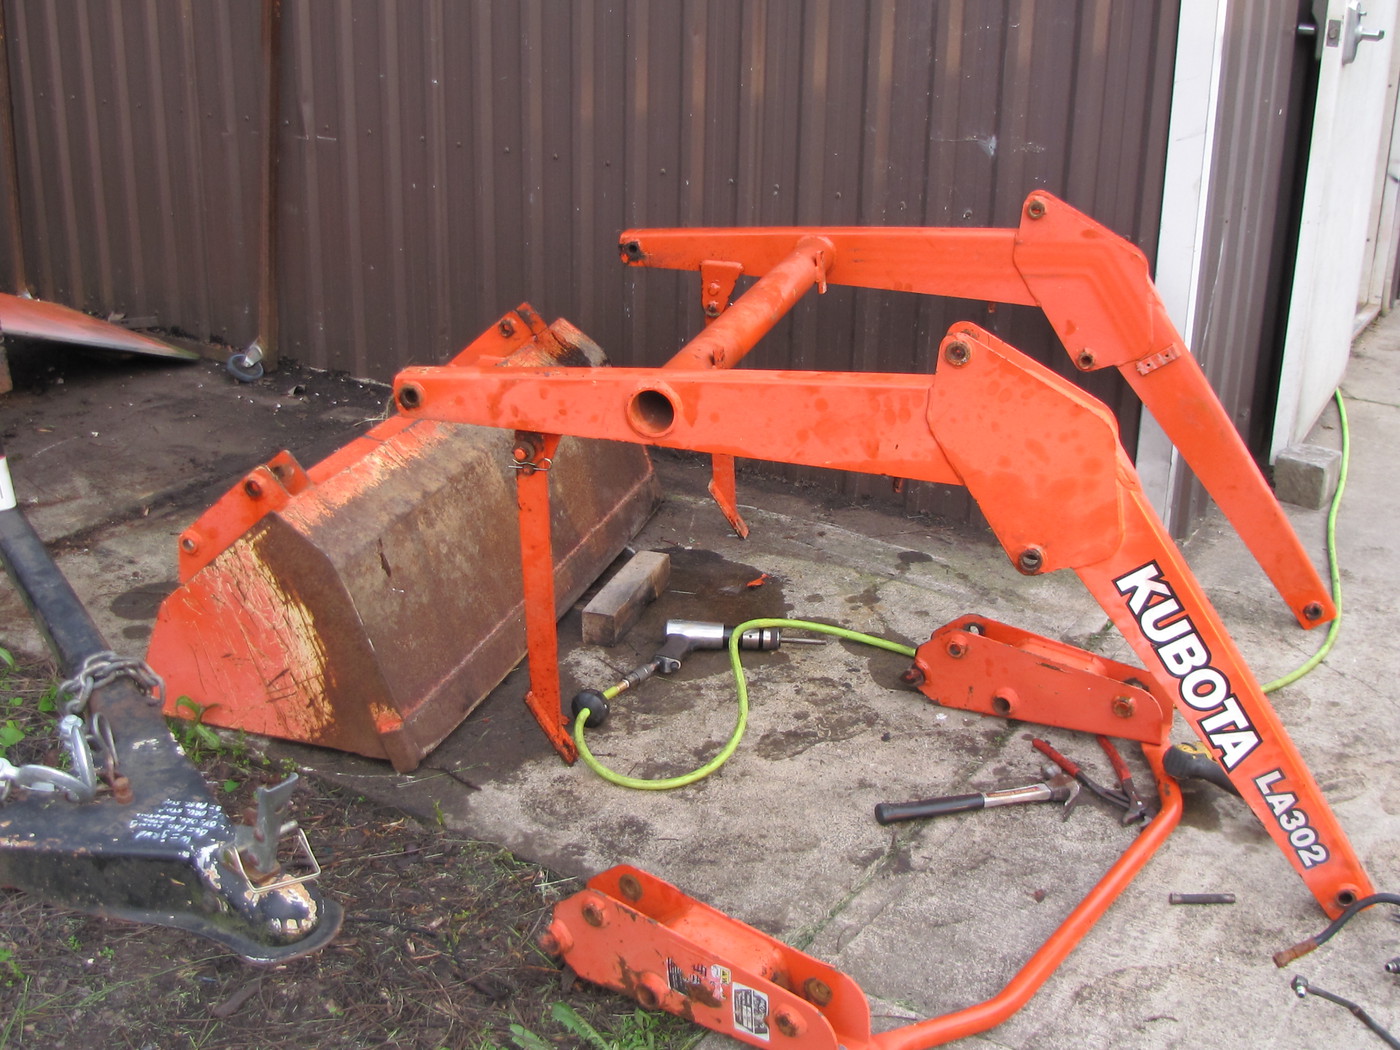
So the immediate issue's I see on this loader are:
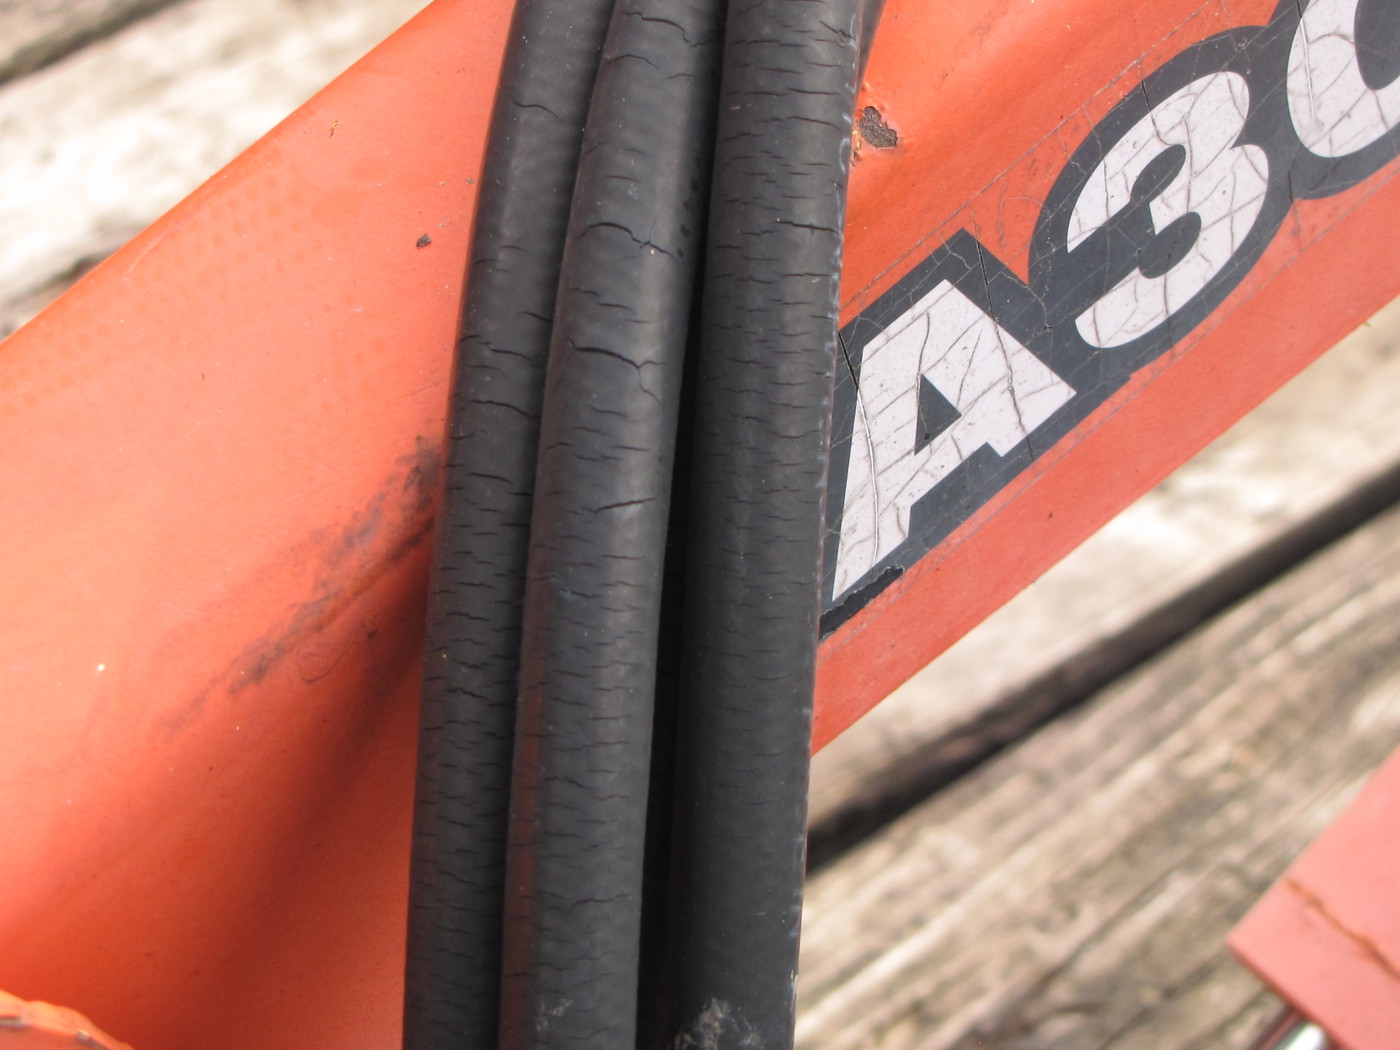
-All the hoses are dry rotted, one has a large tear in the outer jacket.


-The hard lines are bent. One is bent + kinked and one is bent where I can not straighten it.


-The loader has not been maintained all that well. The Pins for the Rams are dry and rusted.


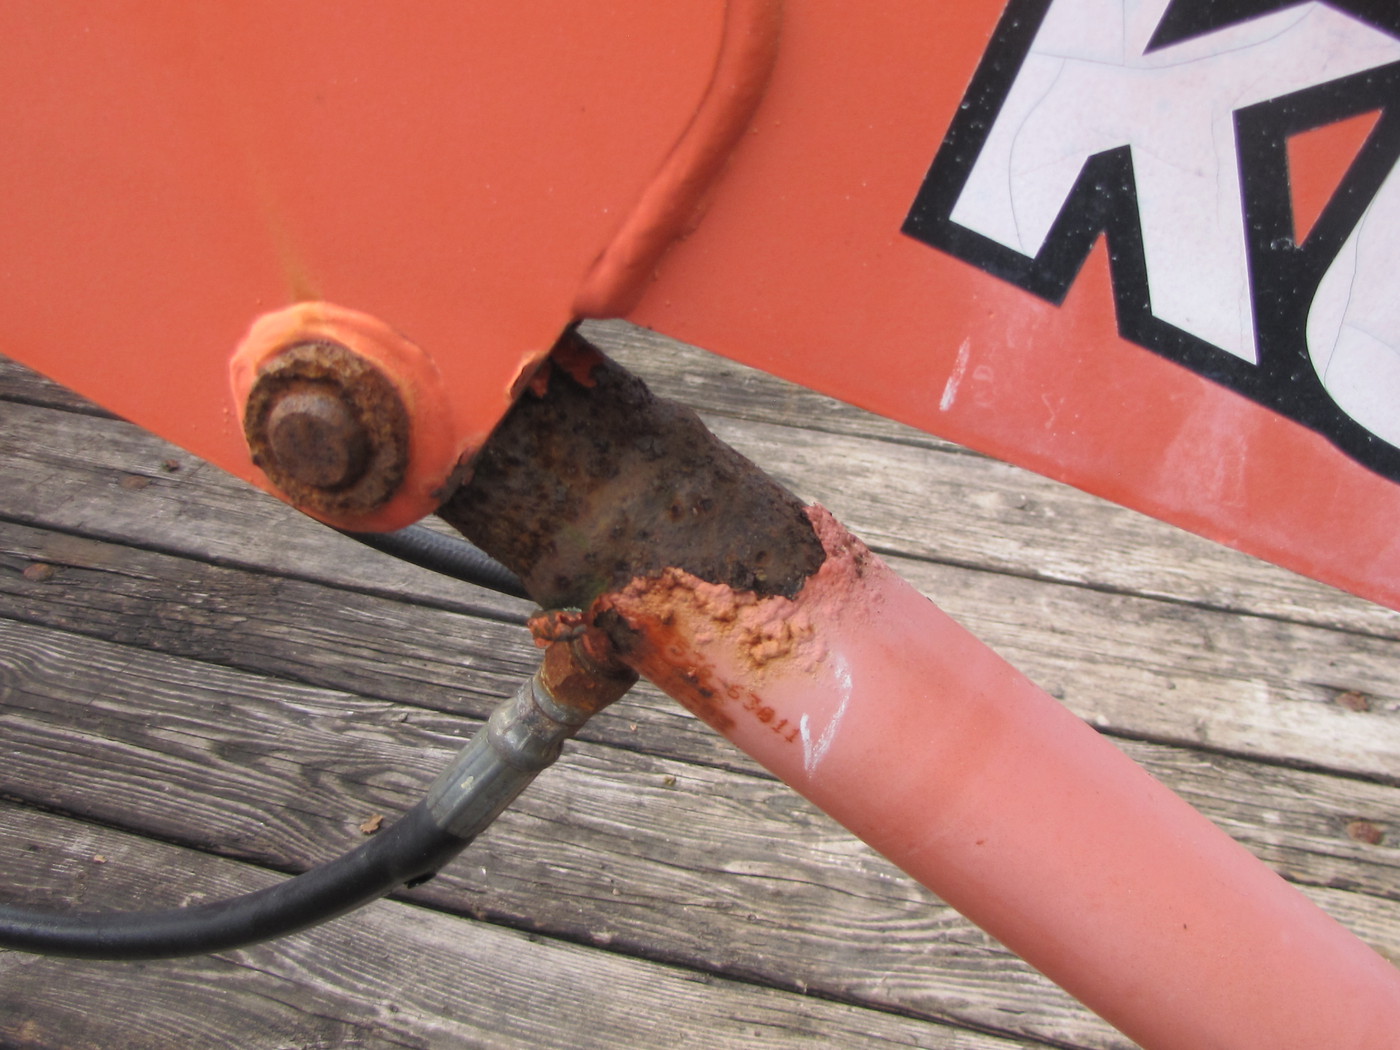
-The heads of the 4 rams where they attach to the loader arms are badly rusted and pitted.


That's really the only real problems I see on this loader.


.
 
Last edited:
  • Like
Reactions: 1 user

BobbyK

Active member

Equipment
1995 B2400
May 20, 2018
101
44
28
Petrolia, Ontario
This weekend I have been able to get the loader off my trailer and into a spot I can safely work on it.
No pic's but I used my engine hoist to lift it up high enough so I could move the trailer out from underneath of it.
The loader weighs 475Lb's.

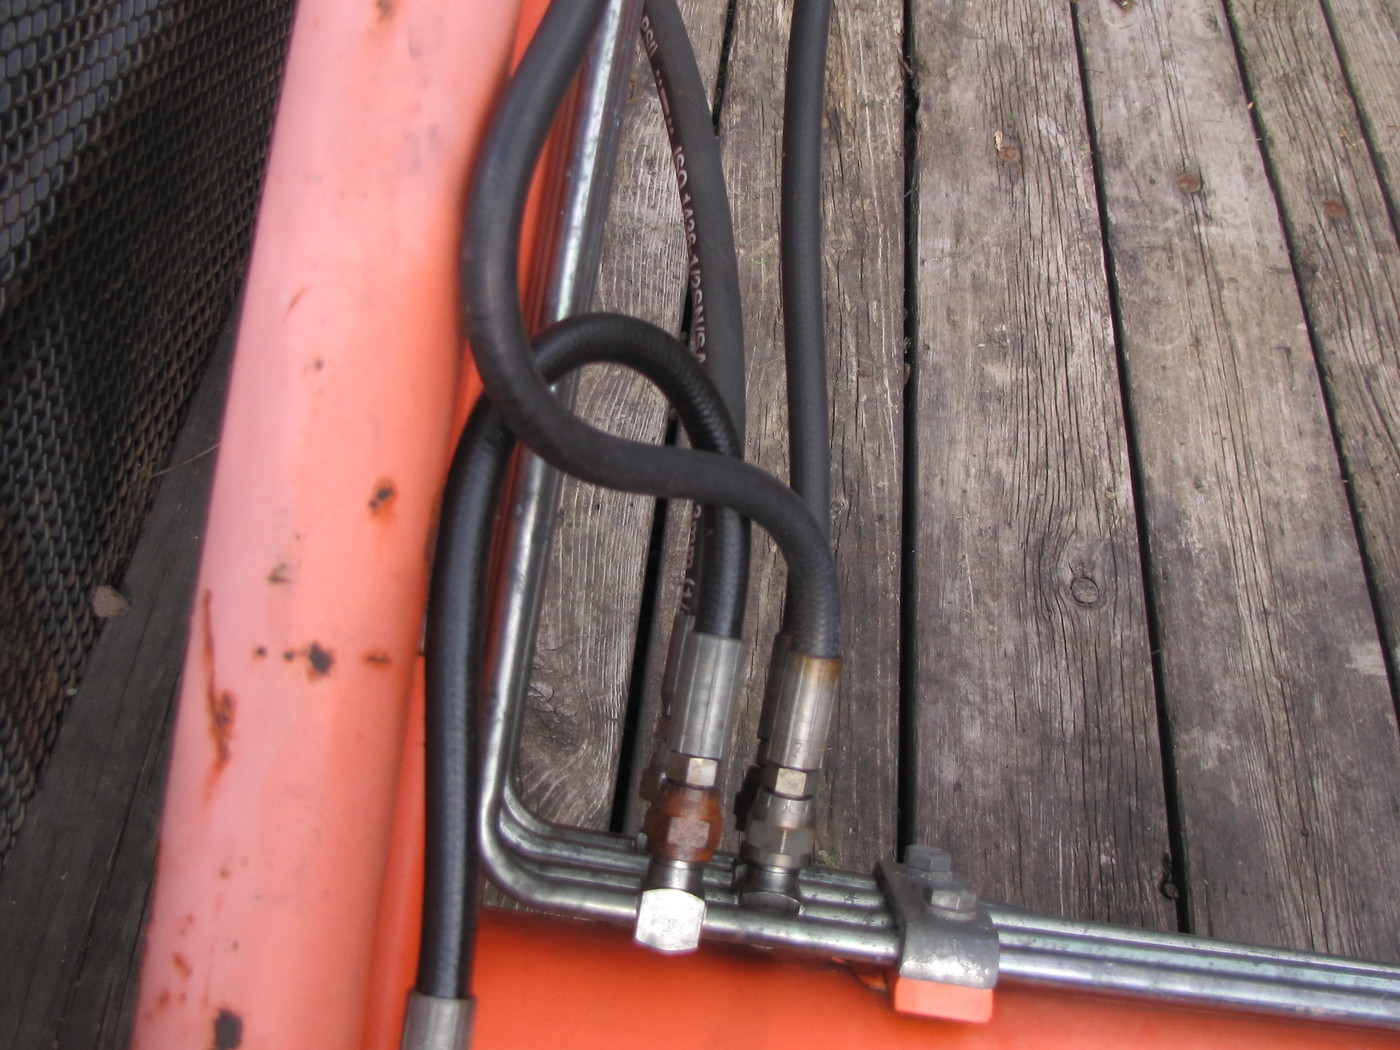
I started disassembly by disconnecting all the rubber hoses.
An 11/16" wrench took care of the hose connection
No issue's there.


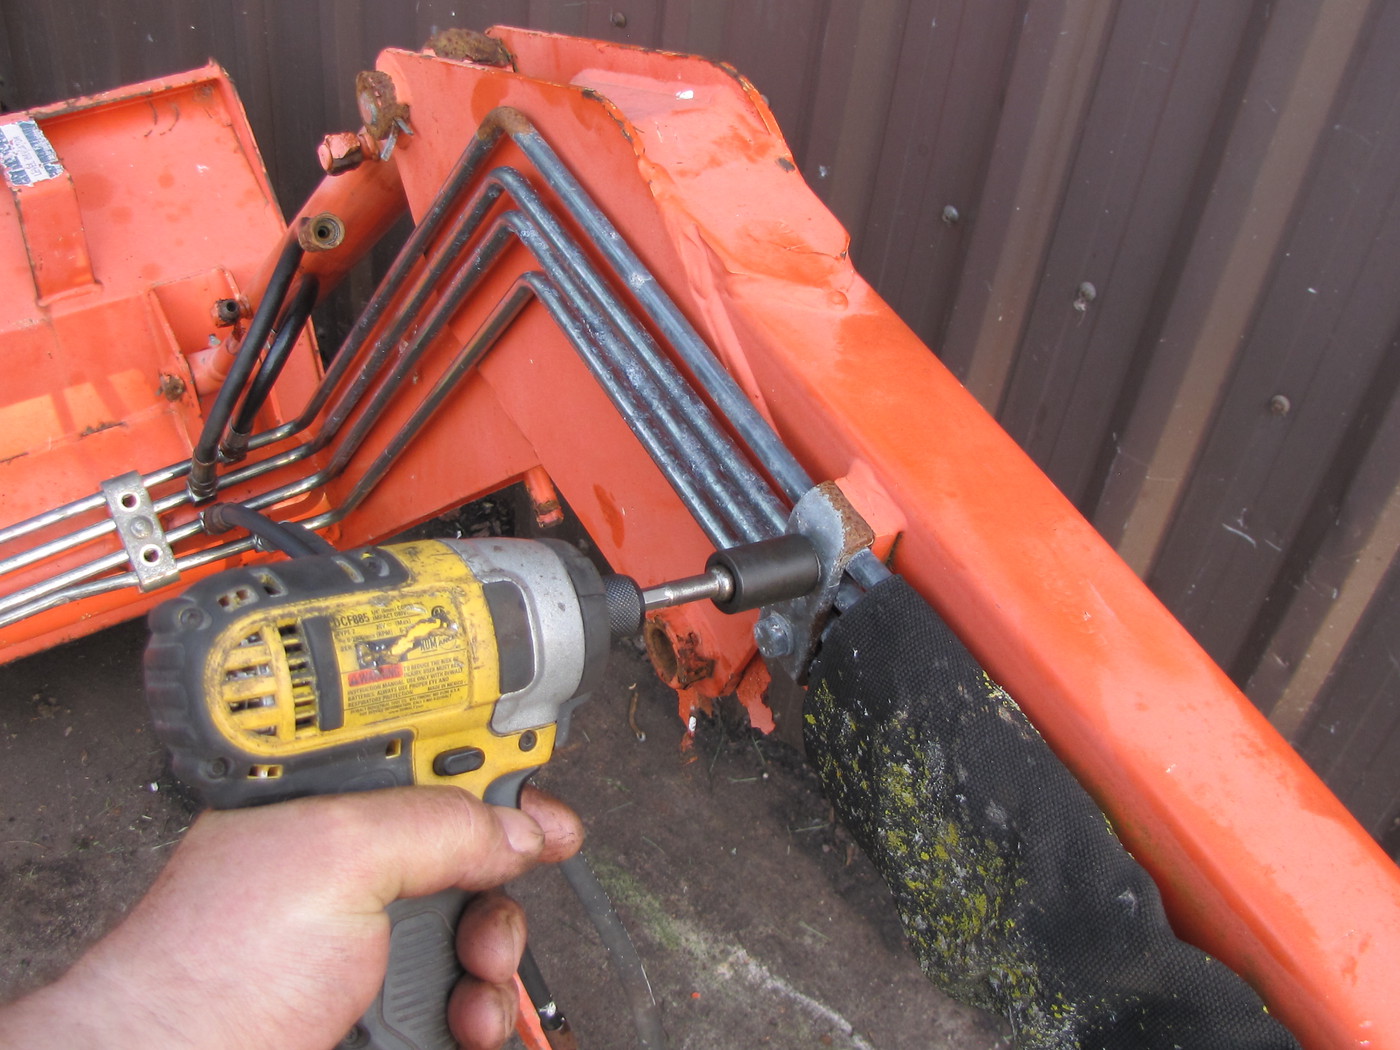
Then I removed the hard lines by removing the six 13mm bolts that hold down the retaining clamps.


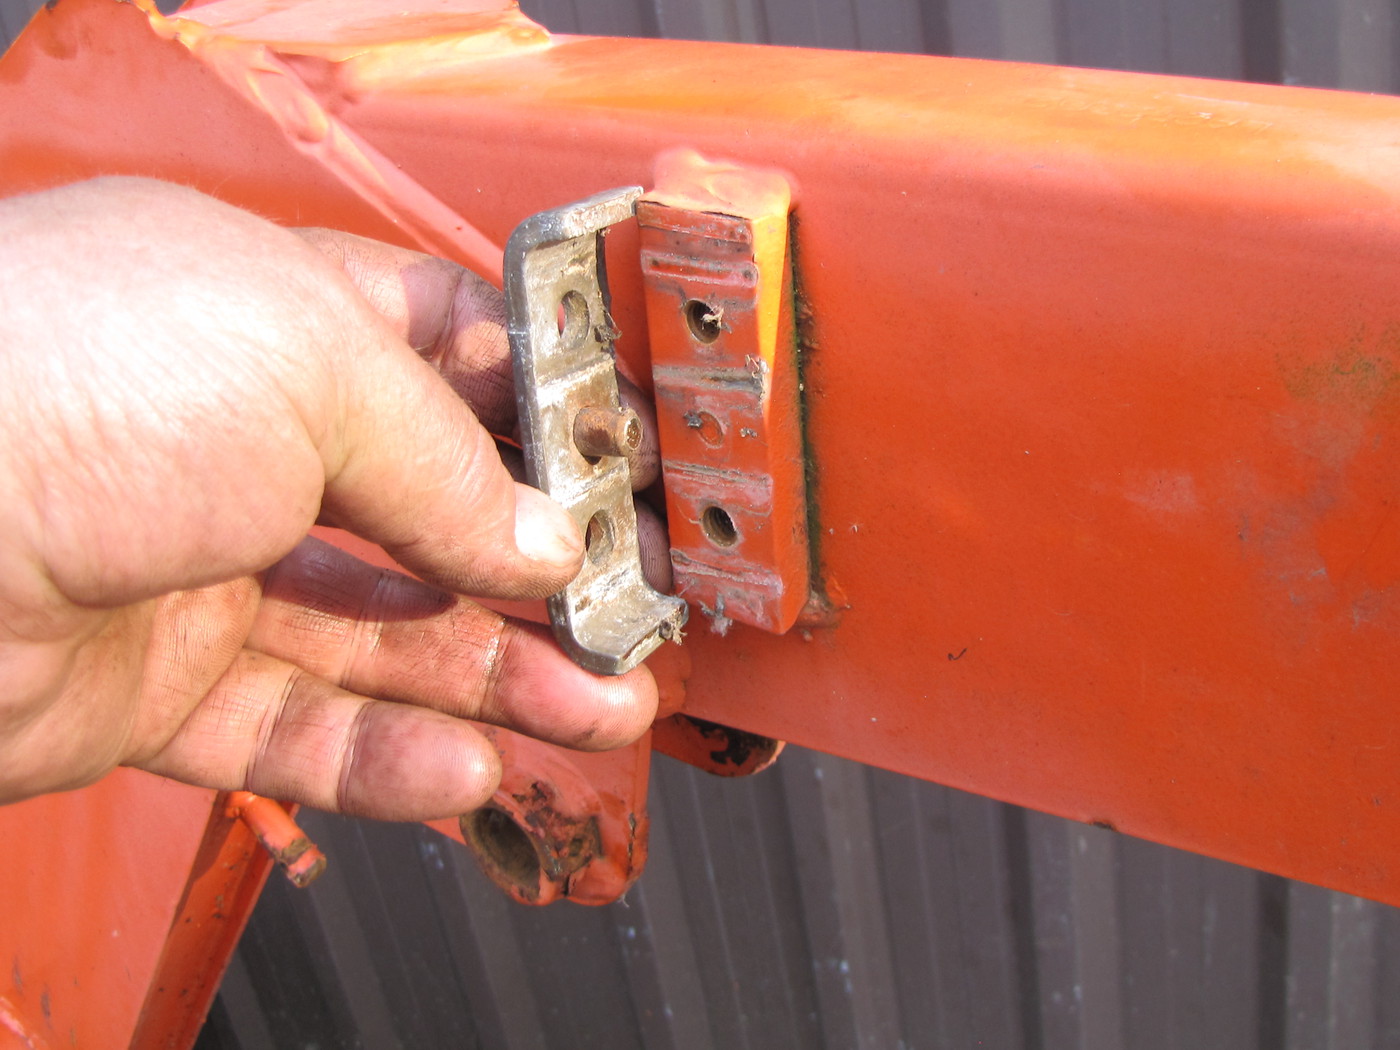
Detail of the clamp.


Hard line assembly....removed.


.
 

BobbyK

Active member

Equipment
1995 B2400
May 20, 2018
101
44
28
Petrolia, Ontario
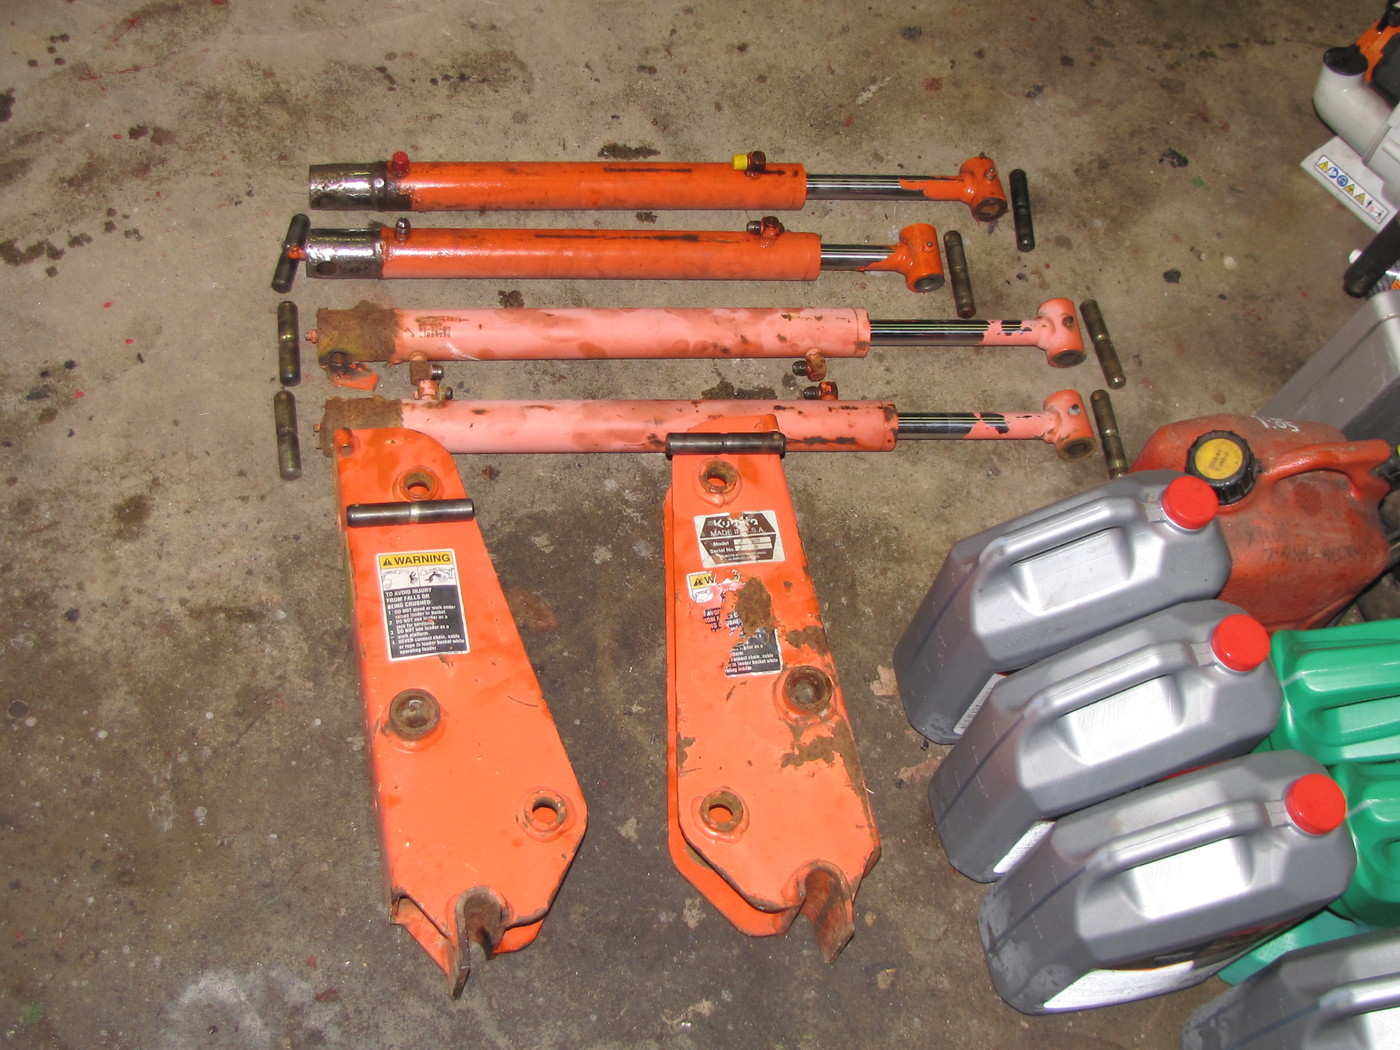
Next step was to remove the 4 hydraulic rams.
As mentioned the loader was not maintained very well.
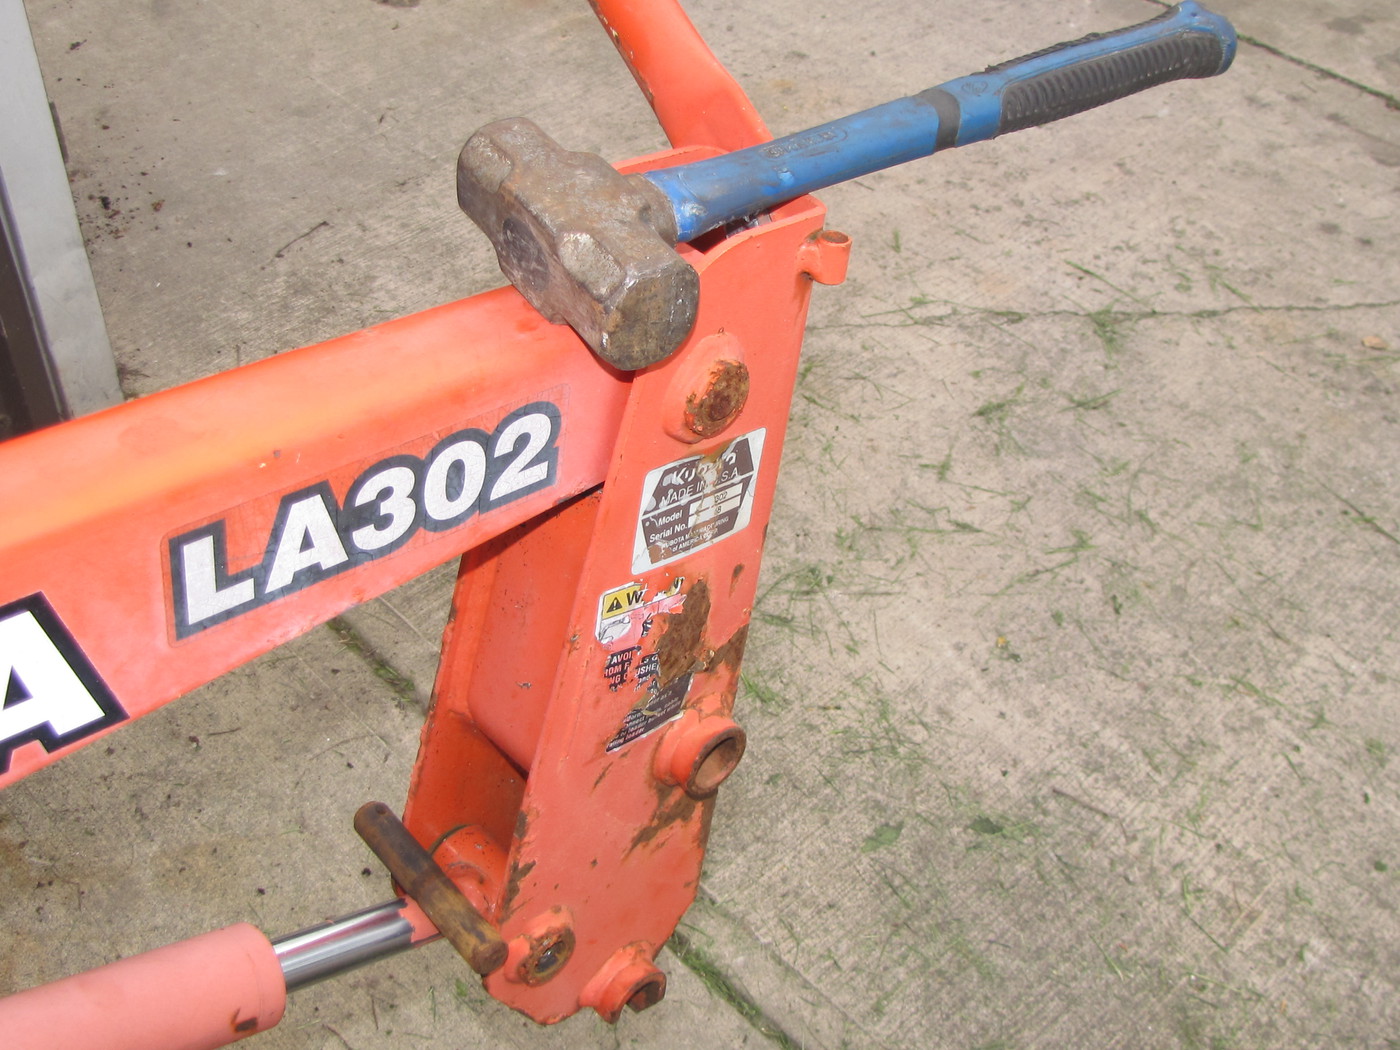
The Ram Pin's were dry and rusted in place.
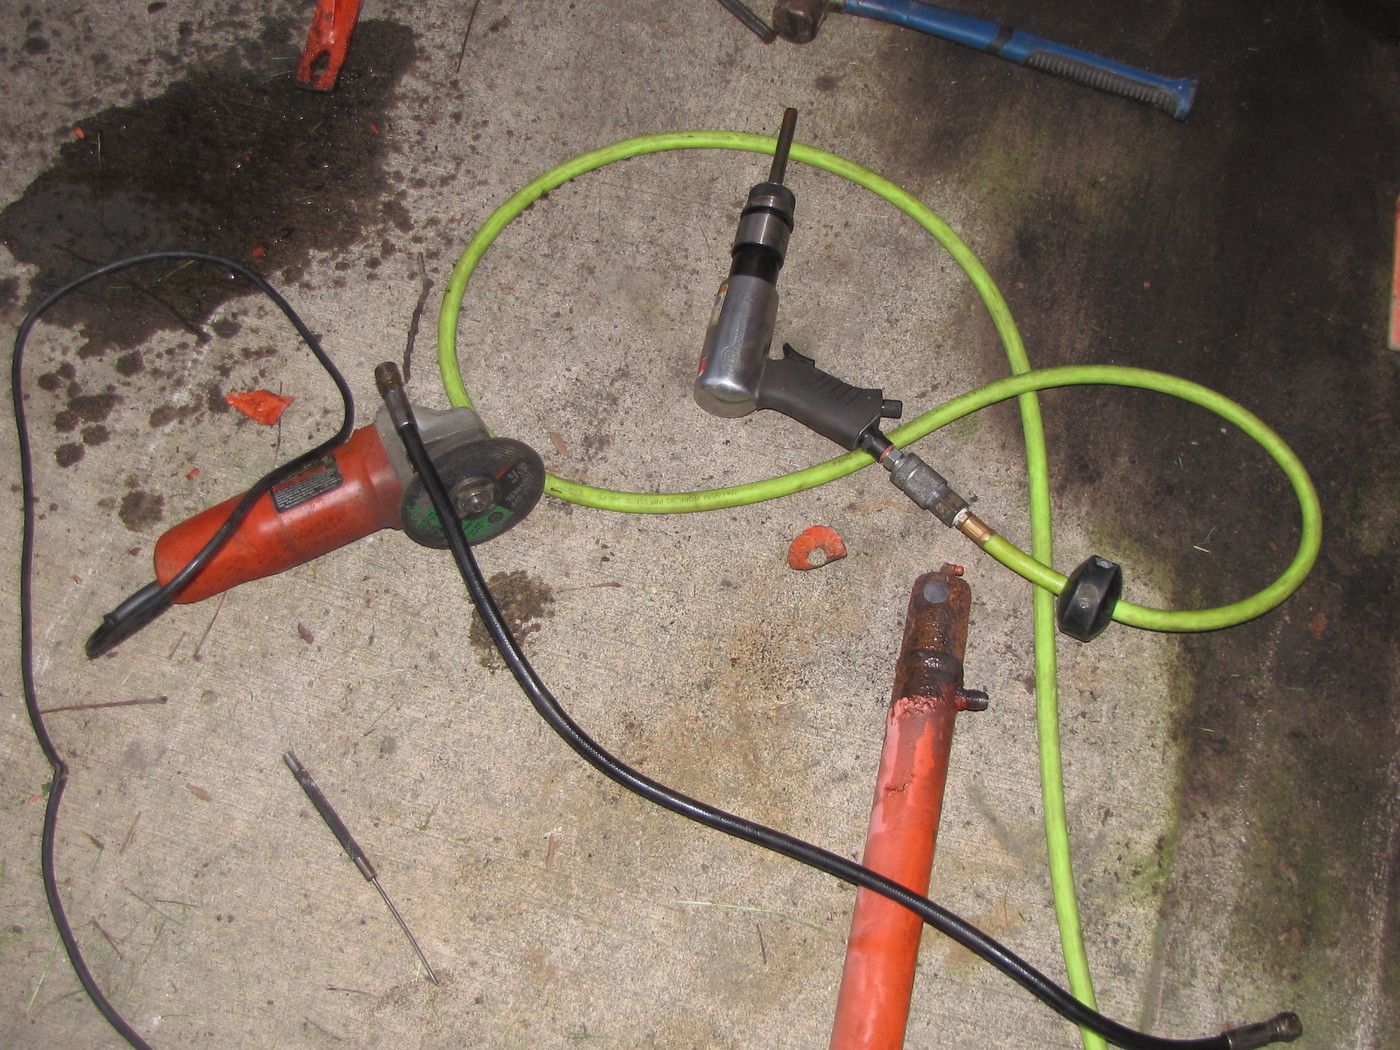
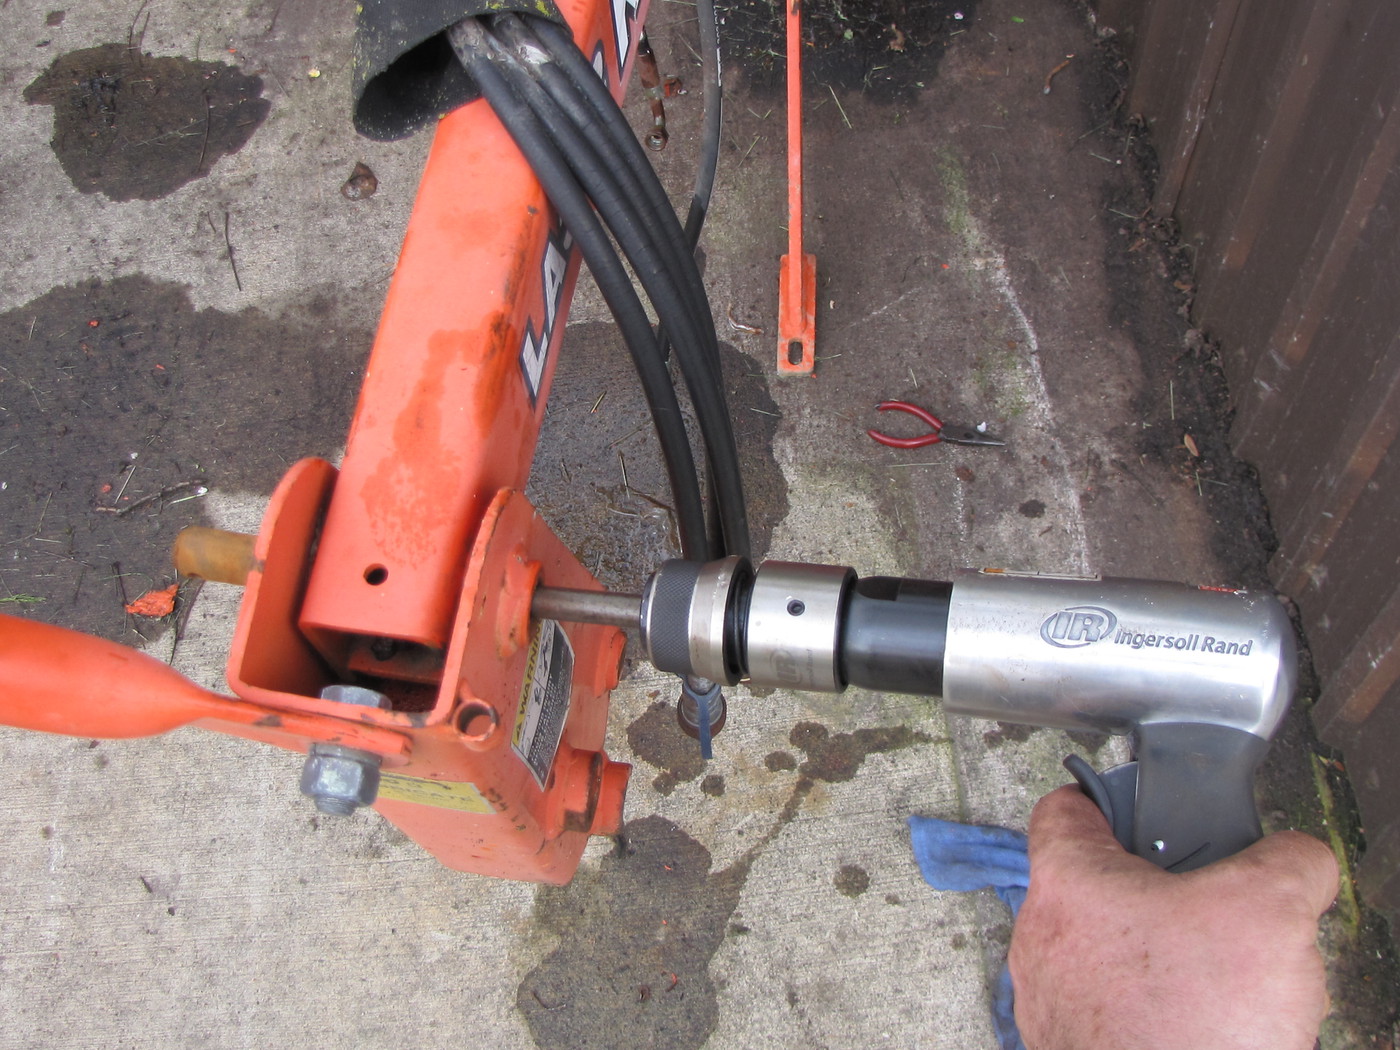
I used combination of these tools to get all the pins out
-a punch and hammer
-a punch and a BFH
-an air hammer
-and a grinder with a metal cutting wheel


I used the air hammer on 3 pins, punch and regular hammer on 2 pins, a punch and a BFH on 2 pins and the grinder on one pin.

The left side Lifting Ram was seized where it attaches to the loader arm.
I decided to cut the Pin out instead of a bigger hammer to avoid damaging or breaking something.

You can see the ends of the Pins are still in the loader bracket.


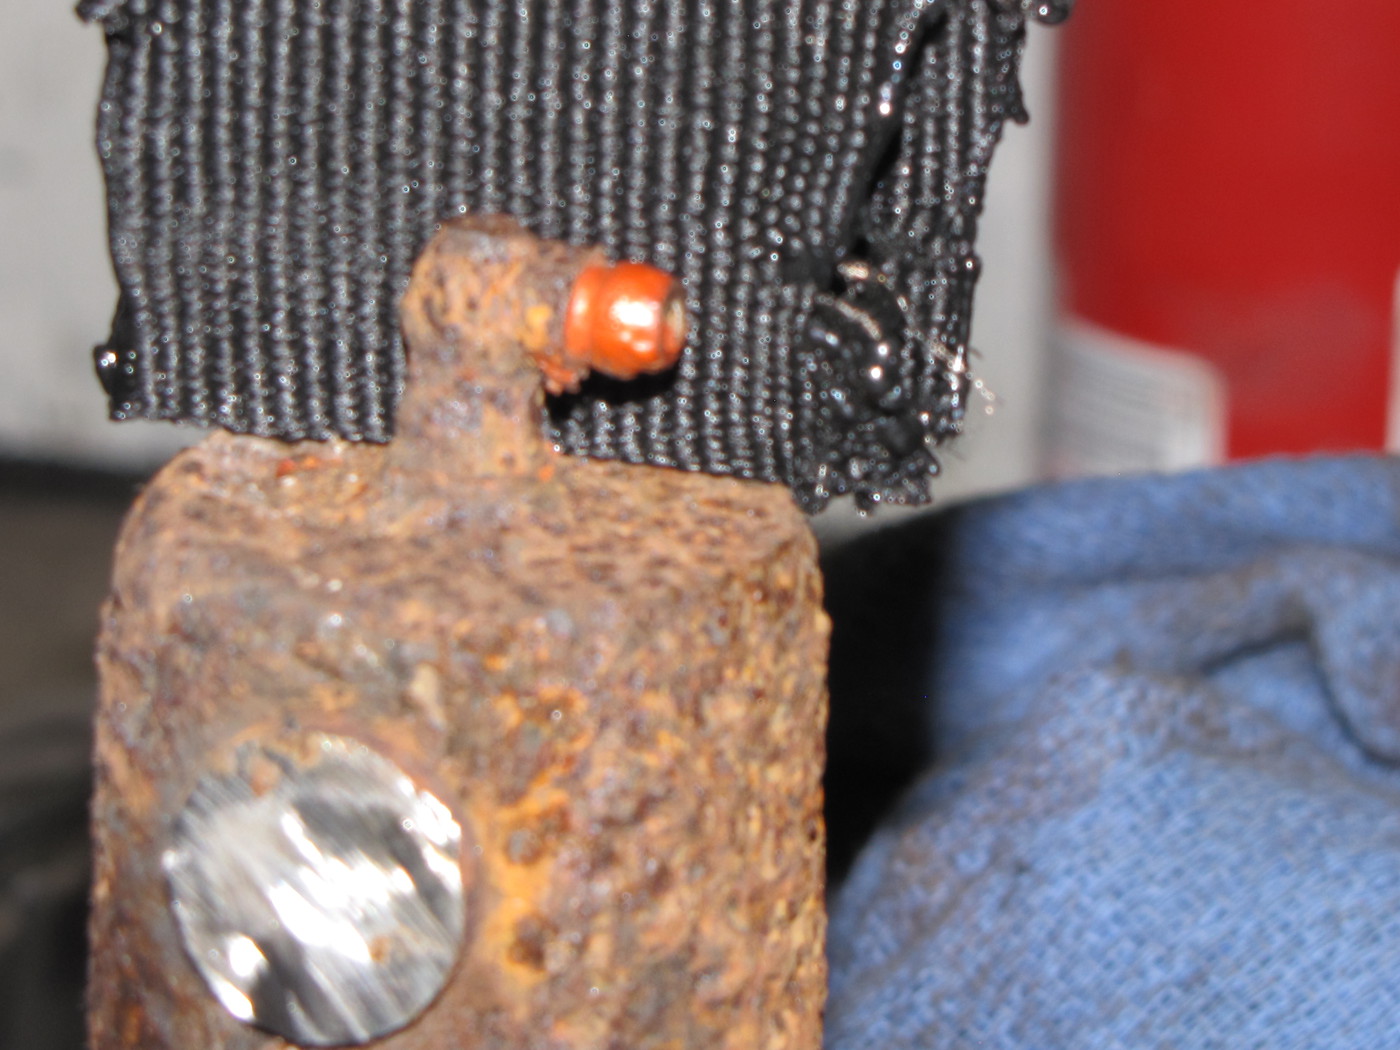
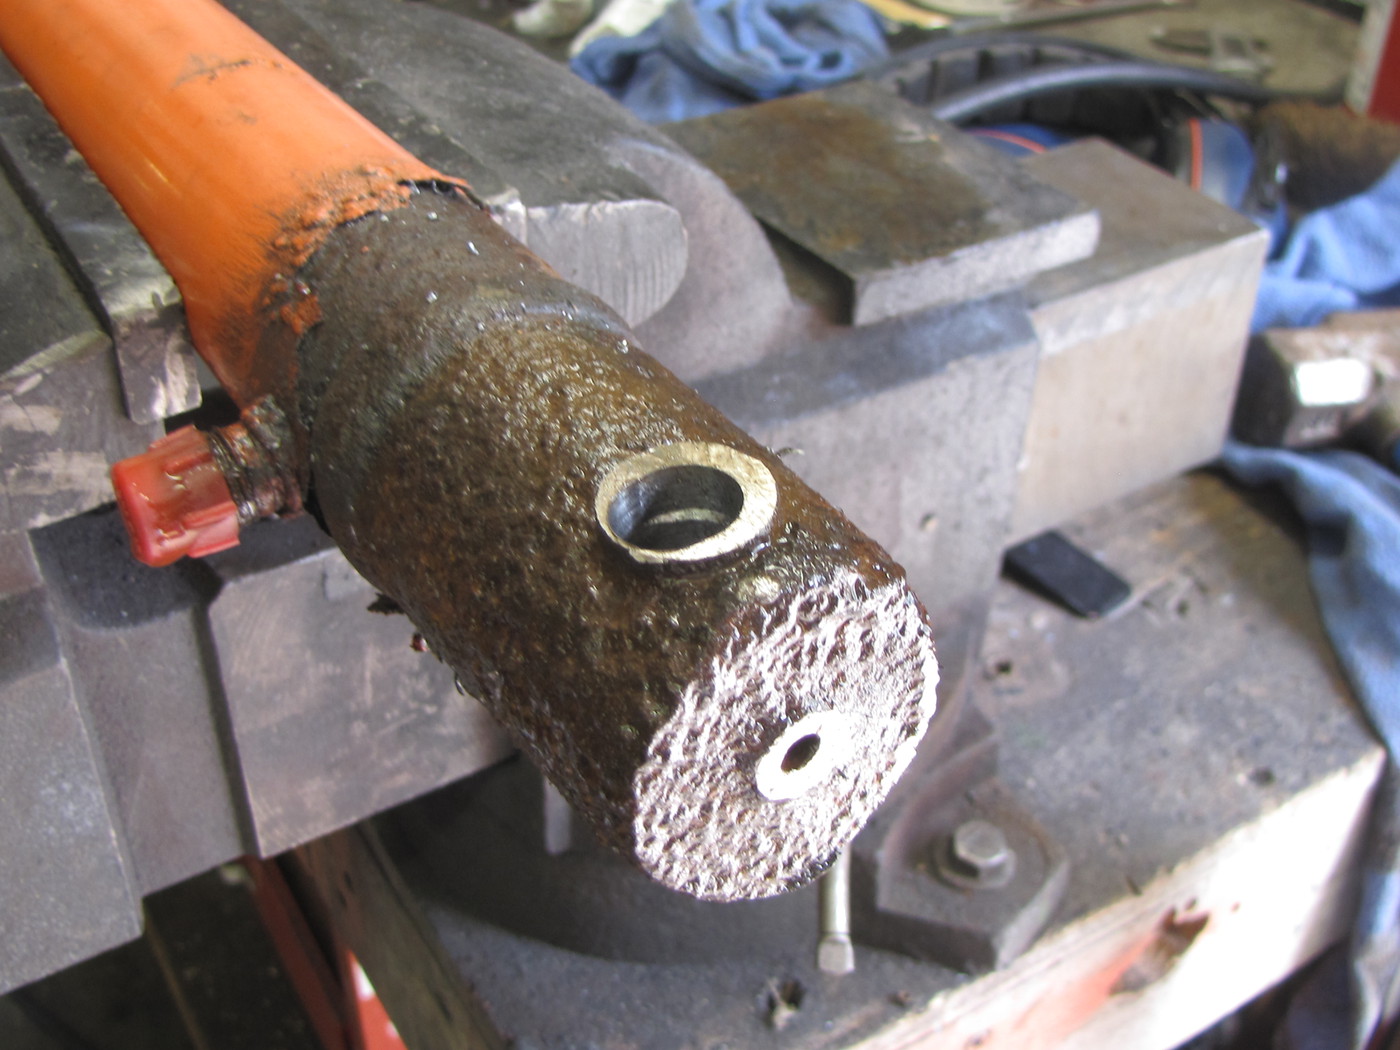
You can see how badly corroded and pitted the mounting portion of this ram is.


The grease nipple broke off without too much effort.

As a side note, all the remaining grease nipples took grease just fine.


.
 

BobbyK

Active member

Equipment
1995 B2400
May 20, 2018
101
44
28
Petrolia, Ontario
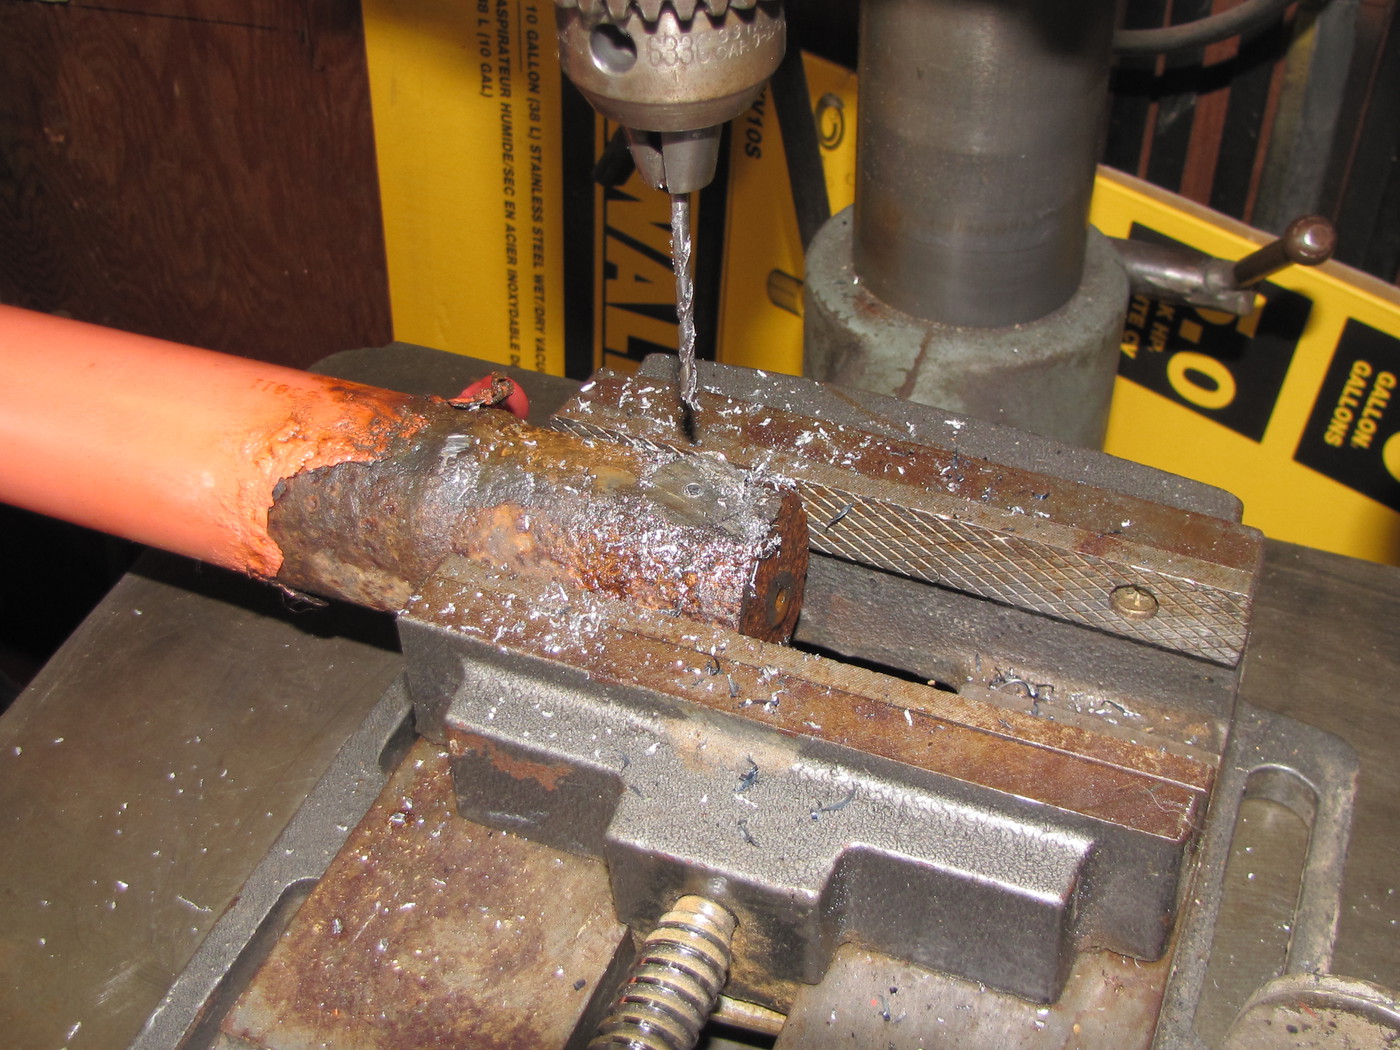
I decided to drill out the seized pin. I didn't want to introduce any excessive heat into the ram and possibly wreck any seals.

Started with and 1/8" drill bit and ended with a 5/8" bit.


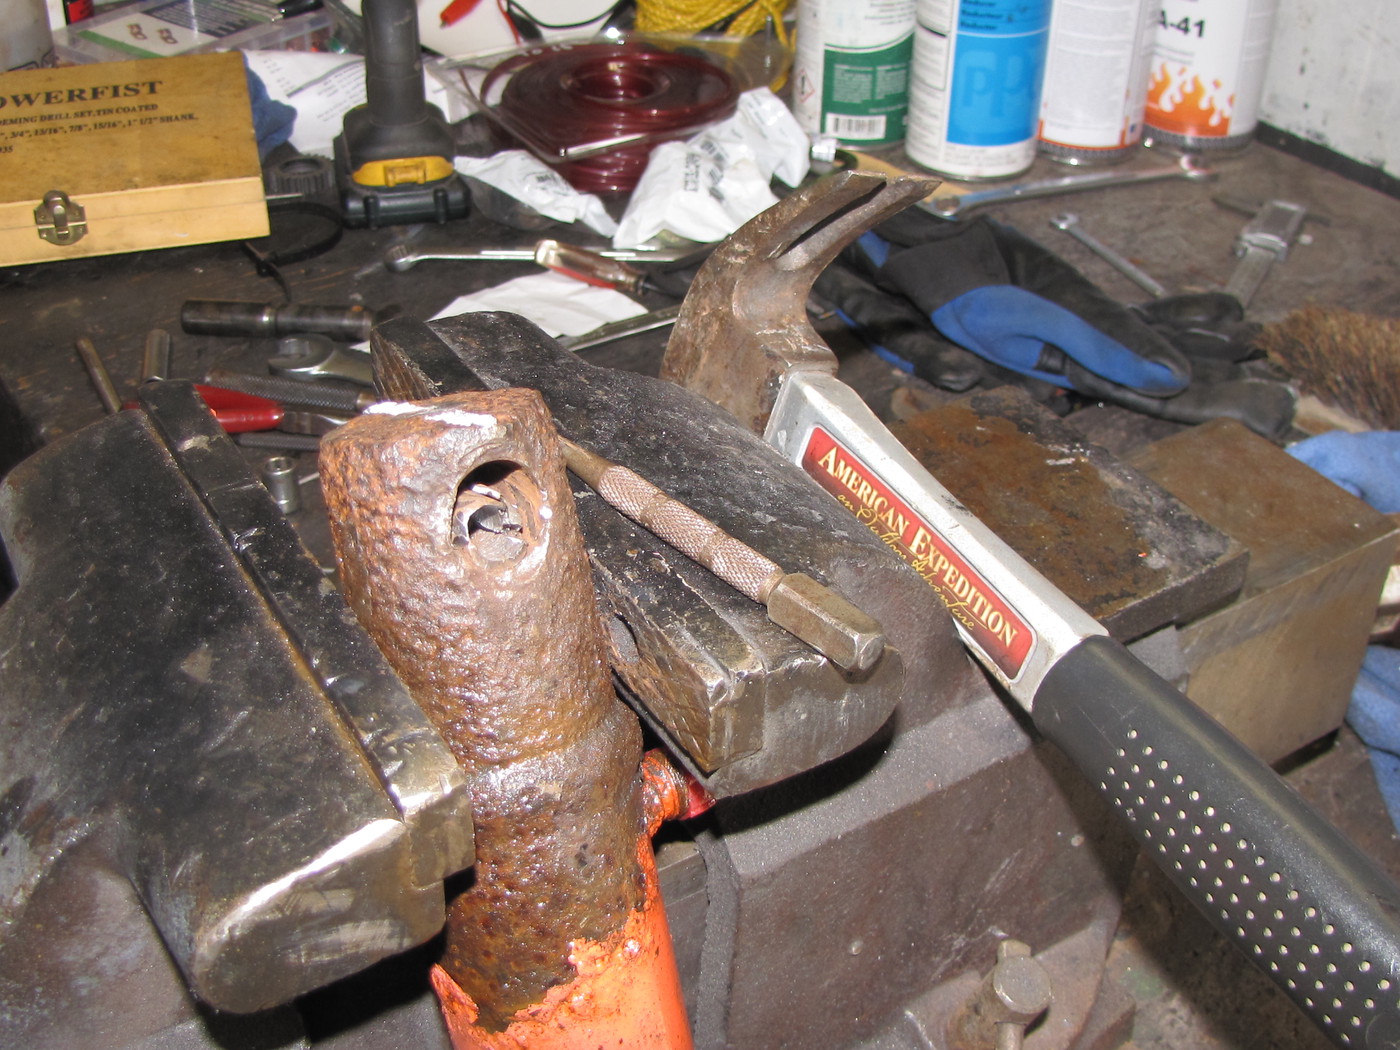
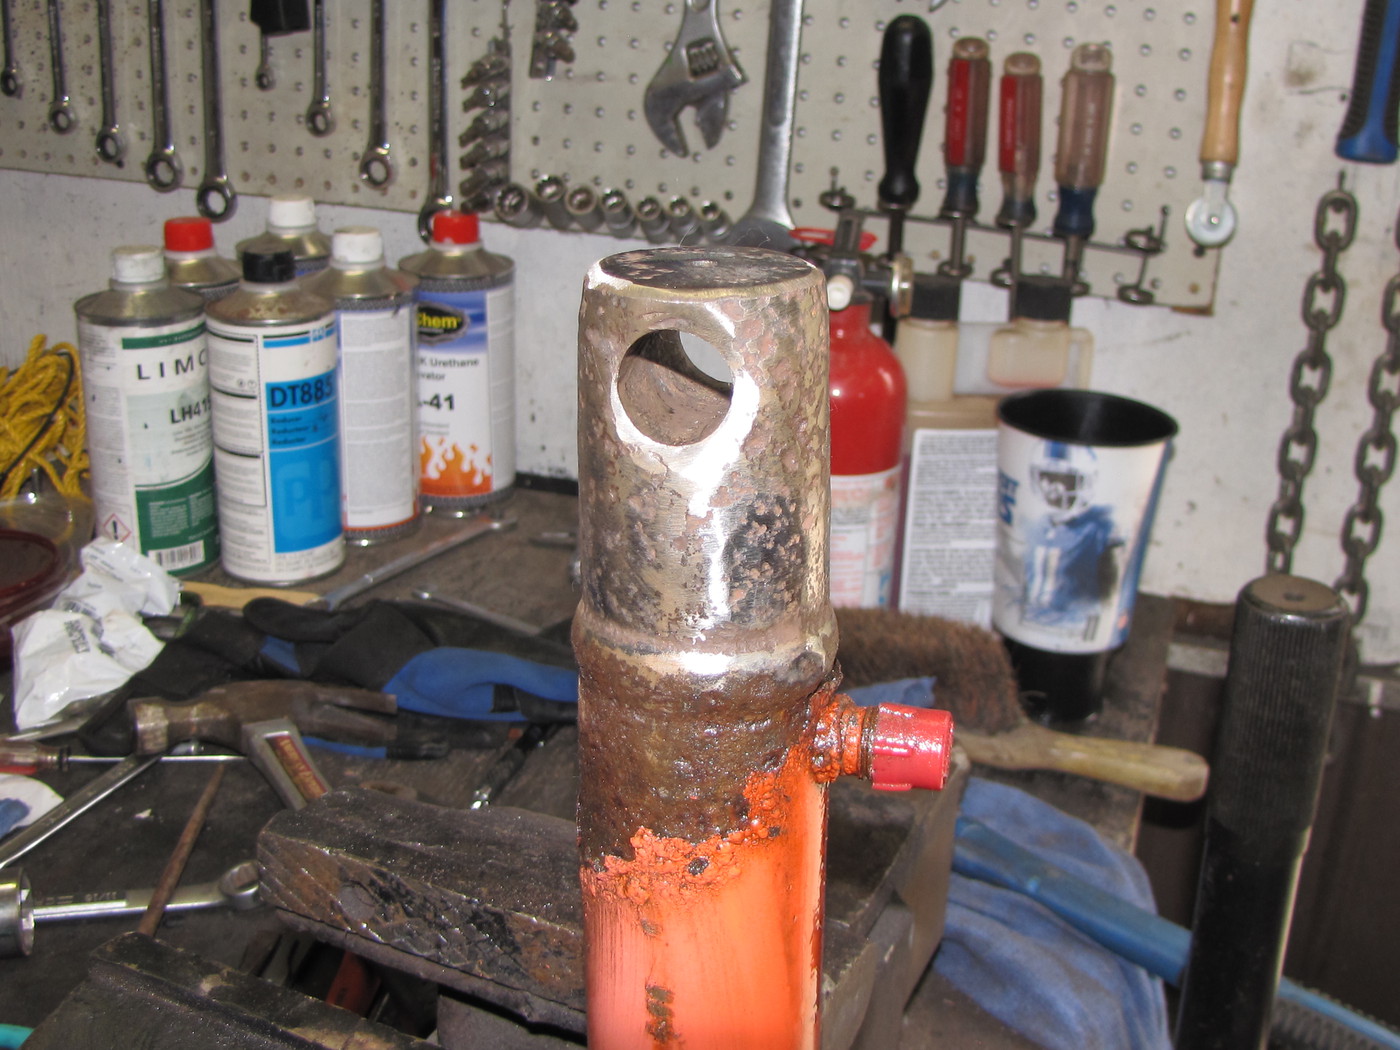
The bore is 3/4". I wasn't perfectly lined up with my initial hole so I had to use a chisel, punch and hammer to get the rest of the pin out.


It took a while, but I was able to save the factory bore.


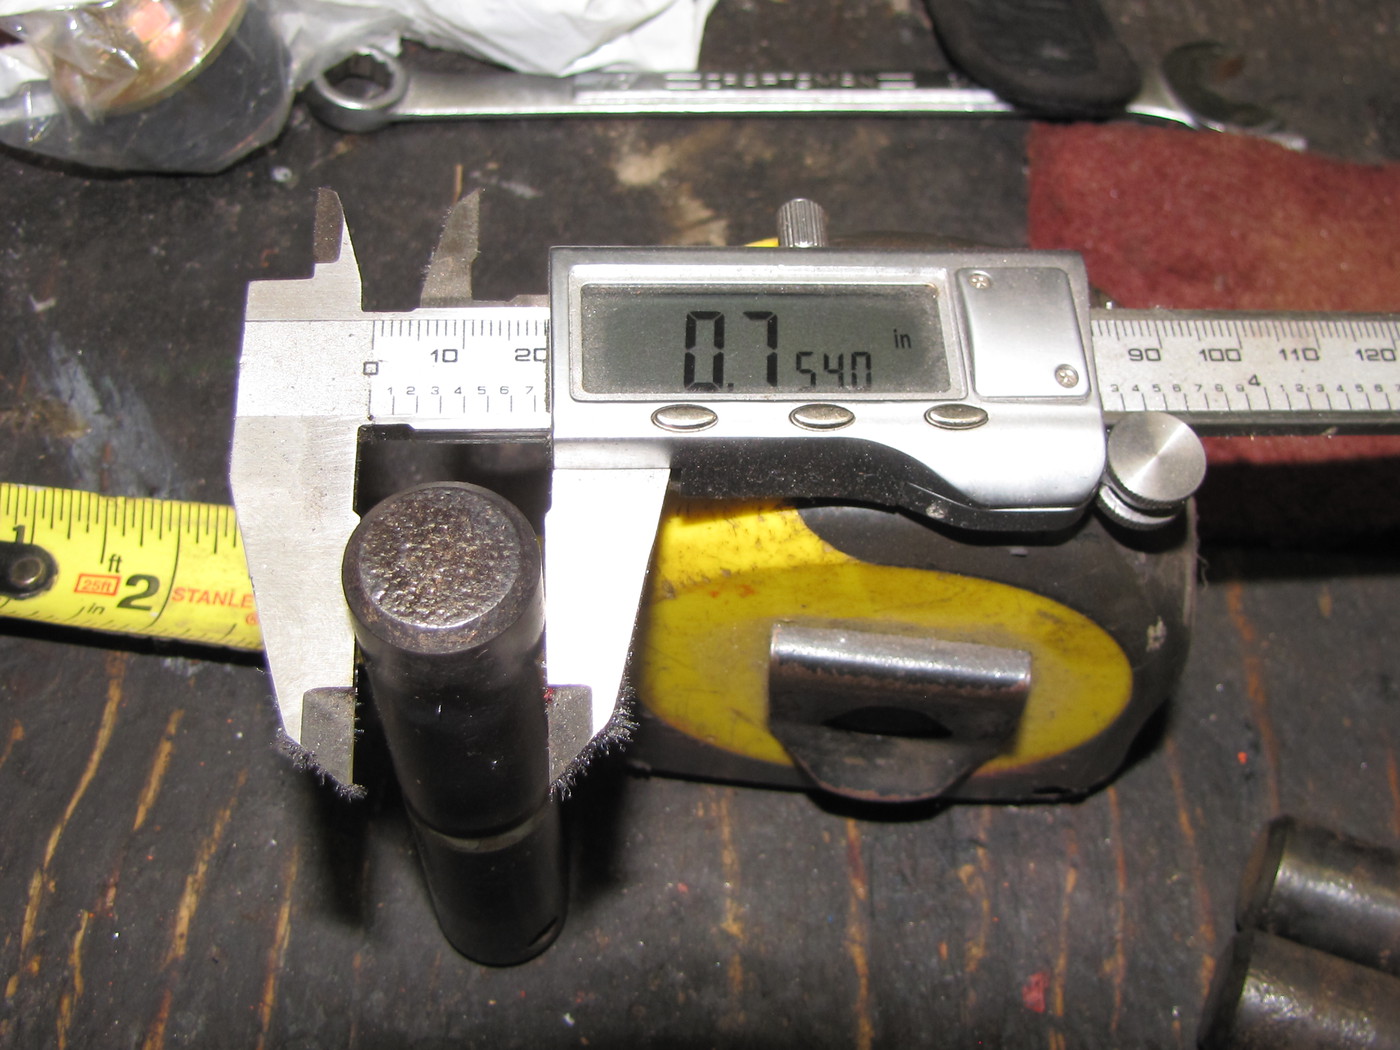
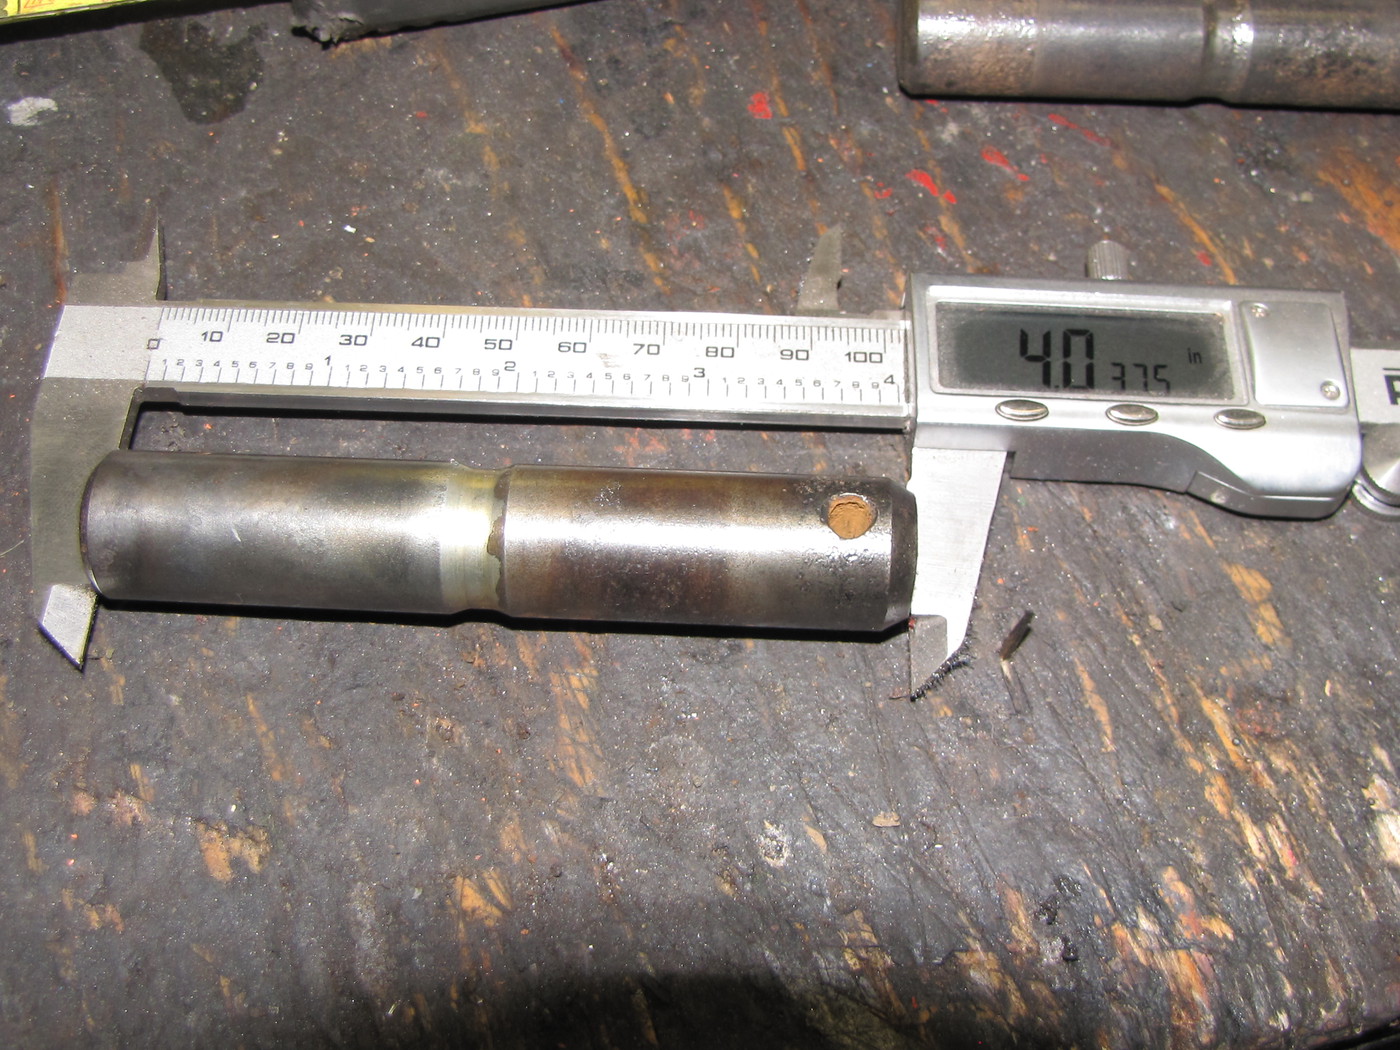
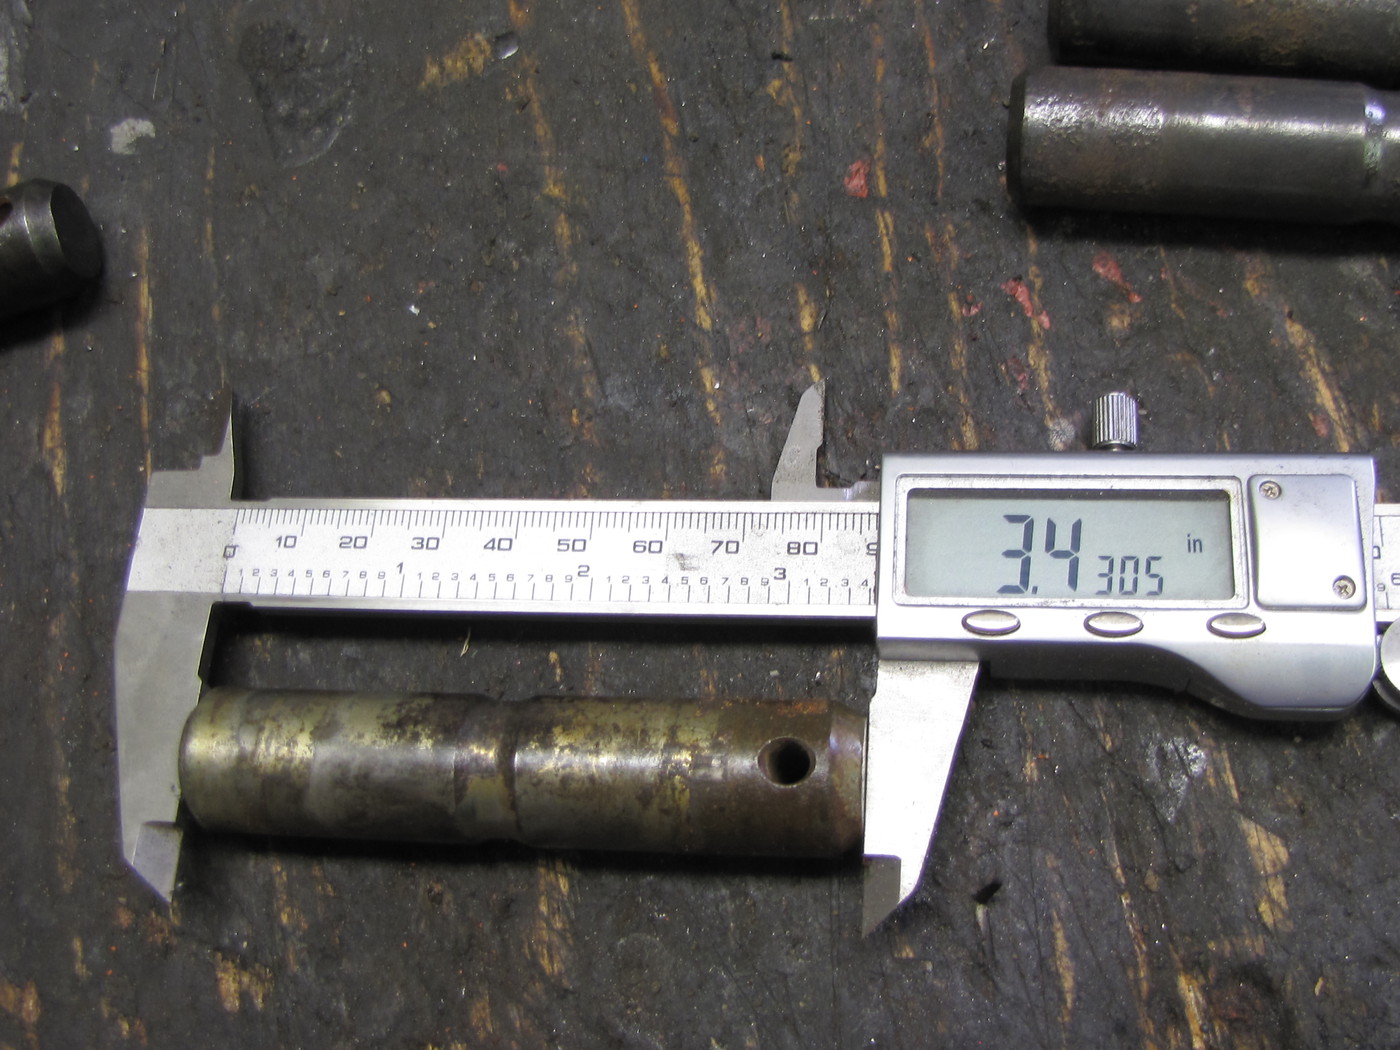
All the pins are 3/4"


Four Pins are 3.4" long and four are 4" long,


Once all the pins were out I continued to disassemble the loader.

Dump Rams off.


.
 

BobbyK

Active member

Equipment
1995 B2400
May 20, 2018
101
44
28
Petrolia, Ontario
Using a little compressed air I was able to cycle the Rams through their stroke and few times.
Stopped when I could manually pull and push the ram through it's entire stroke.

I used 3/8" JIC caps to cap off the hose ports. (Not in this pic)
I'll be sand blasting the rams. I'll tape off the chromed portion of the ram as well as the seal area.


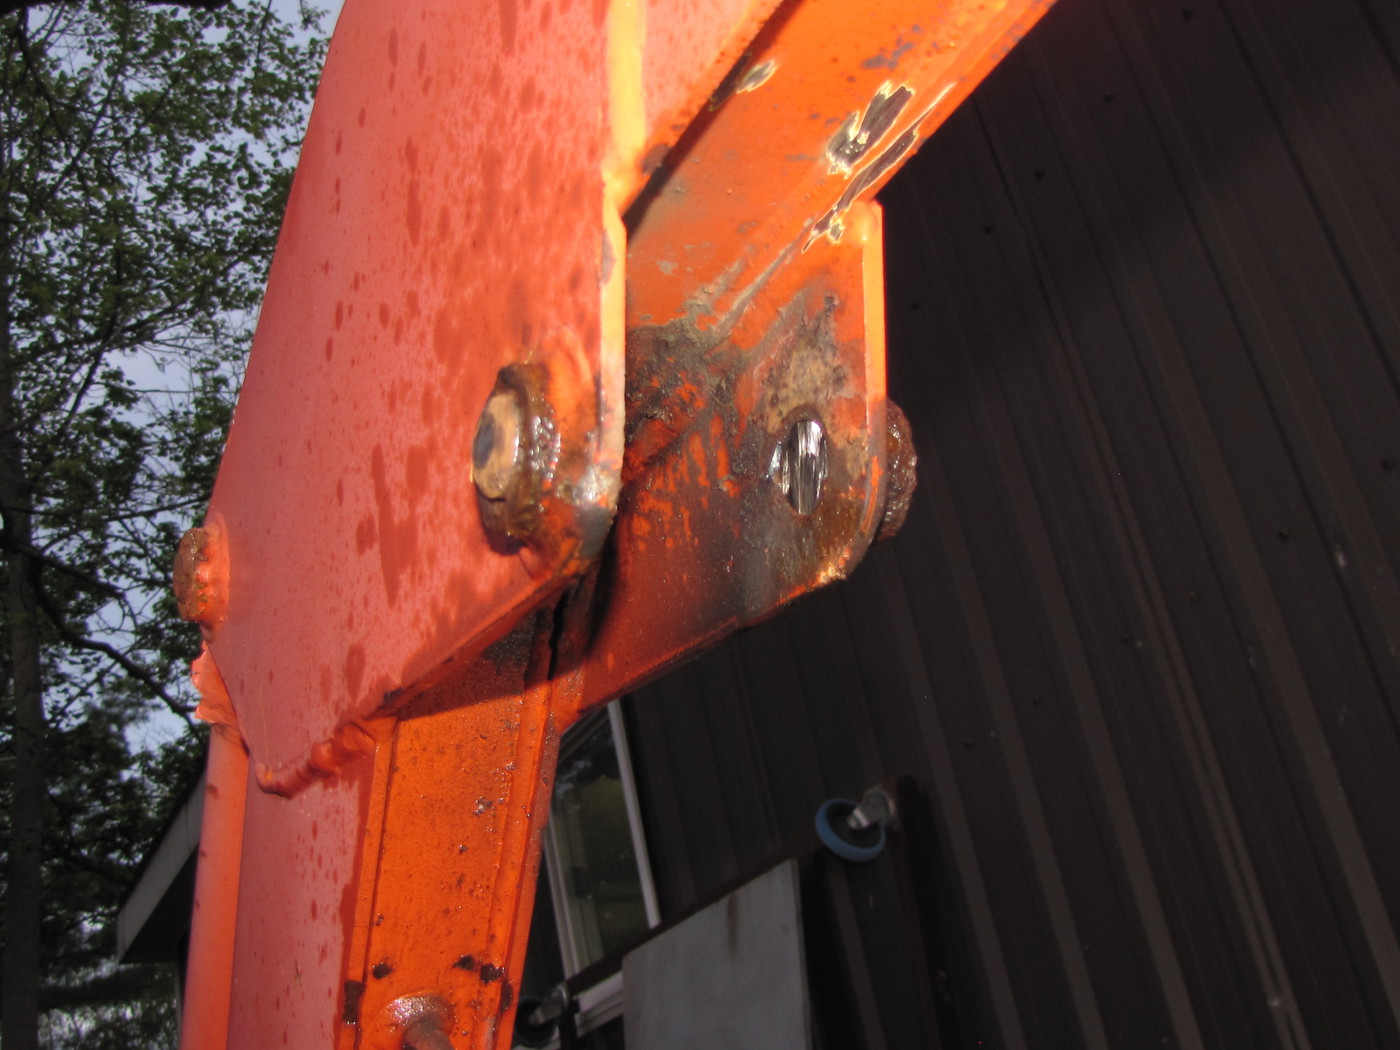
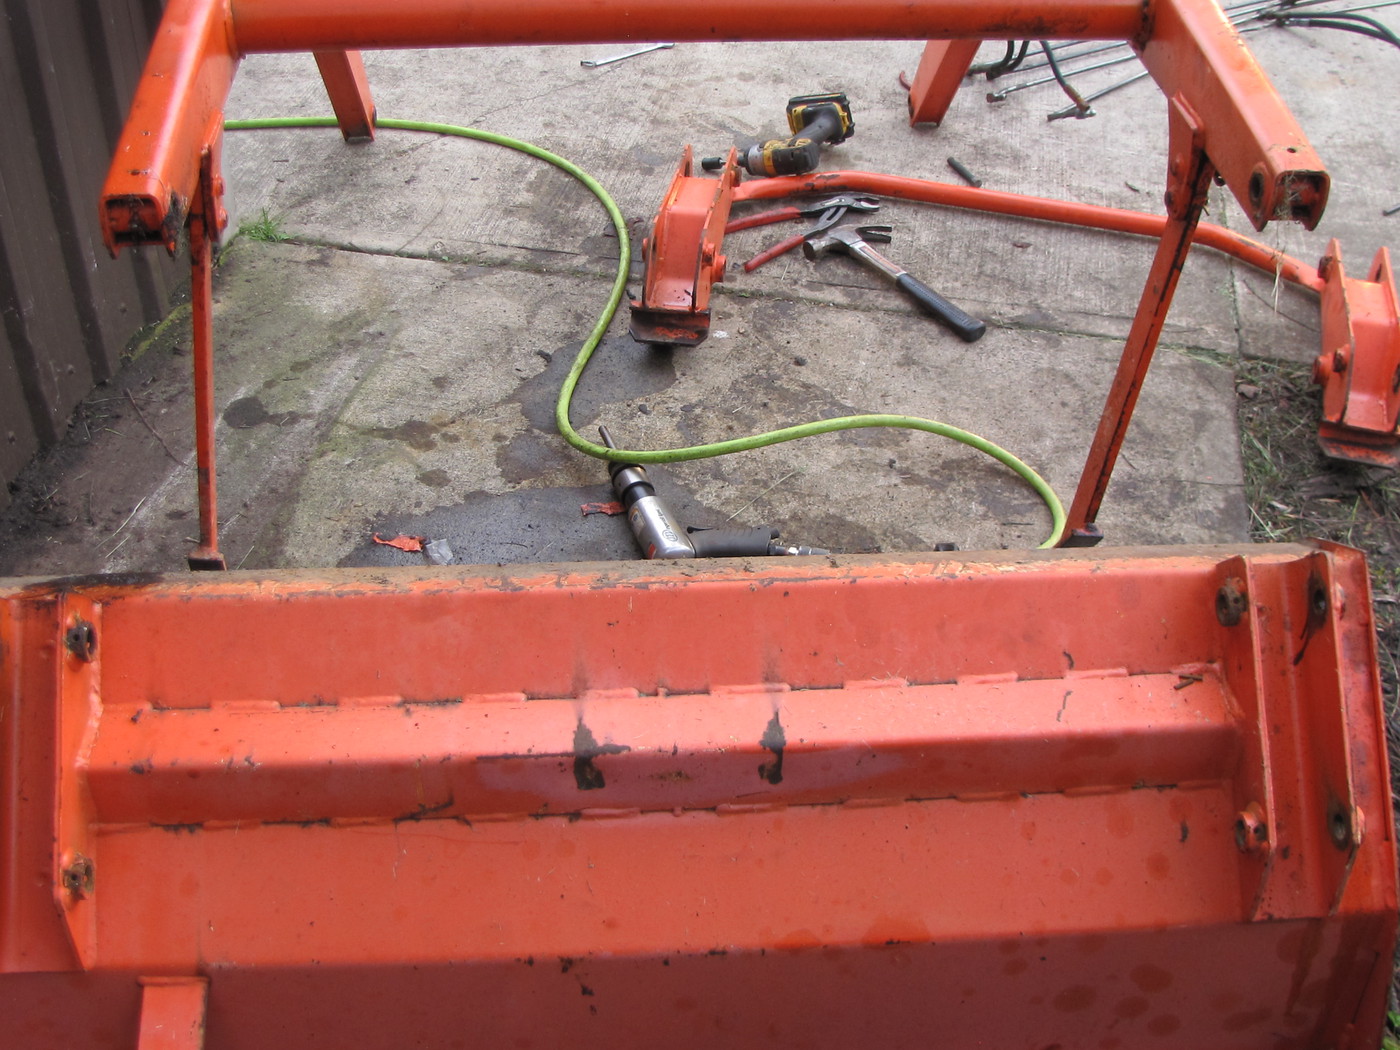
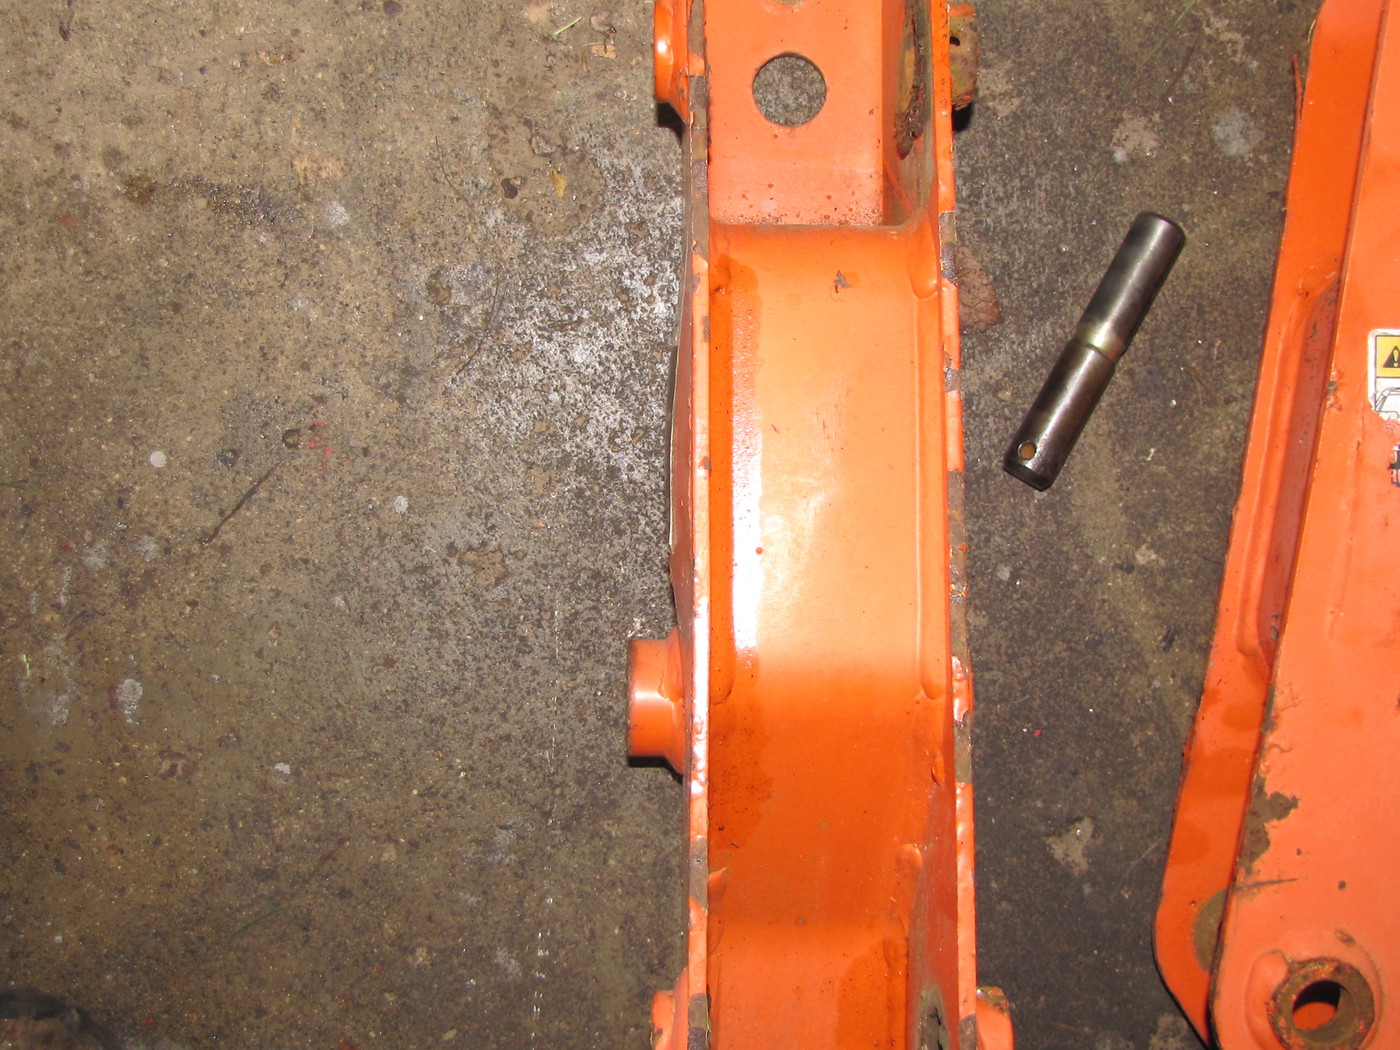
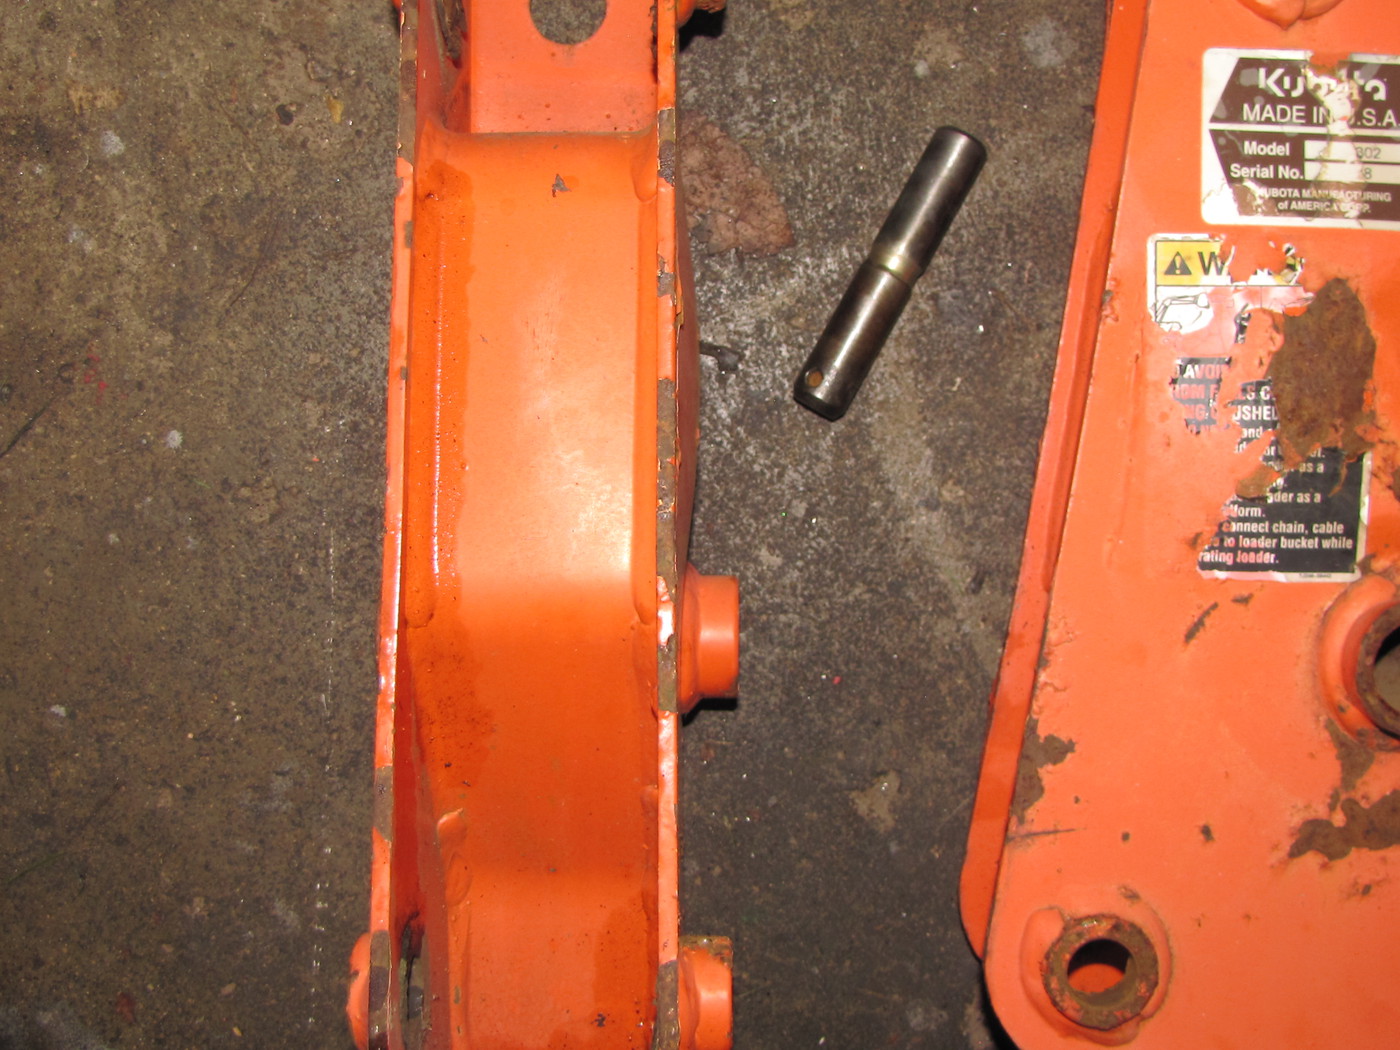
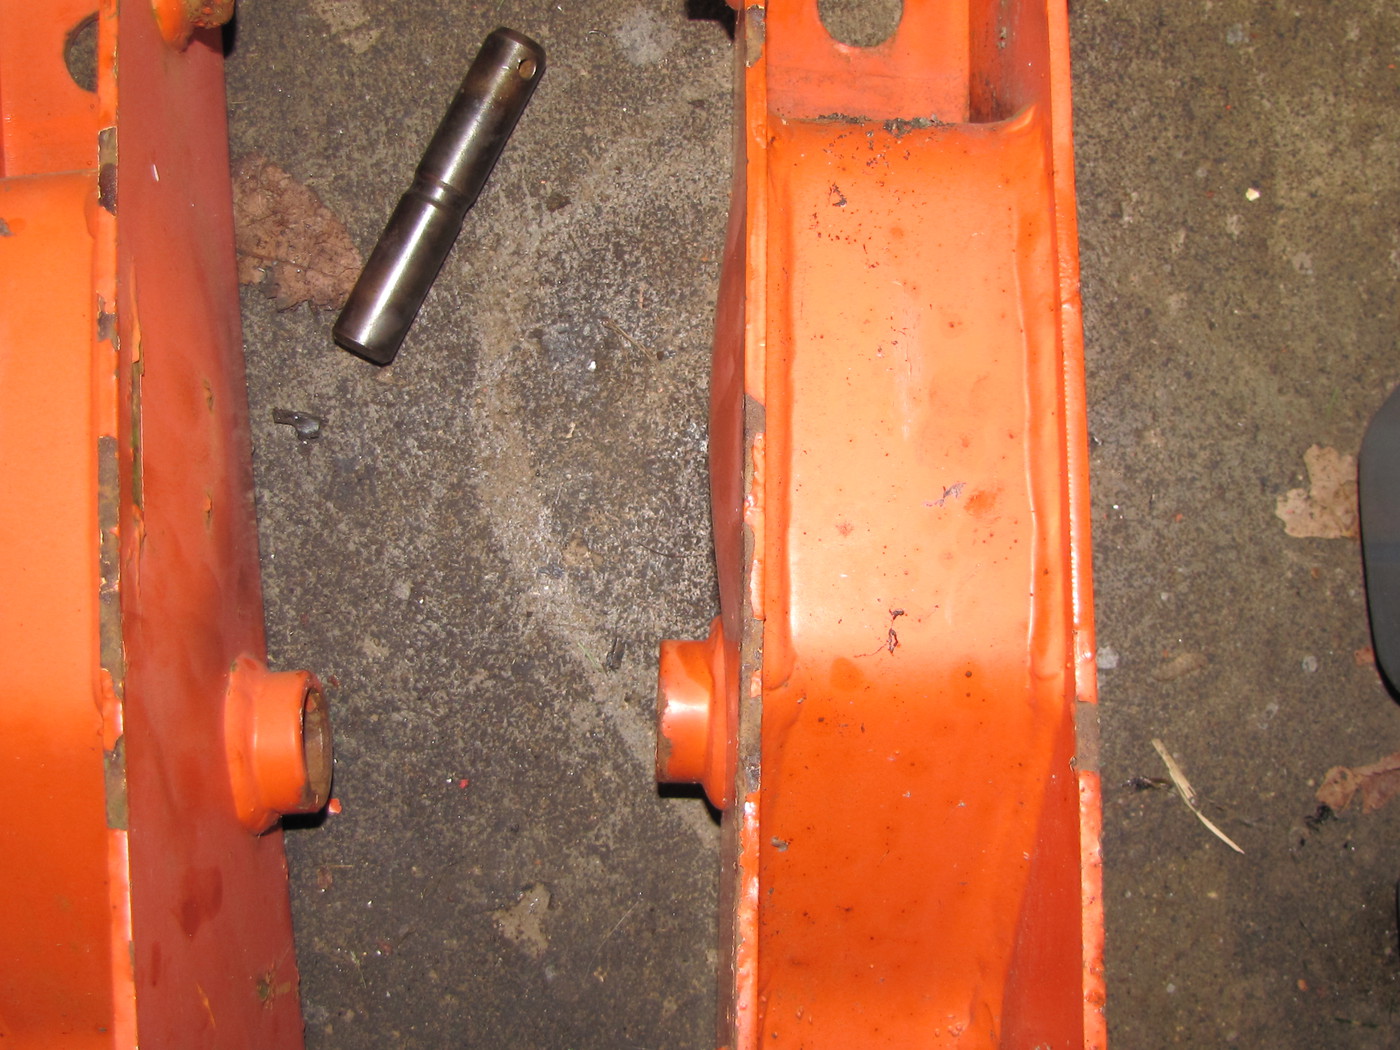
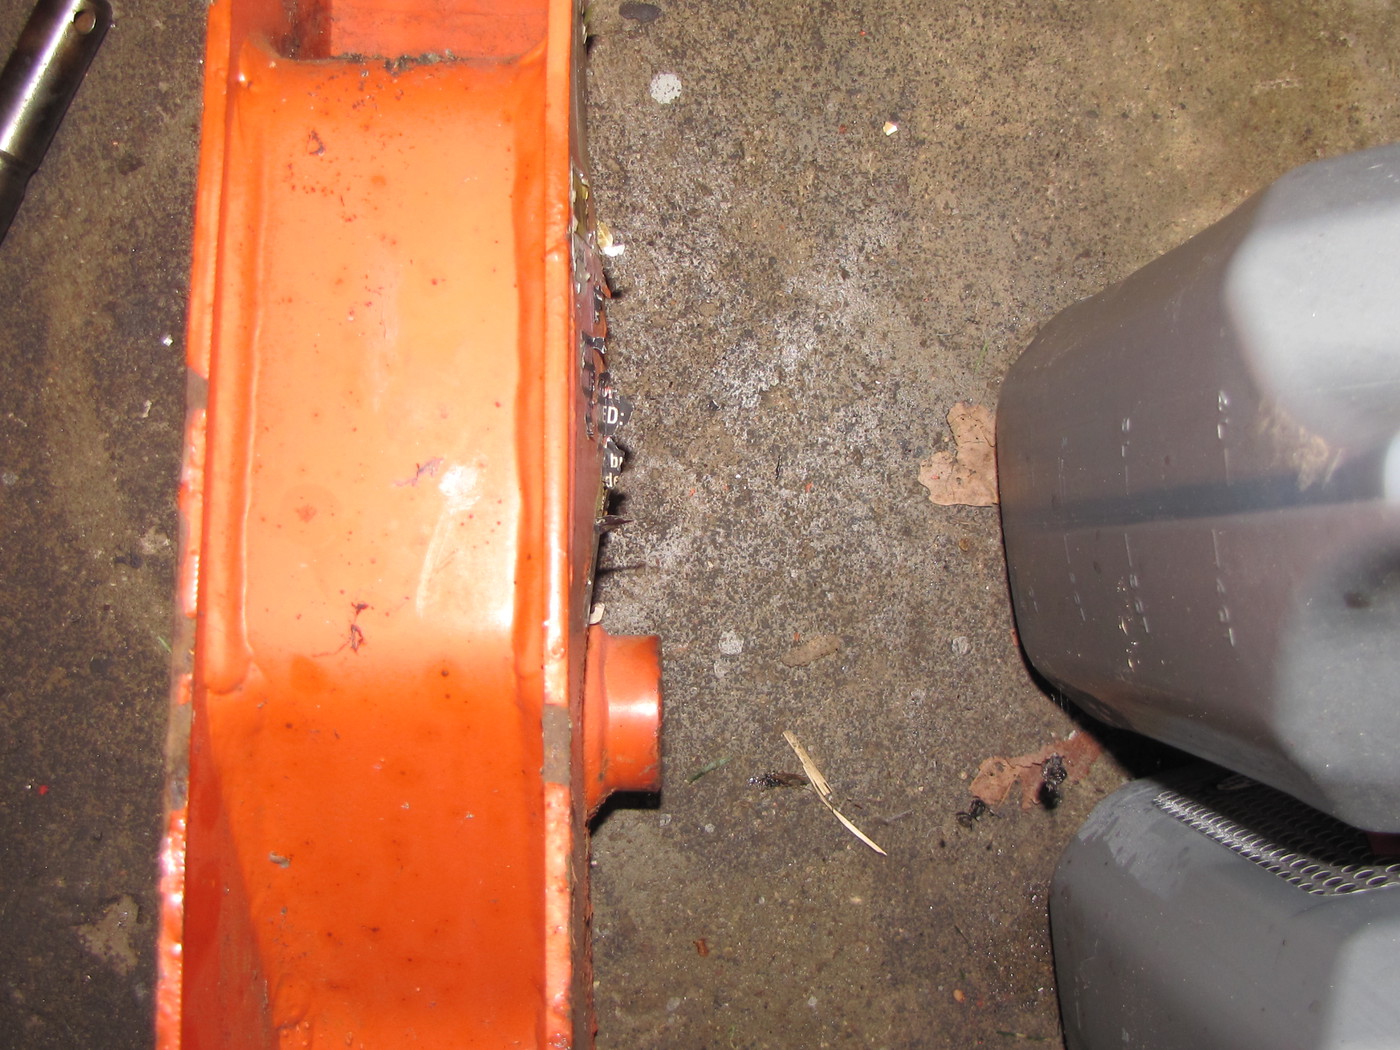
I did notice that each side of the "Side Frames" are bulged out.
Is this a factory thing or is this an overloading issue?


.
 

mcfarmall

Well-known member

Equipment
Kubota M5660SUHD, Farmall C
Sep 11, 2013
1,409
1,690
113
Kalamazoo, MI
Nice work so far! Can't wait to see the final product, I love projects like this!
 

Chanceywd

Well-known member
Lifetime Member

Equipment
Kubota L2501DT BH77 VIRNIG URG60-CT 1950 8N
Mar 26, 2021
591
439
63
central ny
Using a little compressed air I was able to cycle the Rams through their stroke and few times.
Stopped when I could manually pull and push the ram through it's entire stroke.

I used 3/8" JIC caps to cap off the hose ports. (Not in this pic)
I'll be sand blasting the rams. I'll tape off the chromed portion of the ram as well as the seal area.


I did notice that each side of the "Side Frames" are bulged out.
Is this a factory thing or is this an overloading issue?


.
I would wonder if water accumulated in there and froze.

PS I like the looks of the chevy behind the tractor!

Bill
 

TheOldHokie

Well-known member
Lifetime Member

Equipment
L3901/LA525, B7200DT/B1630, G2160/RCK60, G2460/RCK60
Apr 6, 2021
8,556
4,342
113
Myersville, MD
windyridgefarm.us
The story starts like this,
There once was a guy who wanted a FEL (front end loader) for his B2400.
He looked and looked both far and wide. After 4.5 years, he found one he could afford and bought it.
The end.


I'm a crappy short story writer, I know.

It is a true story though. After 4.5 year of looking...I got this for $2000 Cdn. at .78 cents on the dollar as of today that's $1557.68 Usd.

It has it's issue's, which, I'll get into. But I think I did OK.
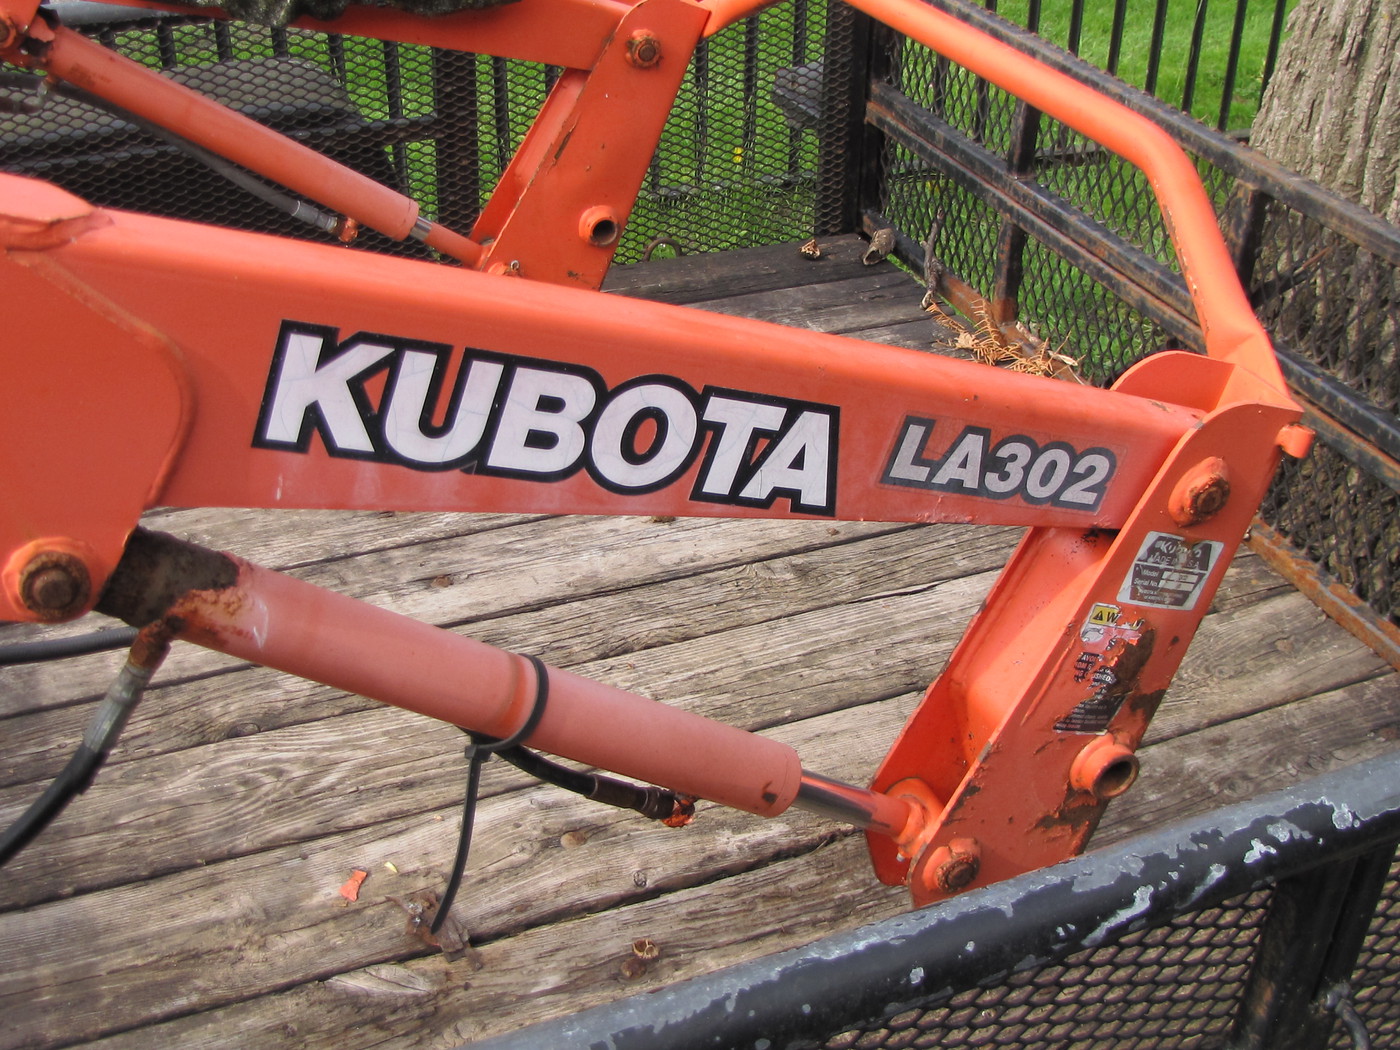


This post will document the disassembly, the repair, the painting and reassembly of this LA302 FEL.
Hoping I can get some questions answered along the way as well as provide info of the rebuild process.
I'm also doing this in real time so as I complete things I will be posting my progress.

Thanks in advance for any help this board may provide!


.
You have taken on quite a project. I looked through the pictures and commentary and most of what you have is mainly cleanup and a few minor repairs. Unless you are set on 100% original look the hard lines are easy to fix. New hoses and fittings are going to add $$$ up quick. Push comes to shove new cylinders are readily available.

By far the biggest hurdle is the mounting adapter. That is a significant fabrication project. You might want to look around for a laser cutting service in your area that could produce the jigsaw pieces you are going to need.

Dan
 

BobbyK

Active member

Equipment
1995 B2400
May 20, 2018
101
44
28
Petrolia, Ontario
The main reason I took the FEL apart was to inspect and clean up the Pin's + Pin boss's.
The rust at the ends of the rams looked bad but it's just the mounting portion of the Ram, it doesn't effect the ram itself.

As far as water goes..I noted only a very small amount of milky Hyd. fluid coming from just one of the Rams. The rest of the Rams had nice clear Hyd. fluid drained from them.

PS I like the looks of the Chevy behind the tractor!
Ya I like it too..1971 Blazer.


New hoses and fittings are going to add $$$ up quick.
Ya... I have about $380 in parts coming.


By far the biggest hurdle is the mounting adapter.
I up to the challenge, but I know it is a complicated piece to replicate.
I'm not going for 100% replication of the factory piece, mine will be much more of a crude design.
It's the details I'll have to get right though.
But it is metal... if it's wrong I'll just cut, grind and weld until it's right.


.
 
  • Like
  • Love
Reactions: 3 users

Chanceywd

Well-known member
Lifetime Member

Equipment
Kubota L2501DT BH77 VIRNIG URG60-CT 1950 8N
Mar 26, 2021
591
439
63
central ny
I would wonder if water accumulated in there and froze.

PS I like the looks of the chevy behind the tractor!

Bill
I was talking about water in the side frame boxes accumulating and freezing not the cylinders. I noticed on my newer loader there isn't continuous welds like yours appear to have. Is there some areas at the top where it isn't continuous? If it has been sitting out for years I have seen other things made of box tubing split or bulge.

Bill
 

BobbyK

Active member

Equipment
1995 B2400
May 20, 2018
101
44
28
Petrolia, Ontario
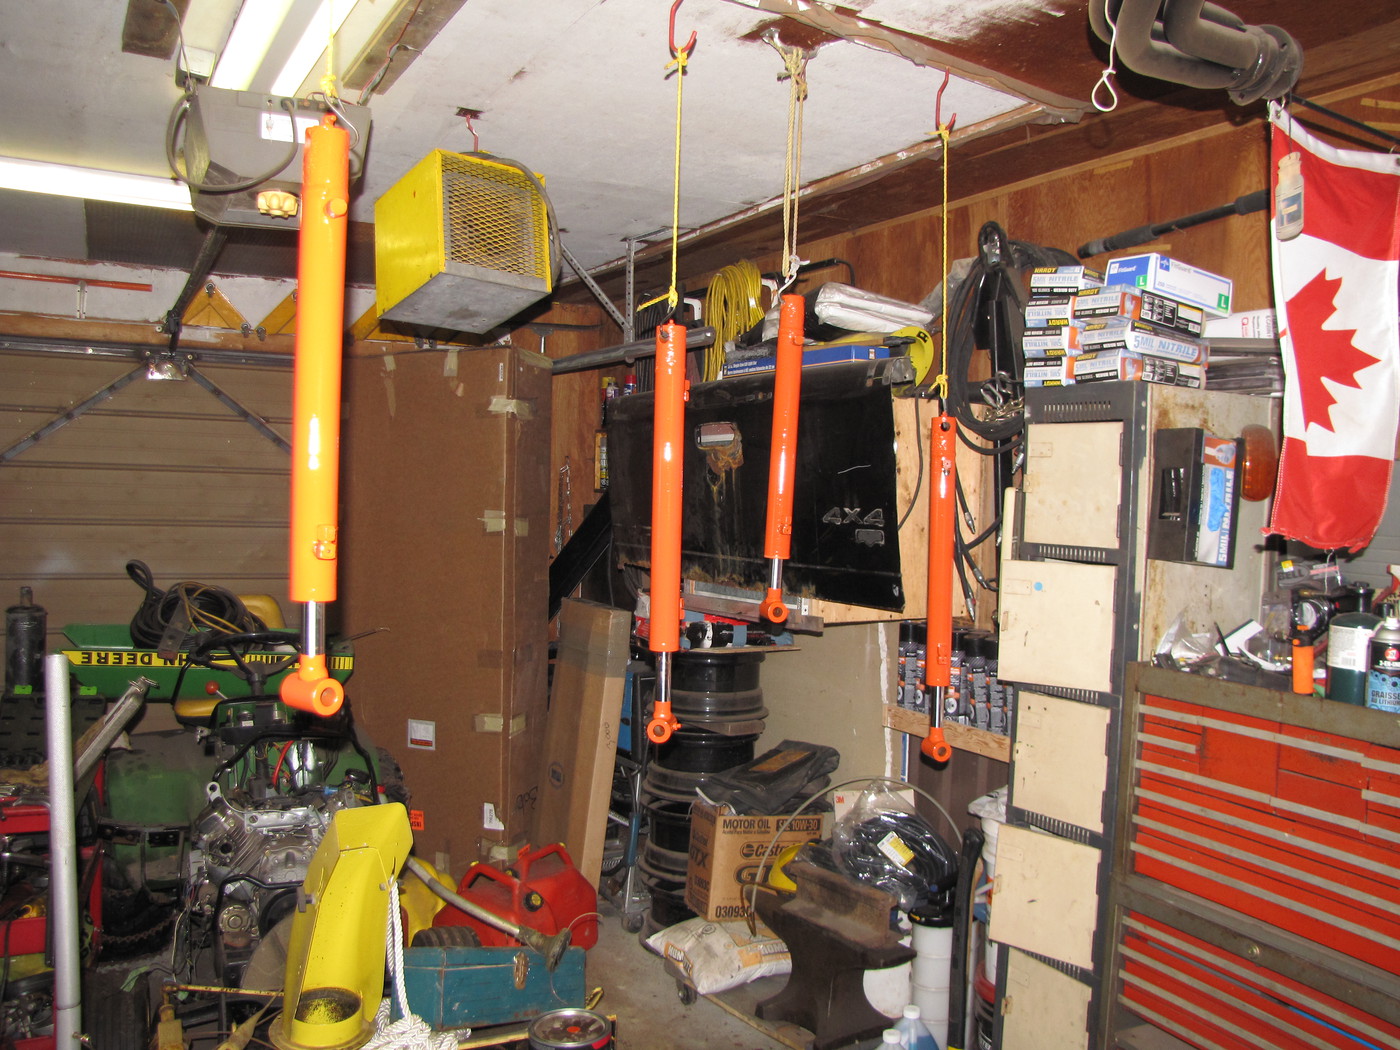
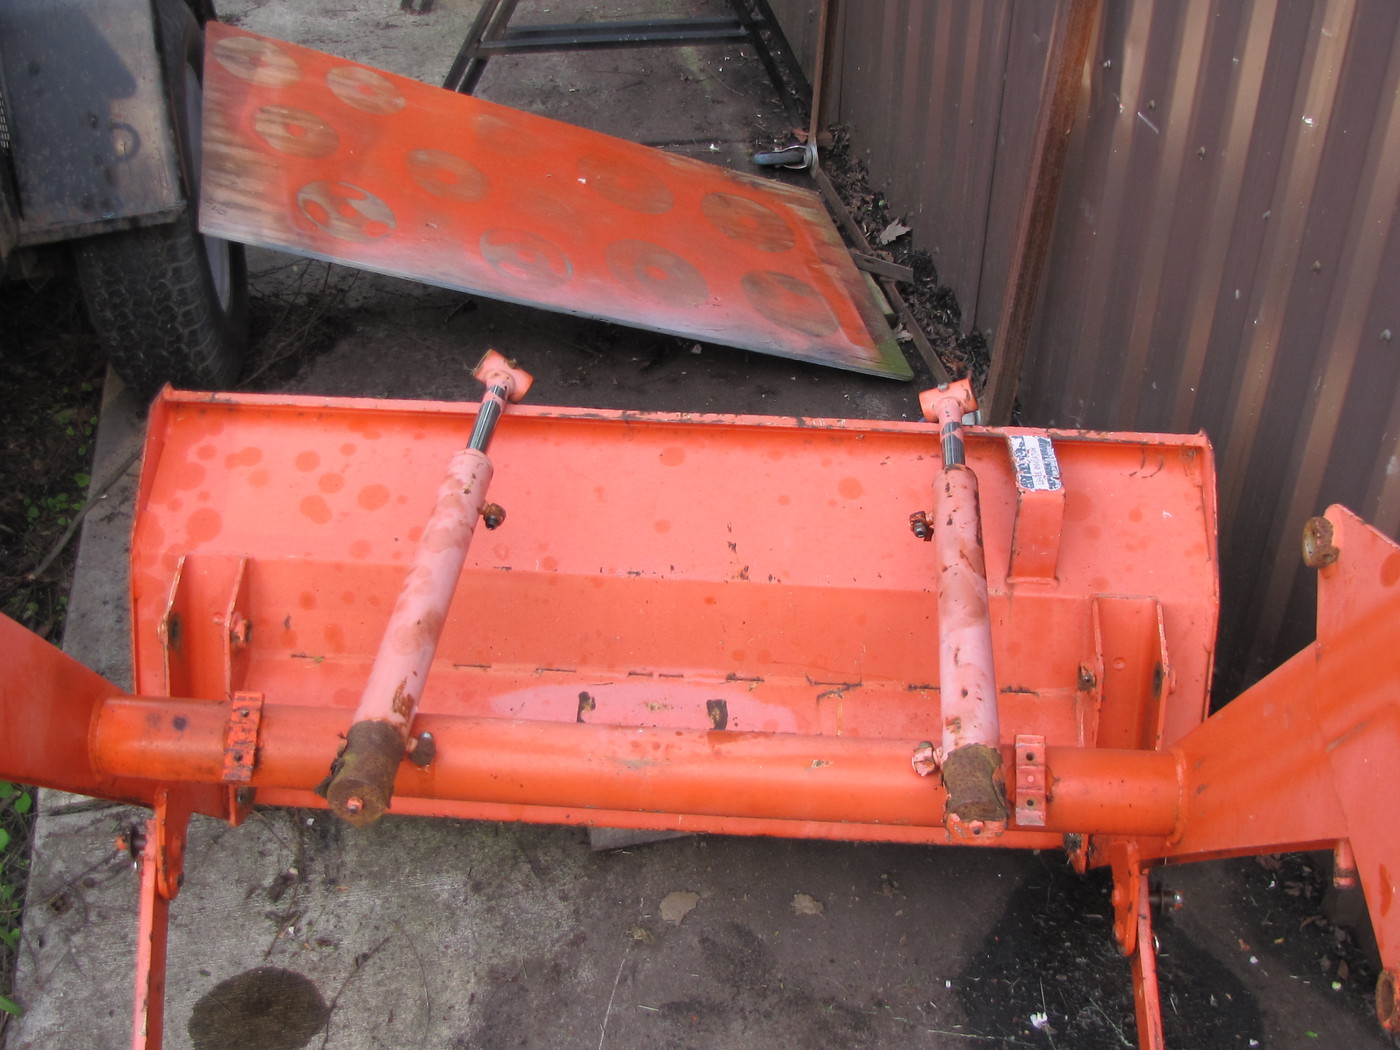
Got the rams blasted and painted today.

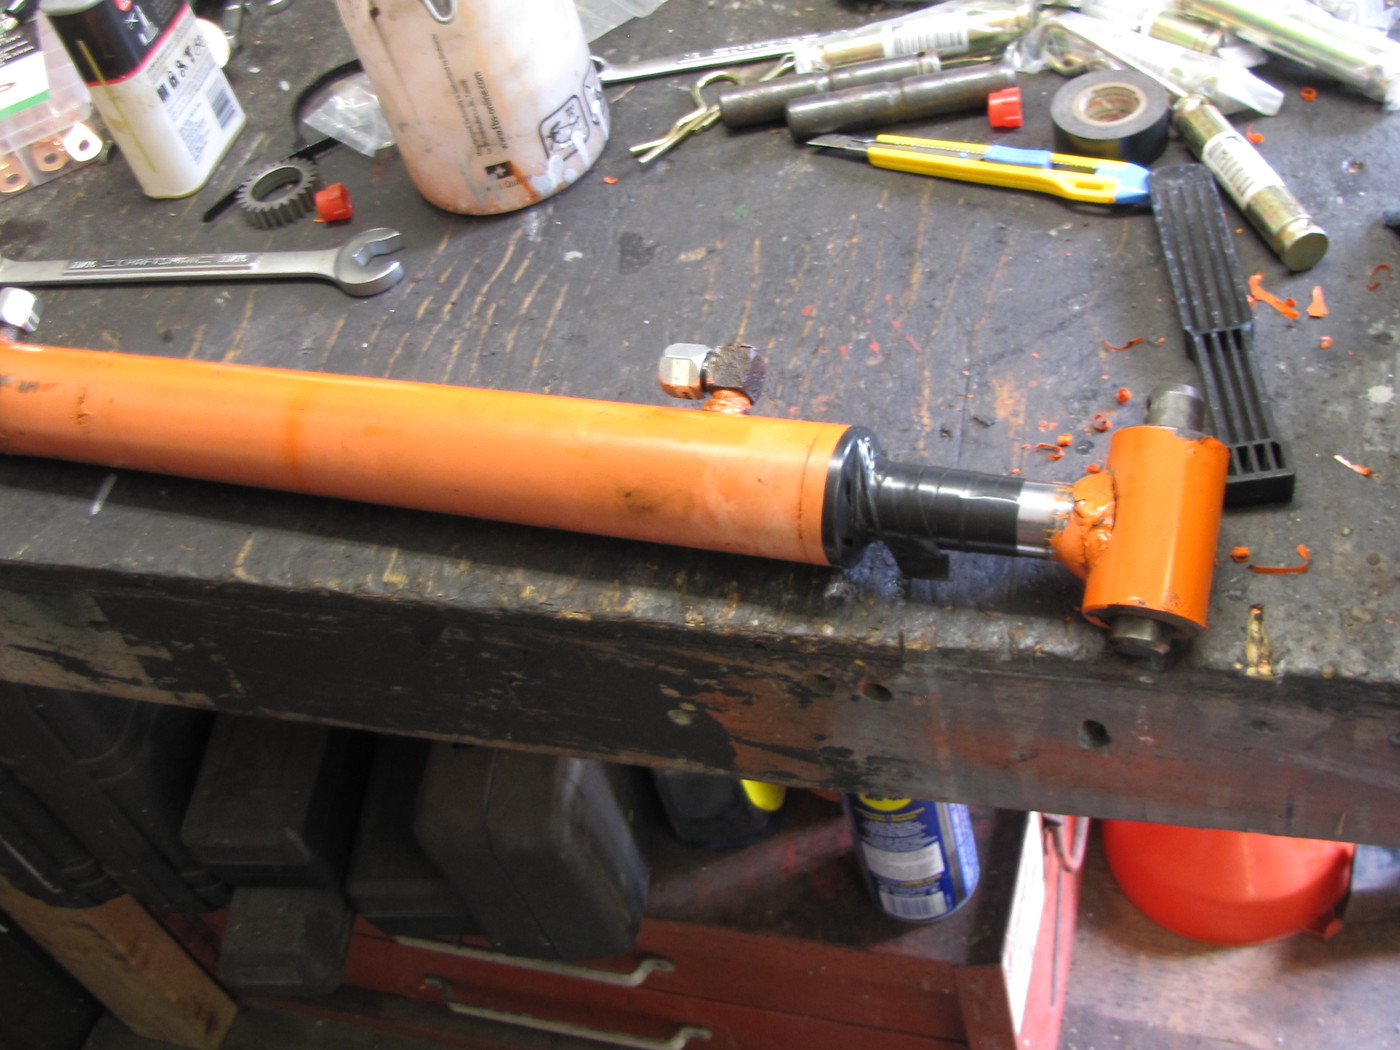
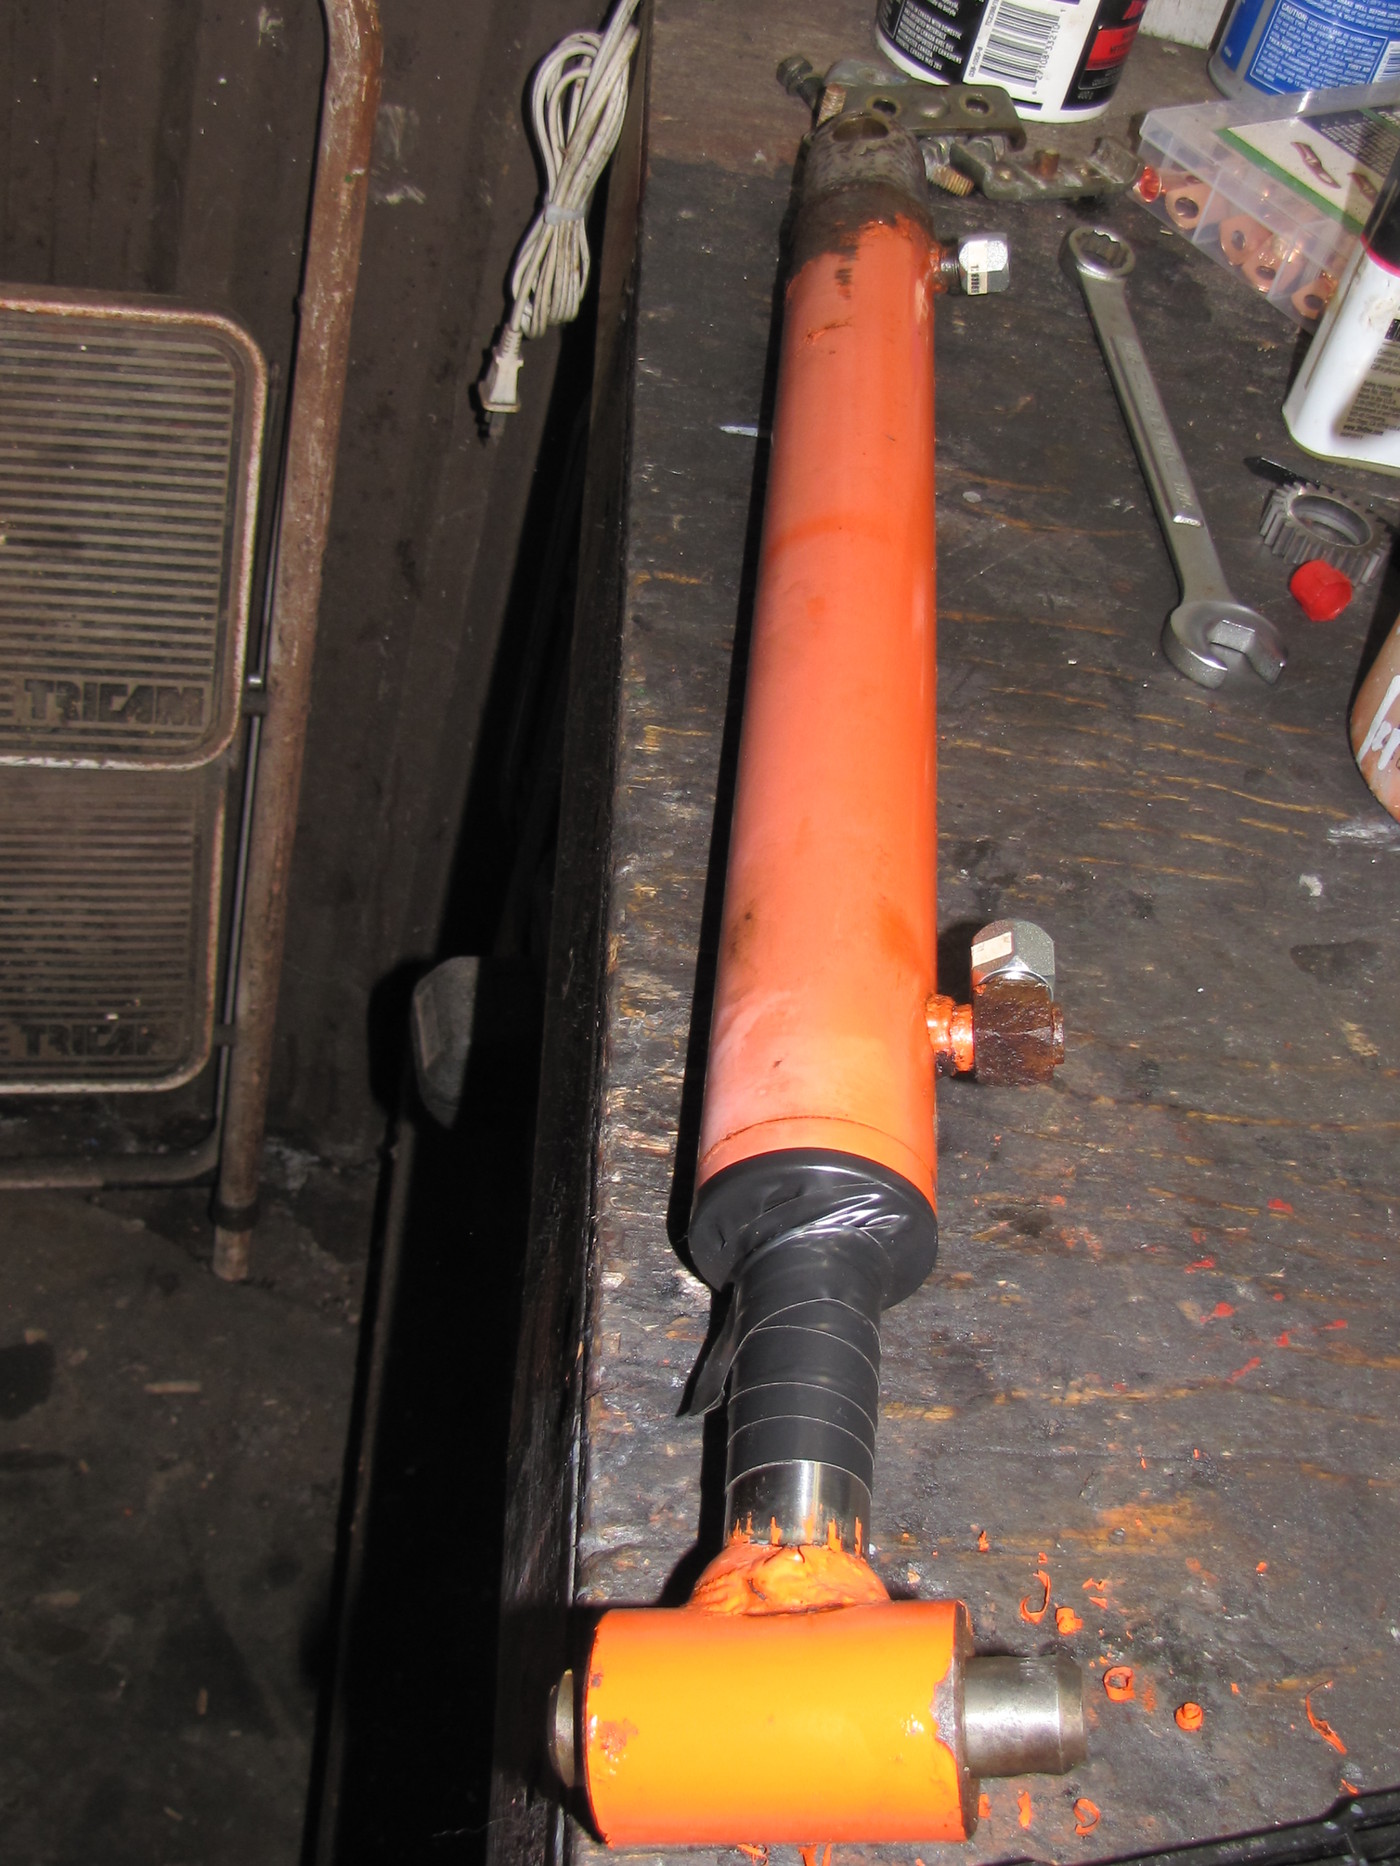
I taped up the chrome part of the piston and the seal/wiper area.
I used electrical tape as it's thicker and I didn't want to risk using masking tape in fear that the blasting media might go through the masking tape.


you can see the 3/8" JIC caps I used to block off the hose ports.


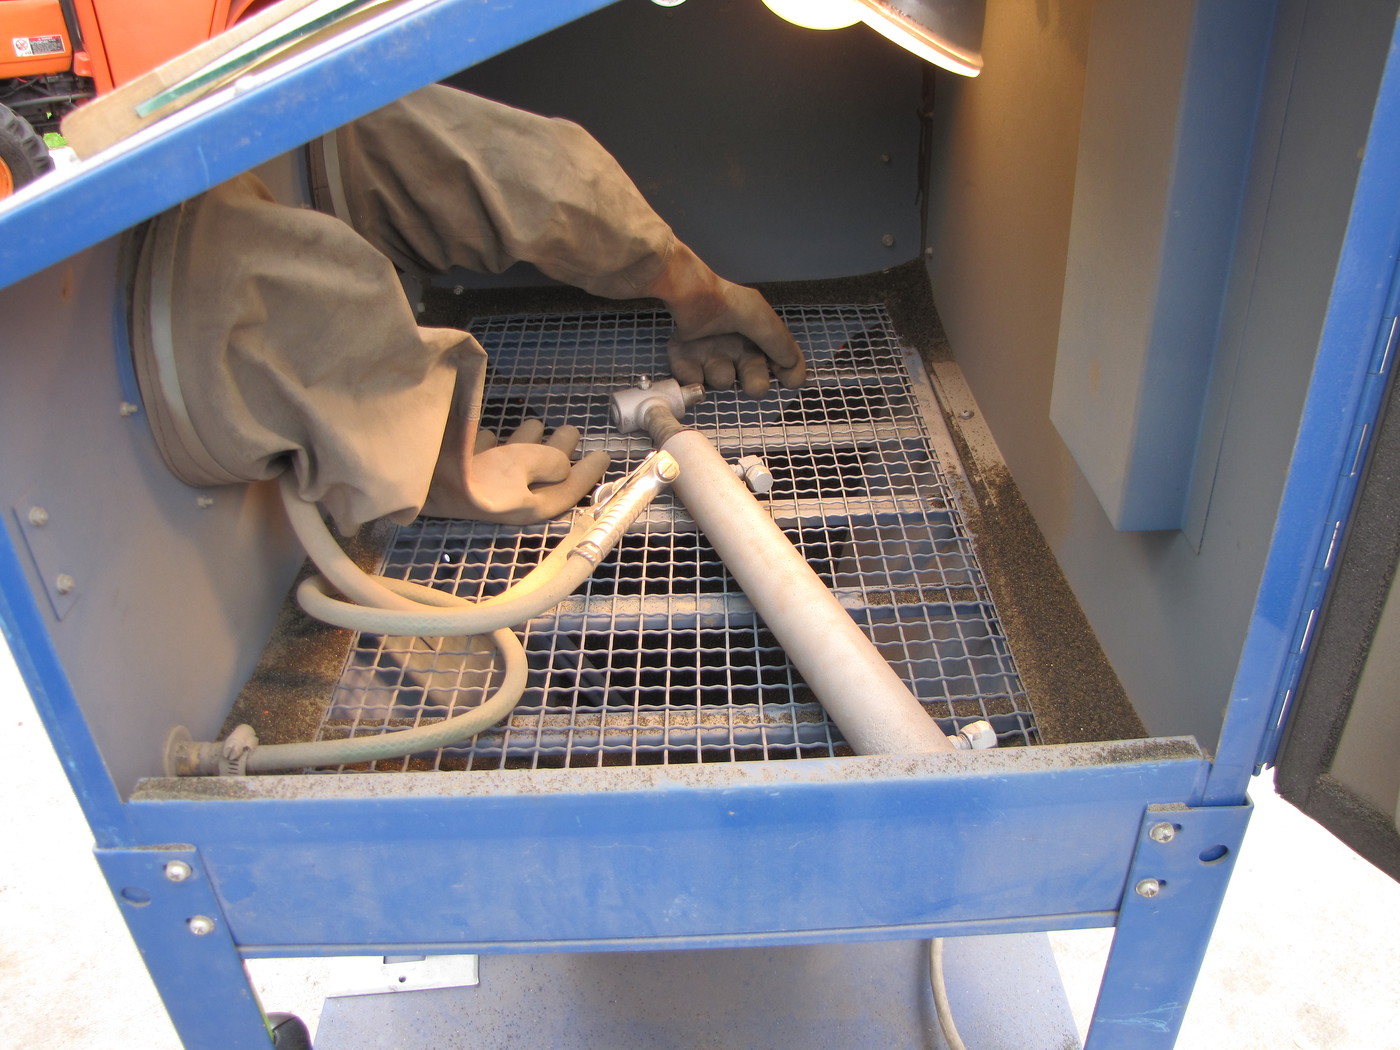
Used my Princess Auto blasting cabinet. Same one you can buy at Harbor Freight.
I have a medium cut, basting media in the cabinet. It worked well.


After blasting I blew them off and wiped the Rams down with Lacquer Thinner.


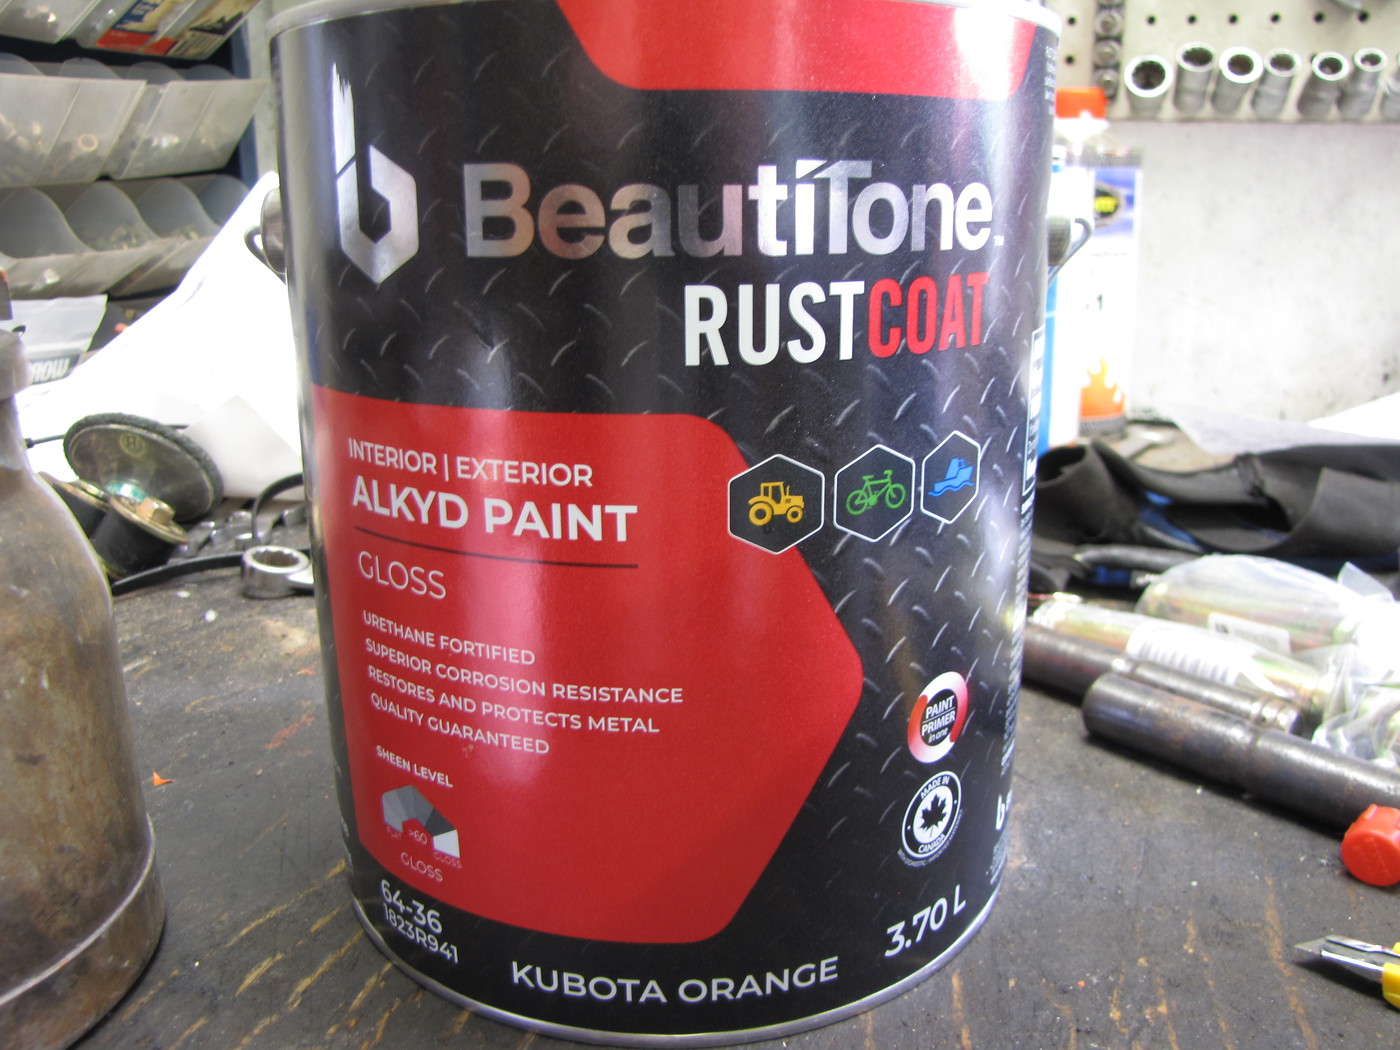
I used paint from my local hardware store. I've used it before and it's a perfect match for Kubota Orange.
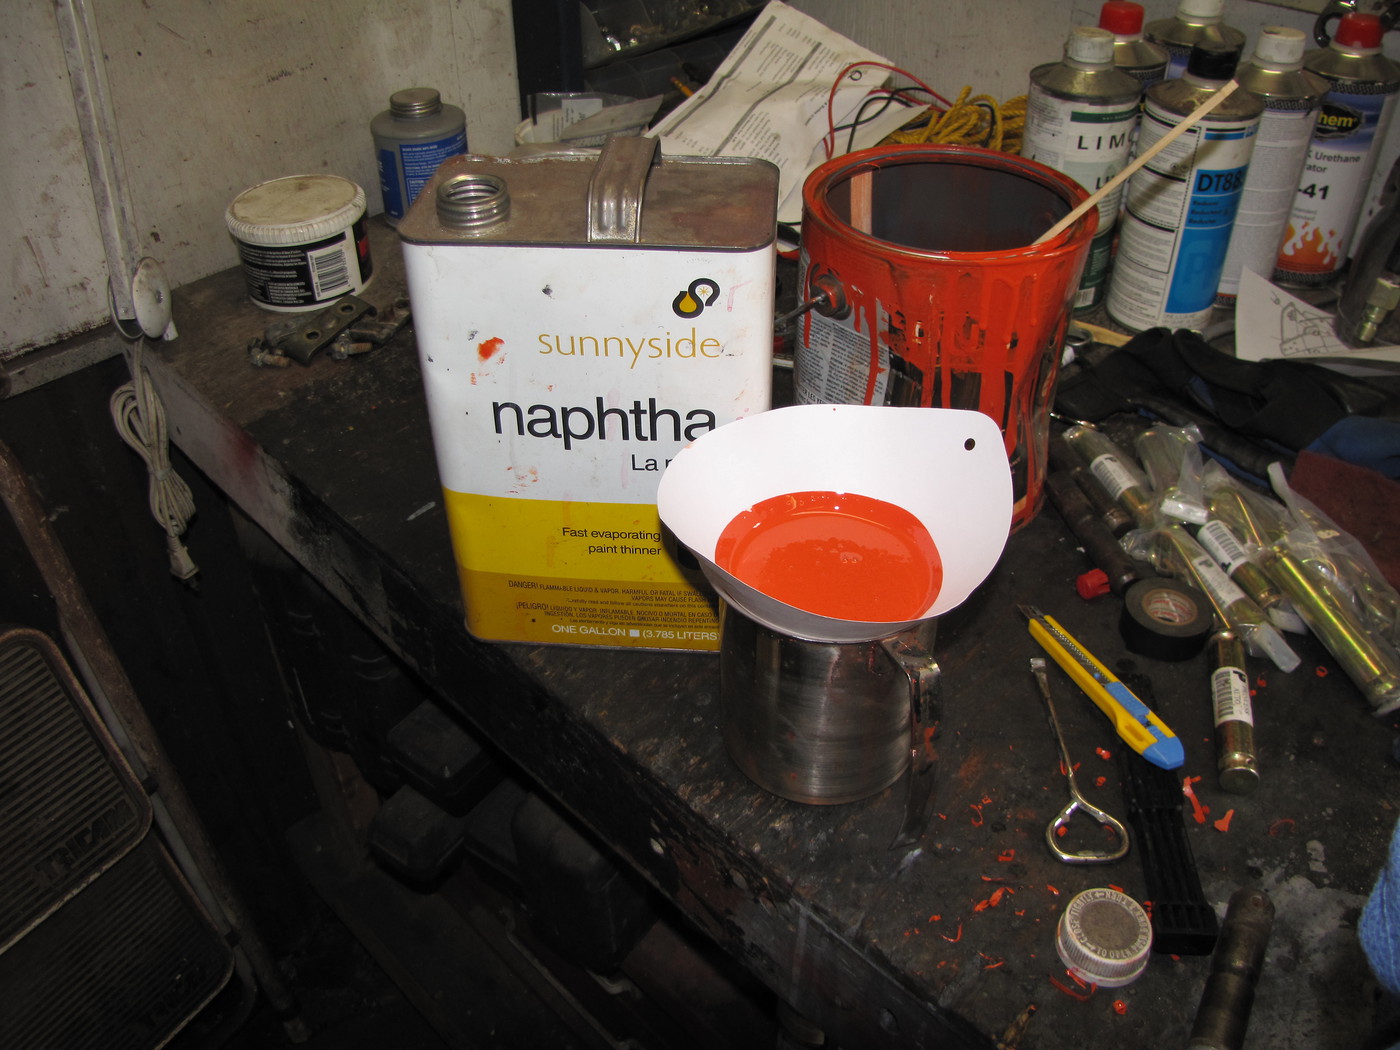
Beautitone Alkyd paint. $52 a gallon.


I thinned it with Naphtha, 10% by volume.
Strained the paint before thinning.


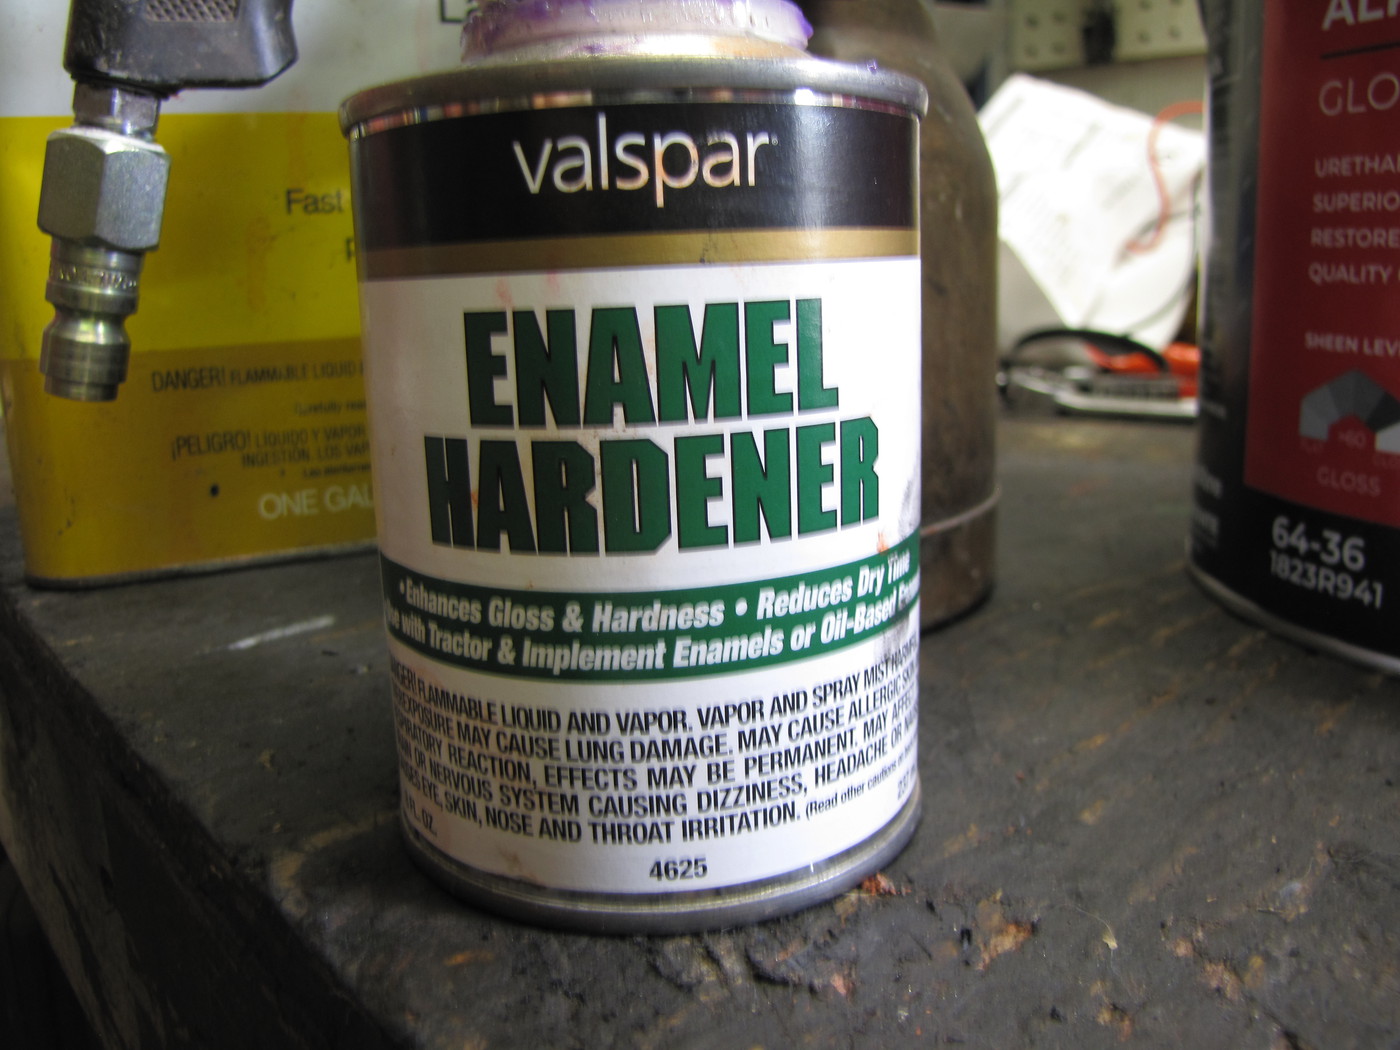
I added hardener to the thinned paint, 5% by volume. Got that stuff from TSC.


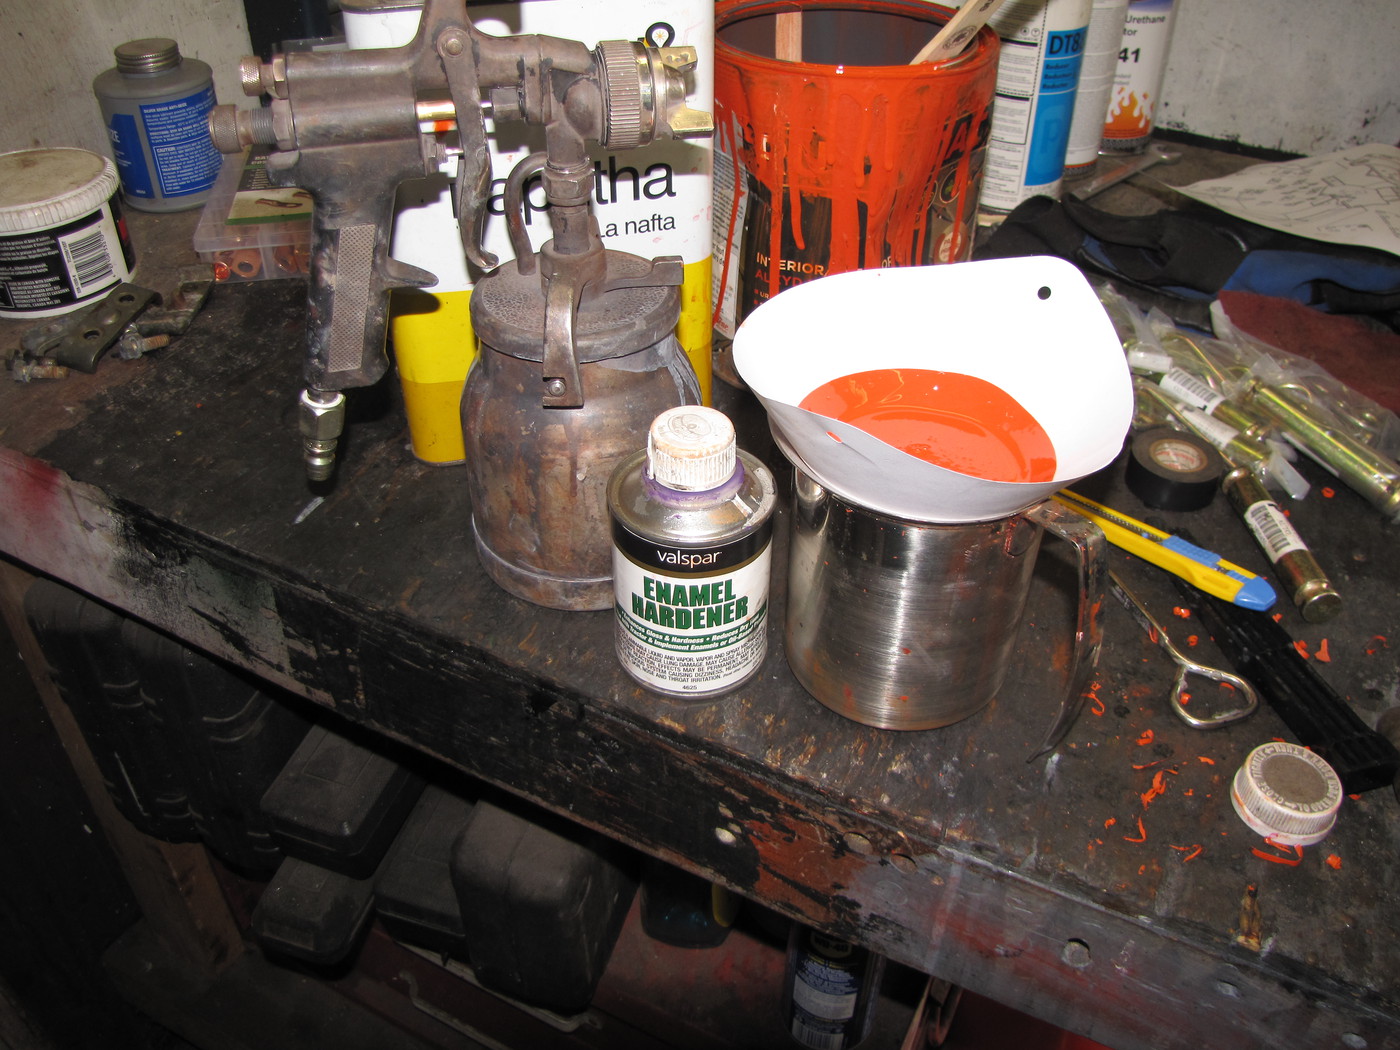
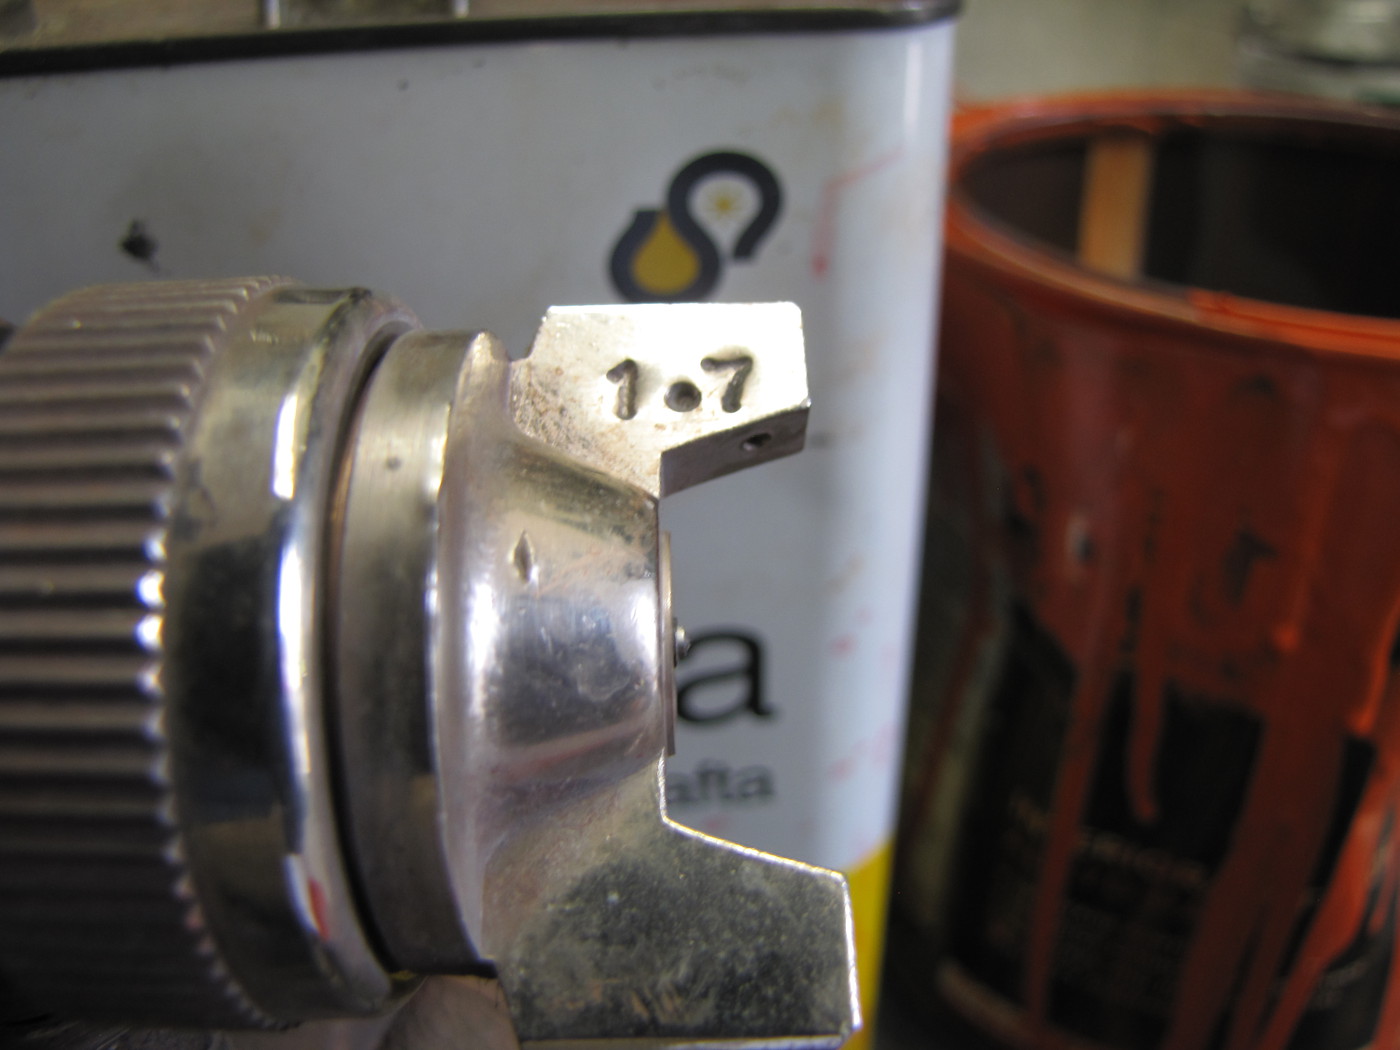
I sprayed the thinned paint with my old school siphon feed spray gun. It has a 1.7mm tip. This is the largest tipped gun I own.
I strained the thinned paint again before it went in the gun.


Hung the Ram's up and sprayed away.


Then transferred them into my garage to dry.


.
 
Last edited:
  • Like
Reactions: 1 users
cliffboyer

Active member

Equipment
L3301 w/LA525 loader, G5200 mower w/RC48 deck, Kawasaki 610 Mule, DR mower
Nov 30, 2017
240
48
28
Southern IL
Looks like a fun project. I think you got a good deal. Just the fact you found one that isn't beat to pieces or half-ass repaired is a bonus.

I agree, freezing water caused the bulges. There's an opening some where. Also interesting the ends of those two cylinders are very rusted. Makes me think loader was stored upside down for some period that allowed water to collect inside the towers and the crook of loader frame.
 

North Idaho Wolfman

Moderator
Staff member
Lifetime Member

Equipment
L3450DT-GST, Woods FEL, B7100 HSD, FEL, 60" SB, 743 Bobcat with V2203, and more
Jun 9, 2013
29,939
6,122
113
Sandpoint, ID
FYI: The serial number is not 8, it's XXXX8 your missing the first 4 numbers